Let’s face it, Malaysians, we love our fried food. From fried chicken to fried fish, fried squid, fried eggs, fried noodles, fried rice, fried ice cream… you get the idea. We even, unashamedly, fry our vegetables! Fried bread isn’t unusual to us either – fried man tao, for example, is a favourite when eaten with saucey crabs, and puri is a popular treat available at many Southern Indian-style restaurants.
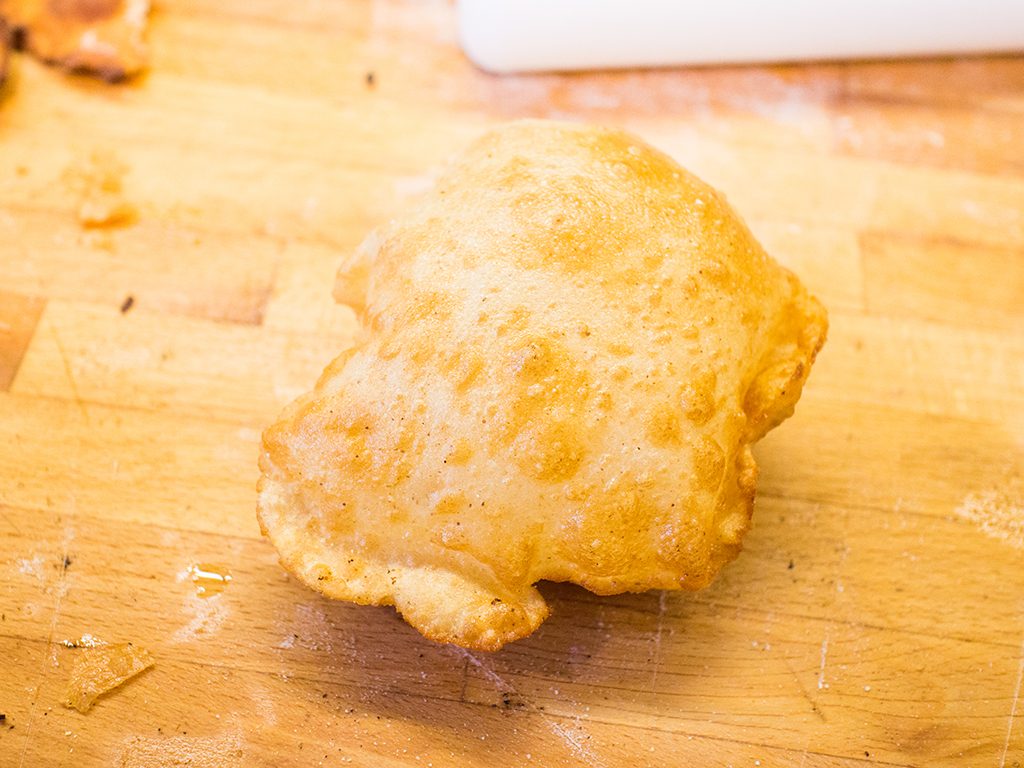
Small, puffy and perfectly fried to a light golden brown, puri is typically served for breakfast. However, considering a typical Malaysian breakfast can be eaten at any time of the day, we reckon you can have it for lunch, tea and dinner too! Pair it with dhal, paneer or curry for a delicious treat. We especially love it with fish head curry and yogurt… mmm!
The ingredients for making puri are very simple – but a little bit of technique is required. That said, it is probably one of the easiest Indian style breads to make. Don’t worry if your first few don’t puff up. Keep trying and we’re pretty sure you’ll get the hang of it pretty soon.
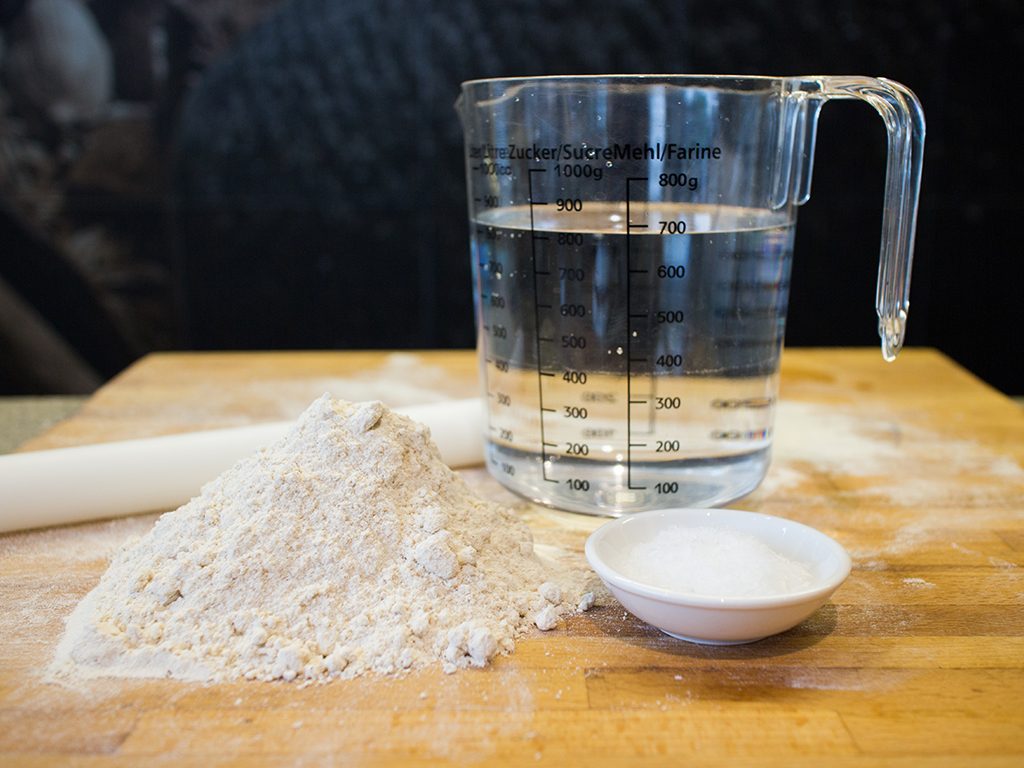
Ingredients
- 200g Pillsbury atta flour
- ½ tsp salt
- 150ml lukewarm water
- cooking oil
- extra atta flour, cooking oil or ghee for rolling out the puris
Optional
- 1 tbsp melted ghee
Makes: about 25 small puris
Method: preparing puri dough
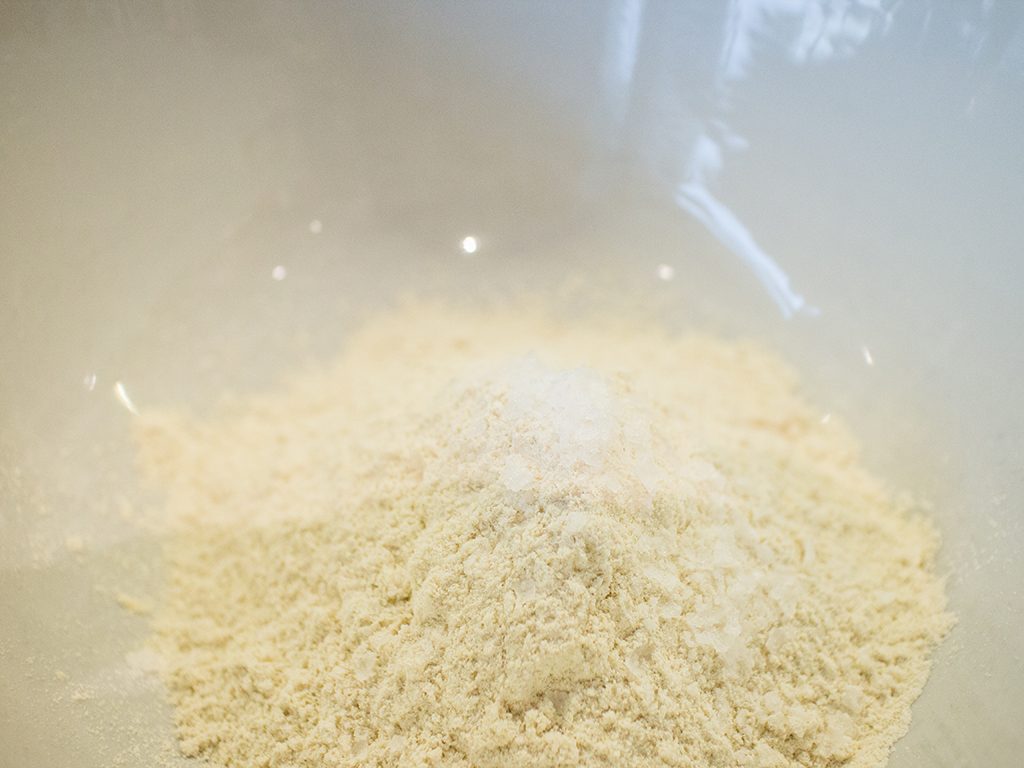
- In a bowl, add atta flour and salt. Use your fingers (make sure they’re clean and dry) to mix both ingredients.
- If using ghee, add it in and use your fingers to mix the ghee into the flour until fully incorporated.
- Add water a little bit at a time, about 25 to 30ml, and continue mixing with your fingers. You’ll want the dough to be evenly hydrated, but don’t knead the dough too long.
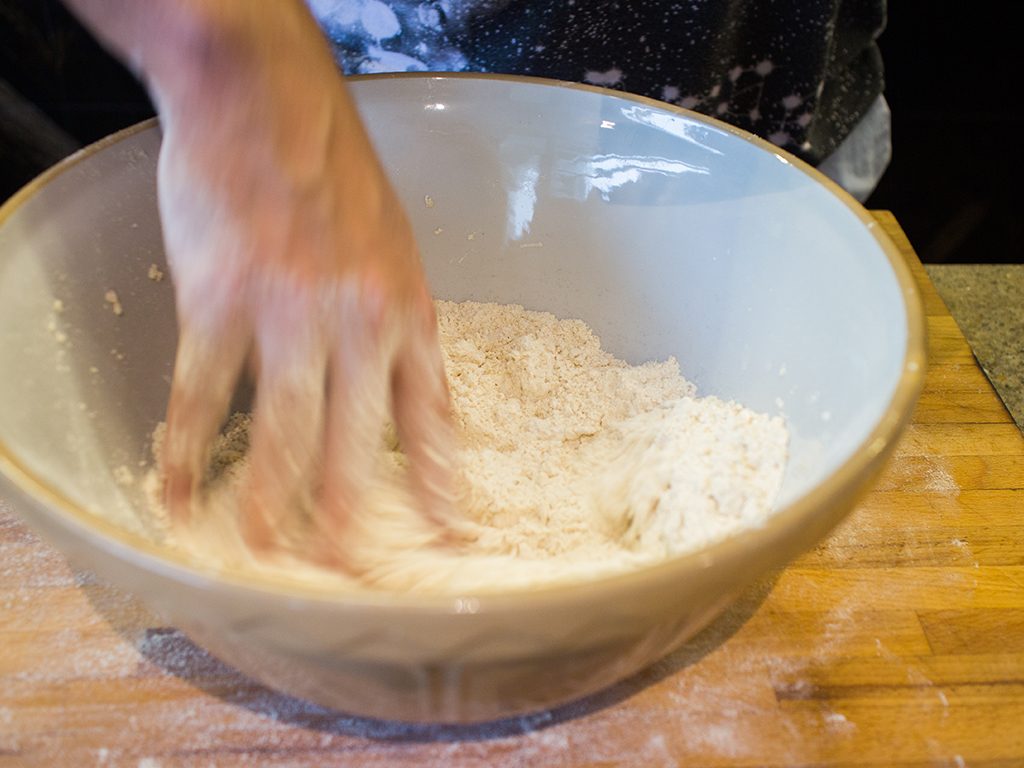

- Continue mixing small amounts of water into the dough until it sticks together completely. Depending on the type or brand of flour used (or even the harvest for the exact same brand), you may need to use more or less water, so pay attention as you knead. You want a dough that is smooth and of medium softness. If your dough feels sticky and is very soft, you’ve used too much water. If your dough still crumbles and feels hard, add more water.
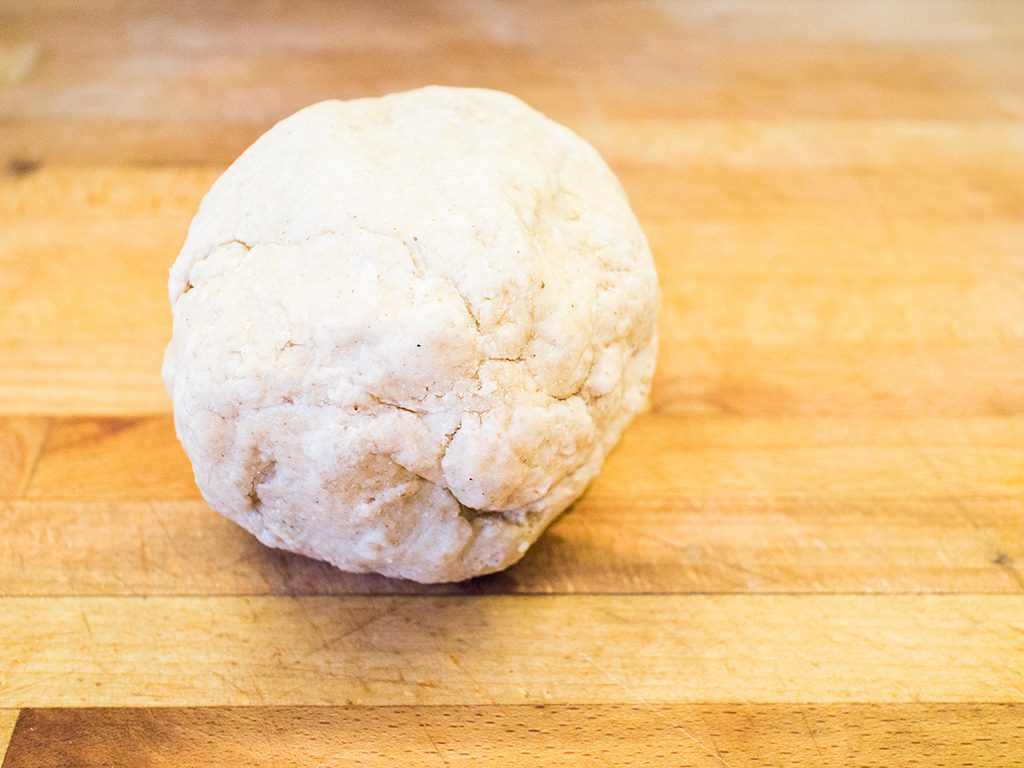
- Don’t over knead as this will result in a harder dough and puris. The whole process should only take about three to five minutes.
- Leave kneaded dough in the bowl and cover with a damp cloth. Let rest for 30 minutes.
- After 30 minutes, oil your hands with a little bit of ghee or cooking oil and knead your dough a couple of times to smoothen it out.
Rolling, rolling, rolling
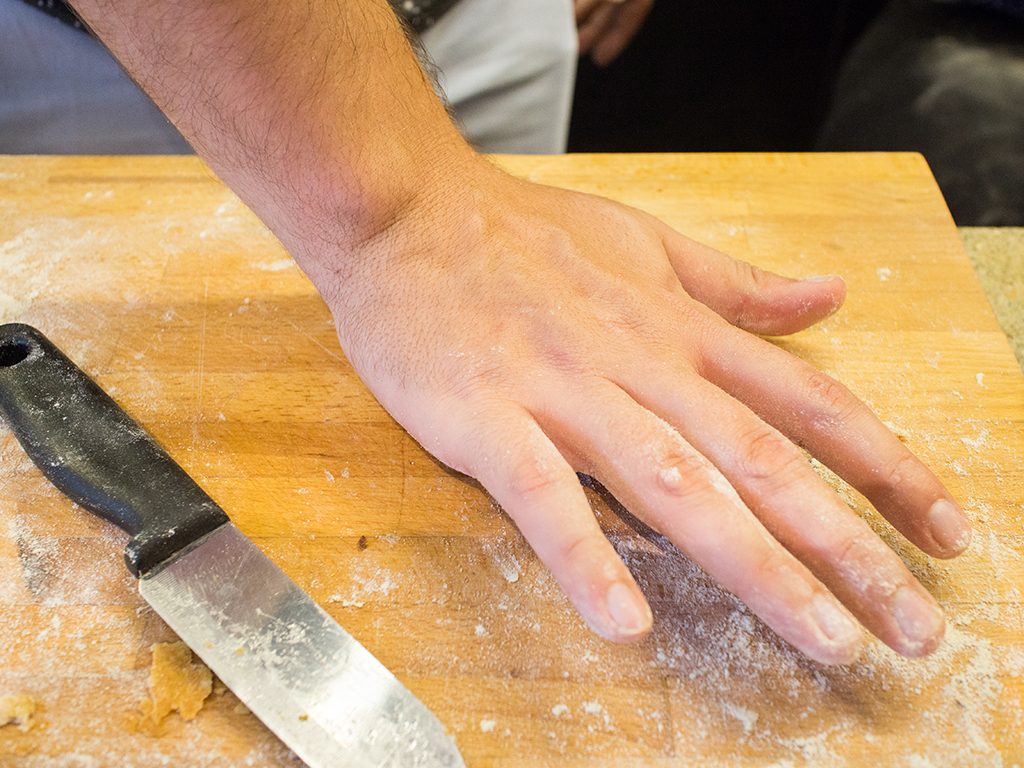
- Pinch small portions of dough and roll them into smooth round balls, getting rid of visible ‘seams’. We recommend a portion of about 15g per ball to make nice, small puris, but you can make them smaller or bigger depending on your preference.
- If using a wooden surface, flour your board. You can also use either melted oil or ghee if using a solid surface (such as marble, concrete or metal) to roll your puris. Just a quarter teaspoon should suffice per puri, depending on the size you’re making.
- Take one ball of dough and flatten with your palm, then use a finger to press the edges of the dough to ‘seal’ it.
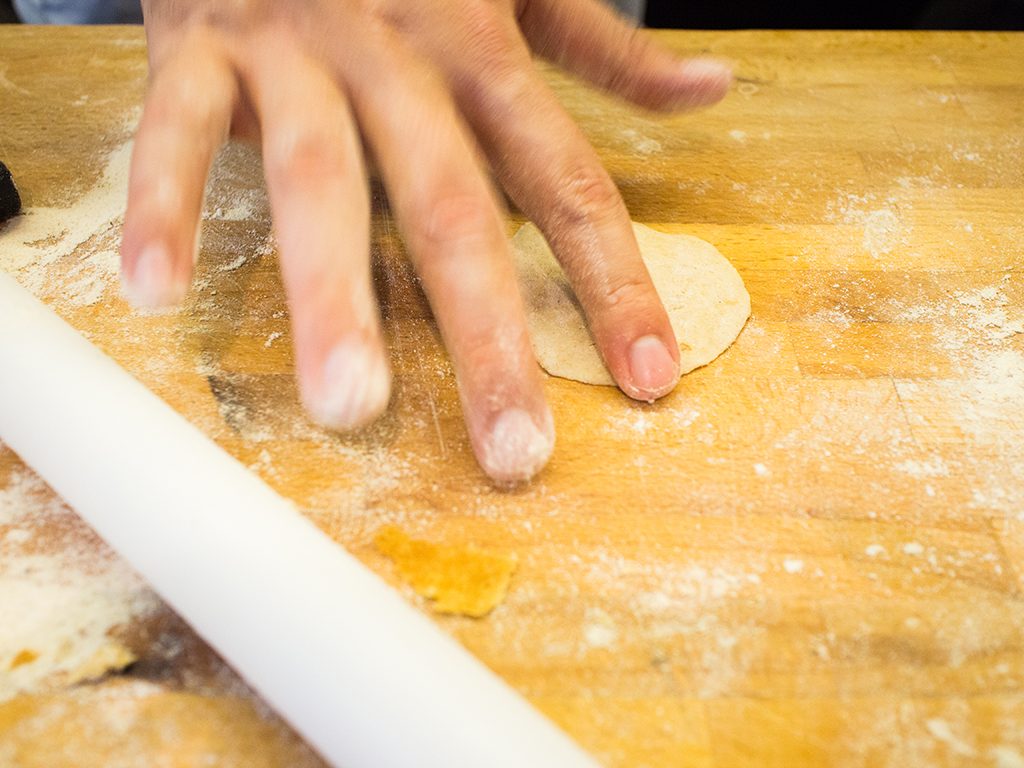
- Use a rolling pin to flatten the dough, rolling outwards from the centre to get a nice, round dough. Don’t worry if you don’t get perfect circles the first few (or many) times you try it – this requires quite a bit of practise! Roll until the dough is about 1.5 to 2mm thick, roughly 7cm wide if using 15g of dough per ball.
- Your rolled dough is ready for frying.

Frying puris
- Prepare a plate or colander lined with kitchen paper.
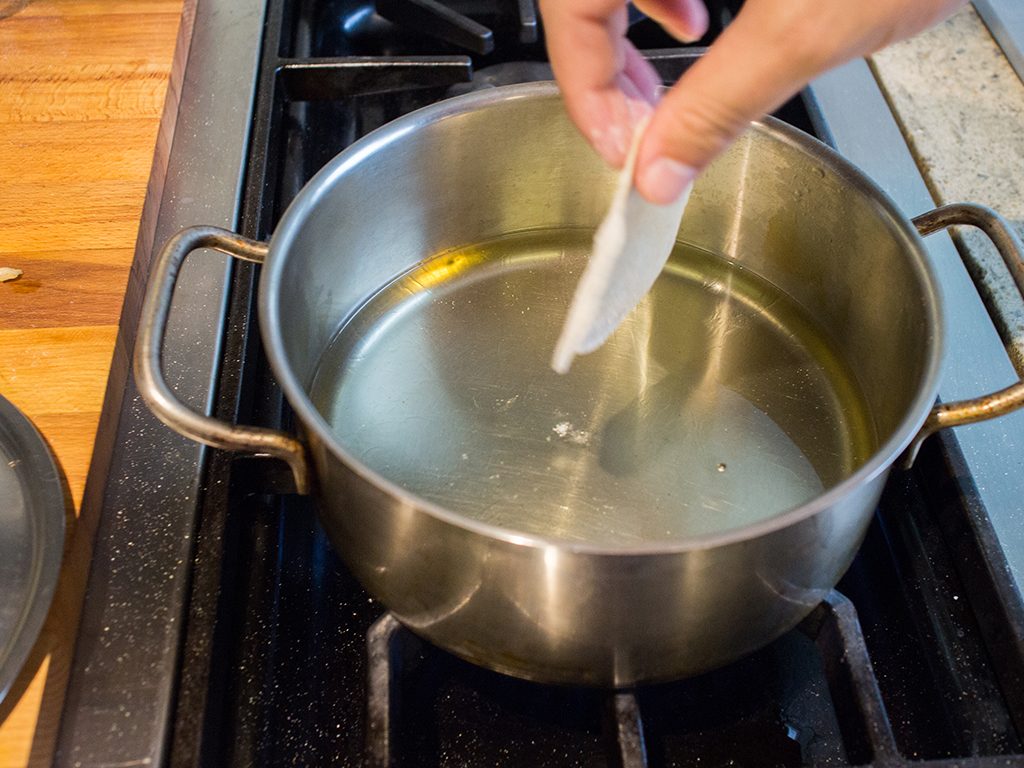
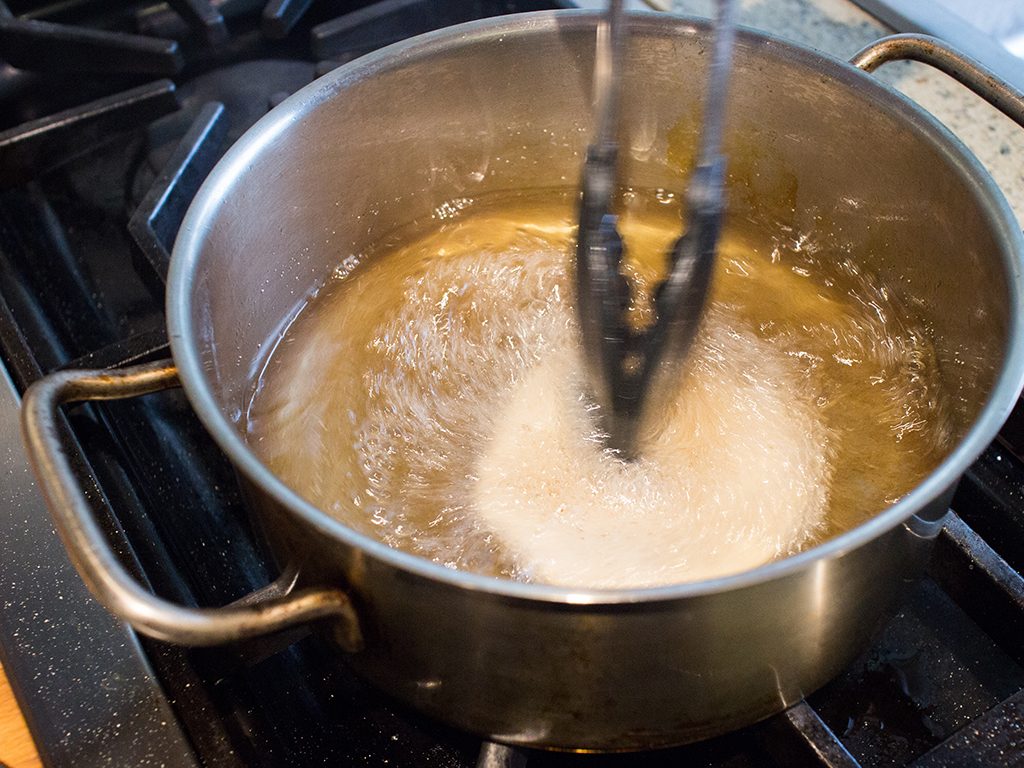
- In a wok, skillet or heavy bottomed pot, heat cooking oil on high heat until it reaches deep frying temperature, about 175°C to 190°C. You don’t need a lot of oil, about 2cm to 3cm deep will do.
- No cooking thermometer? Take a tiny pinch of dough and put it into the oil. If it rises quickly at a steady pace, your oil is hot enough. If it takes a long time, your oil is not hot enough. Or, if the dough starts to burn, your oil is too hot. Turn the heat down.
- If using a small skillet or pot, fry one puri at a time.
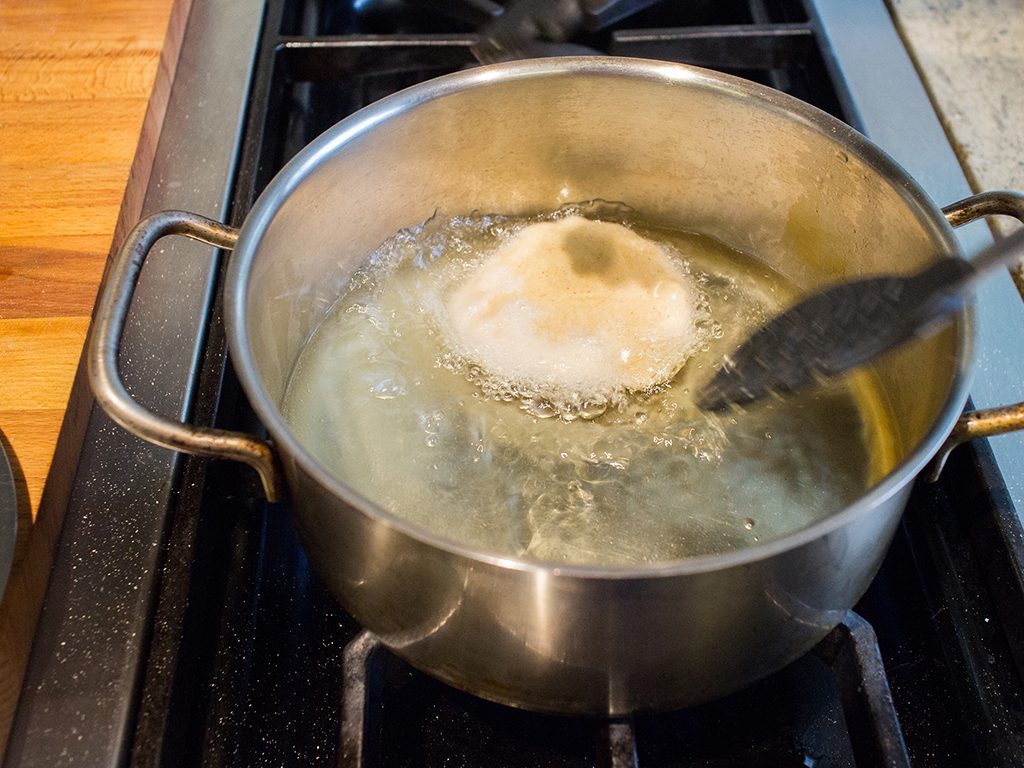
- Carefully place rolled dough into hot oil.
- Once it has risen to the surface (this should only take a few seconds), either ladle hot oil over the puri or gently press it down at the edges to puff it up. You can also press it down slightly and swirl it around the pot. The intention is to get the hot oil over the puri to puff it up.
- When the puri has puffed up, flip it over and cook for a few seconds. You’ll want a puri that is a light golden brown.
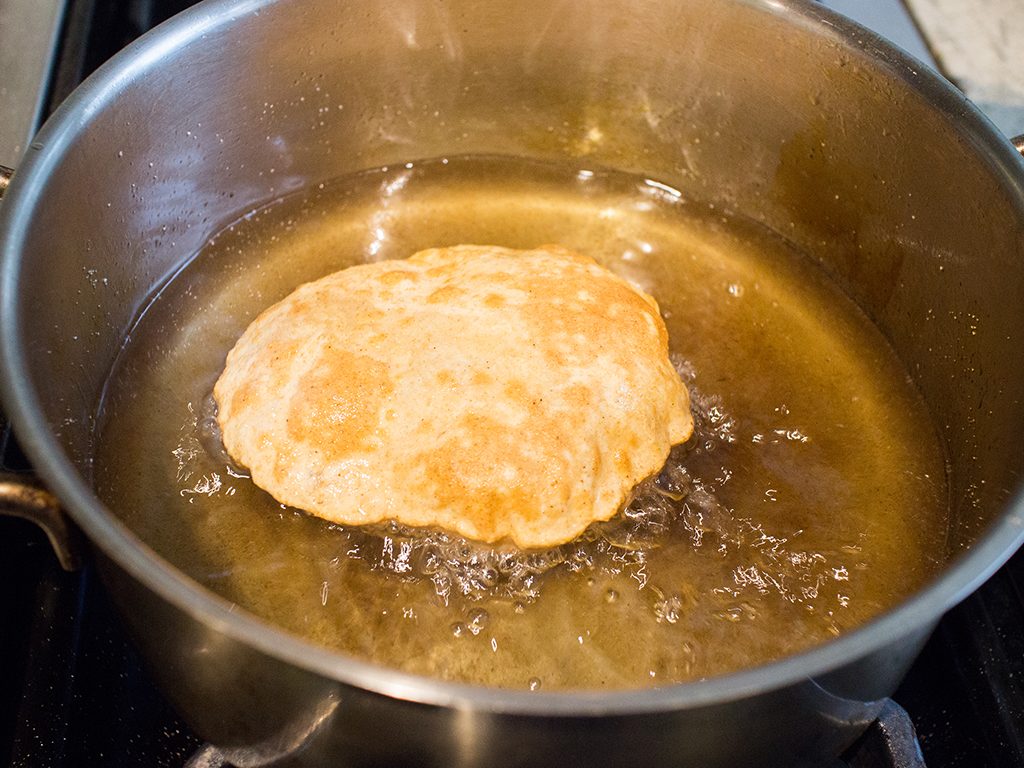
- Once cooked, place puri on kitchen paper to remove excess oil.
- Fry the next puri! If your oil gets too hot, turn the heat down (and back up if necessary). Keep some spare dough on standby to help you figure out ideal oil conditions if you don’t have a cooking thermometer.
- Best served while still warm.
Extra tips
- You can use any brand of atta flour to make puri. We like Pillsbury’s as it’s smooth and finely ground.
- Ghee adds a flavourful richness to your puri, but is optional. If you’re vegan, skip the ghee.
- To avoid dough from drying out, you can either:
- Roll out then fry one puri at a time
- Roll out all your puris and keep them covered with a damp cloth as you fry them
- Or, roll out one puri, fry it, and roll out another puri as you’re frying the first. This will require multitasking skills as you’ll need to be fast at rolling puris while also keeping an eye on the one being fried. Alternatively, get someone to help you roll the puris as you fry!
- Keep unused dough covered with a damp cloth so it doesn’t dry out.
- If your puri isn’t puffing up, check the temperature of the oil. If your temperature is fine, the dough may be rolled too thin or too thick. Your puri is crispy? That means the dough is too thin. If your cooked puri feels doughy, then it’s not thin enough. The perfect puri remains soft and chewy despite puffing up.
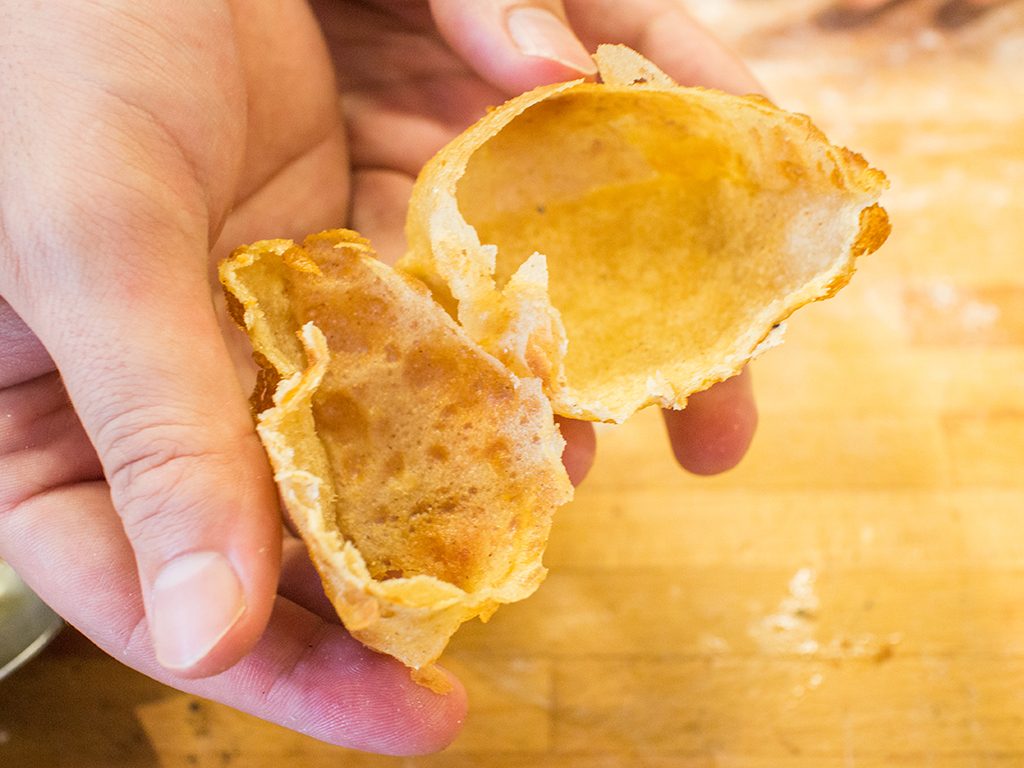
- Puris may deflate after cooking, especially larger puris. Don’t worry if this happens.
- As with many recipes out there, there are a few different ways to make puri. Some swear you must only use warm water, while others say hot is the way to go. Atta flour is also sometimes replaced with different types of flour, or mixed with semolina. Feel free to experiment! If you’re not sure where to start, use our recipe and go from there.
Ready?
Puris are actually easy to make once you get the hang of it. The trouble is, because it’s super easy to make and really really delicious, you will be undeniably tempted to make it again and again and again. We don’t recommend this as puri is far from healthy, what with being deep fried and all! So cook it sparingly, or for special occasions, like Deepavali, Onam, birthdays, family gatherings, and, well, we’re pretty sure you can think of a few more excuses. Serve it with your favourite Indian dishes, and you’re good to go!
So, how was your puri making experiment? Did you get them perfectly round and to puff up on your first try? Share your pictures and experiences with us by tagging us with #butterkicap!
Enjoy!
More articles:
Turn Your Dull Day Around With This Amazing Dalca Recipe