Have you ever tried making chapati before?
It has always been a dream for any cook worth their salt to make the perfect bread. Too bad Malaysians mostly concern themselves with making complicated, rustic-looking breads of the Western variety. According to these bread aficionados, breads made in the West like Texan biscuits, French baguettes and Italian focaccia, requires them to master a technical, complicated technique which ensures them the crackling yet fluffy results only few can achieve.
Our Eastern breads may not look as fancy as the ones in the West, but never underestimate the effort required in making them based on their simple looks alone. Take chapati, for example. How many Malaysians do you know can achieve that perfect thin, circular goodness?
Before going into detail, let’s talk a little bit about chapati. Chapati is an unleavened flatbread native to the Indian subcontinent of India, Pakistan, Nepal, Bangladesh and Sri Lanka. It is a popular staple in most states on the north side region of India. With only some atta flour – a whole-wheat flour, water and salt, you’re all set to make it! Sounds simple enough, right? Don’t be so certain.
For those who have mastered the gol-gol (round in Hindi) law of chapati, kudos to you. For those who have not, check out the recipe to a perfect chapati that our friends at Tifin by Kumar’s have so kindly share with us after hearing about our chapati fiasco (don’t ask, we’re not ready to talk about it…).
Now, let’s get our chapati on.

Ingredients
- 500g Pillsbury Atta Flour
- 250ml warm water
- 1 tsp of salt
- 100g of wheat flour
Method
Preparing chapati dough (prep time: 3 mins)
- Place Atta flour in a big bowl.
- Sprinkle 1 teaspoon salt over the flour.
- Pour in 125ml warm water over the flour then use your hand to ‘stir’ ingredients together until evenly distributed, for about 10 seconds. Do not start kneading yet.

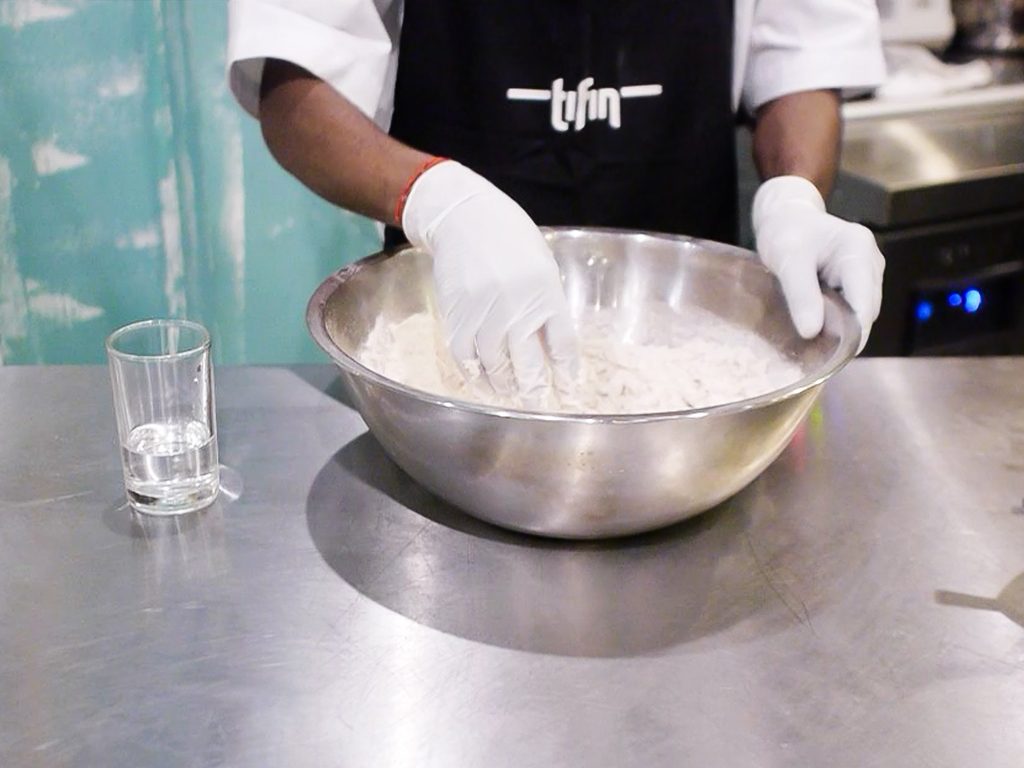
- Add a little bit more water, about 25ml, and use your fingers to mix the water and flour together, kneading it lightly, for about 20-25 seconds each time. Continue adding in a little bit of water and kneading until a neat ball of dough is formed. There should be minimal flour sticking to the sides of the bowl. The dough should also be smooth, a little stretchy and not sticky.
- Once it has reached this consistency, knead and fold over the dough a few times for about 1 minute.
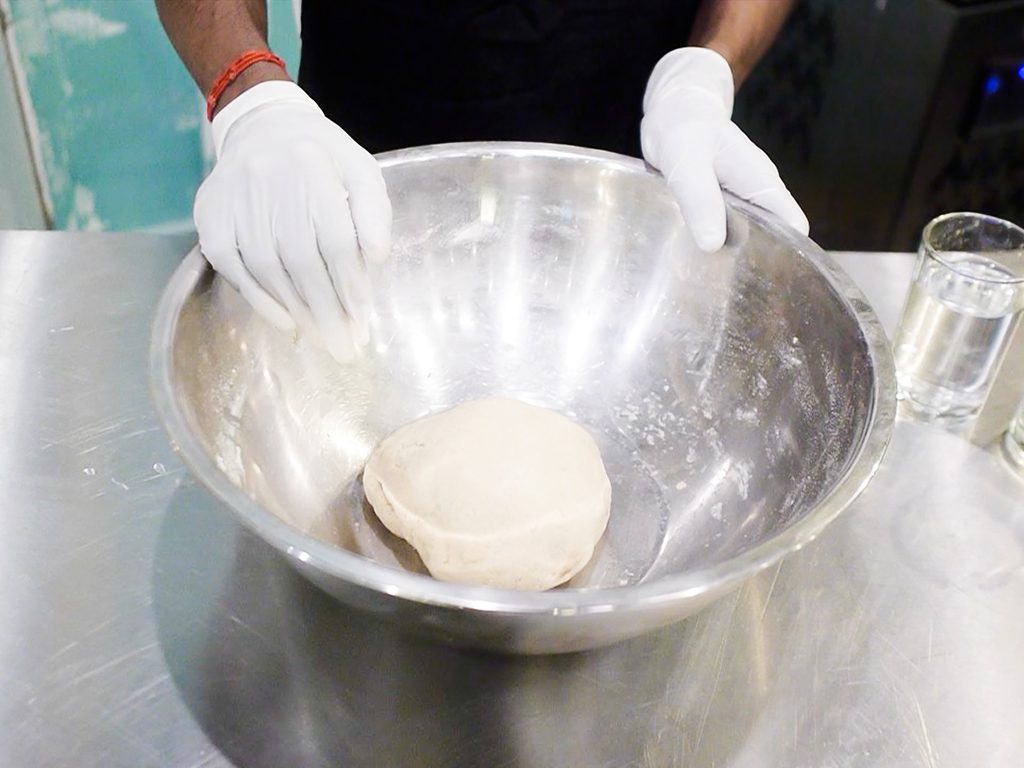
- Leave dough in the bowl, or transfer to a smaller bowl. Cover bowl with cling wrap and let rest for an hour.
Notes:
- Letting the dough rest for 1 hour will make the chapati fluffier and soft.
- Keeping the dough for 1 hour will also dry it out a little. Add a bit of water (50ml) after resting and knead it for a minute until water is absorbed before continuing with the rest of the preparation. This process will also activate the gluten slightly, making the dough somewhat stretchy.
Rolling the dough (prep time: 3 mins)
- After an hour, remove cling wrap and pinch out a handful of dough of about 12-13g. Roll it in the palm of your hands until it becomes a smooth dough ball of about 4 to 5 cm across.
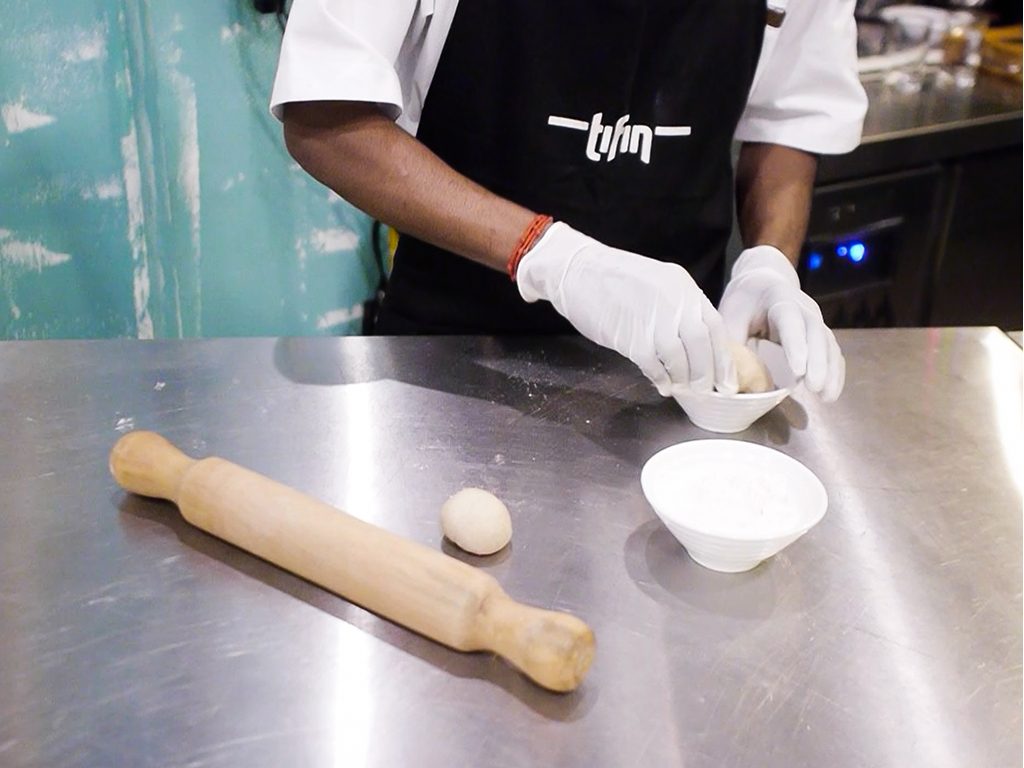
- Roll the dough balls in wheat flour to coat it lightly.
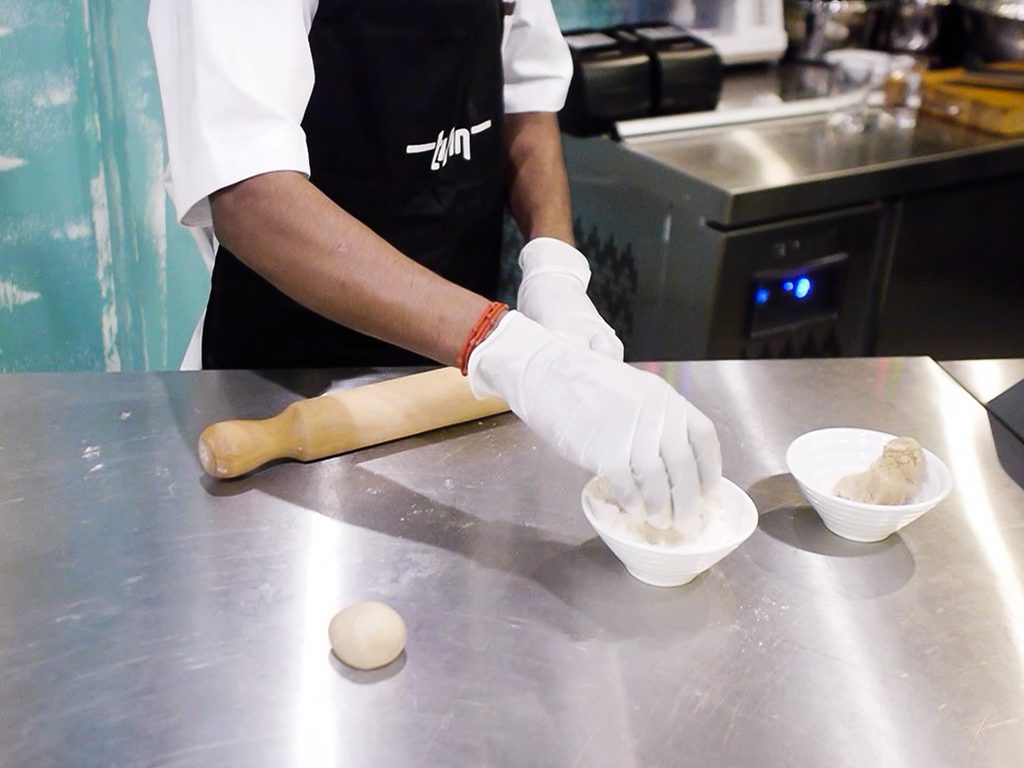
- Place it on a smooth, hard surface and flatten the ball with the palm of your hand.
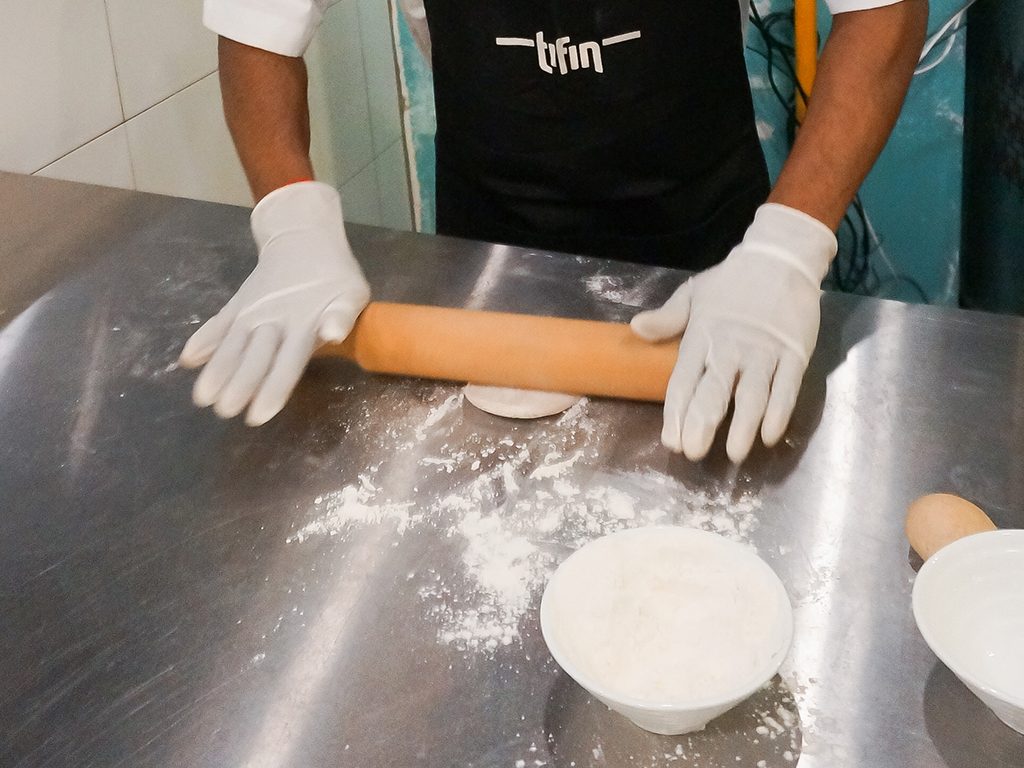
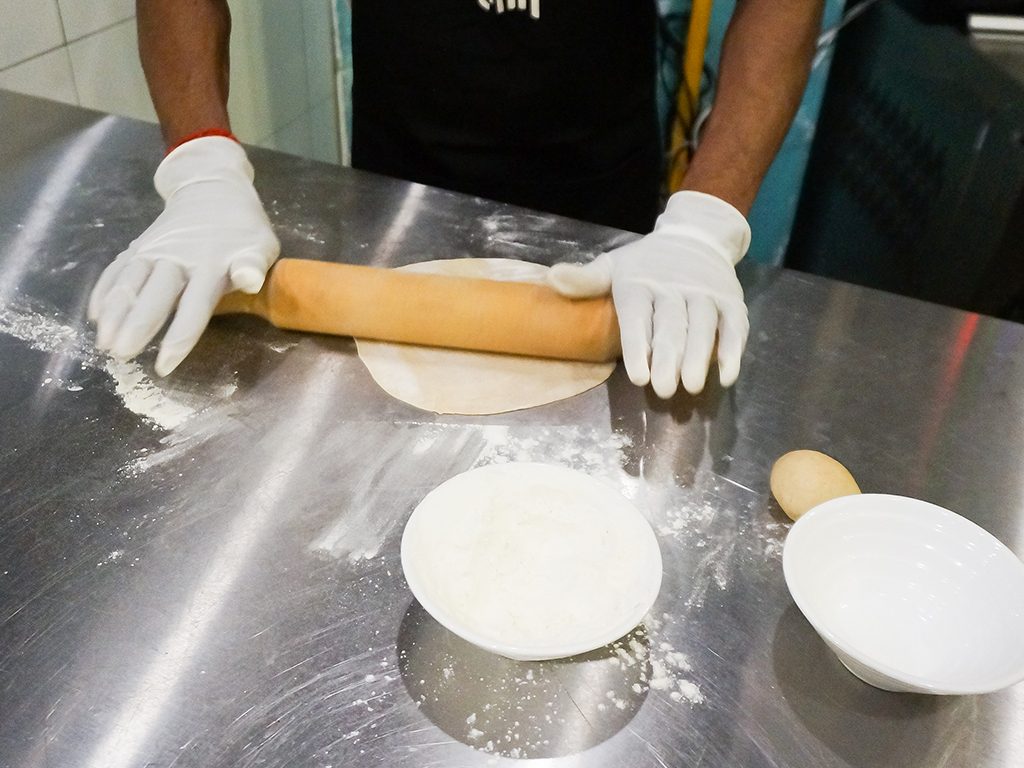
- Use a rolling pin and start rolling the dough until it becomes a thin, circular sheet. For every two rolls of the rolling pin, turn the dough 90° counter or clockwise (just as long as you continue turning it in the same direction) to create an even, circular roll. You don’t want the dough to stick to your surface though, so lightly dust more wheat flour onto your chapati after a few turns if necessary. How thin you want to roll the dough is entirely up to your preference, but this should make you a fairly large chapati of about 20 to 25cm across. A 1.5mm to 2mm thickness is a good gauge to start from until you find a thickness you prefer.
- Carefully toss and pat the flattened circles between your palms a couple of to remove excess flour before setting it aside.
- Repeat steps 1 to 5 to make more flattened dough circles.
Notes:
- Scatter wheat flour over your rolling pin so the dough will not stick to it during rolling.
- Atta flour is not used in this step as it will make the dough dry.
- Tossing and patting the flattened dough circles between your palms also ensures the dough is thinned evenly.
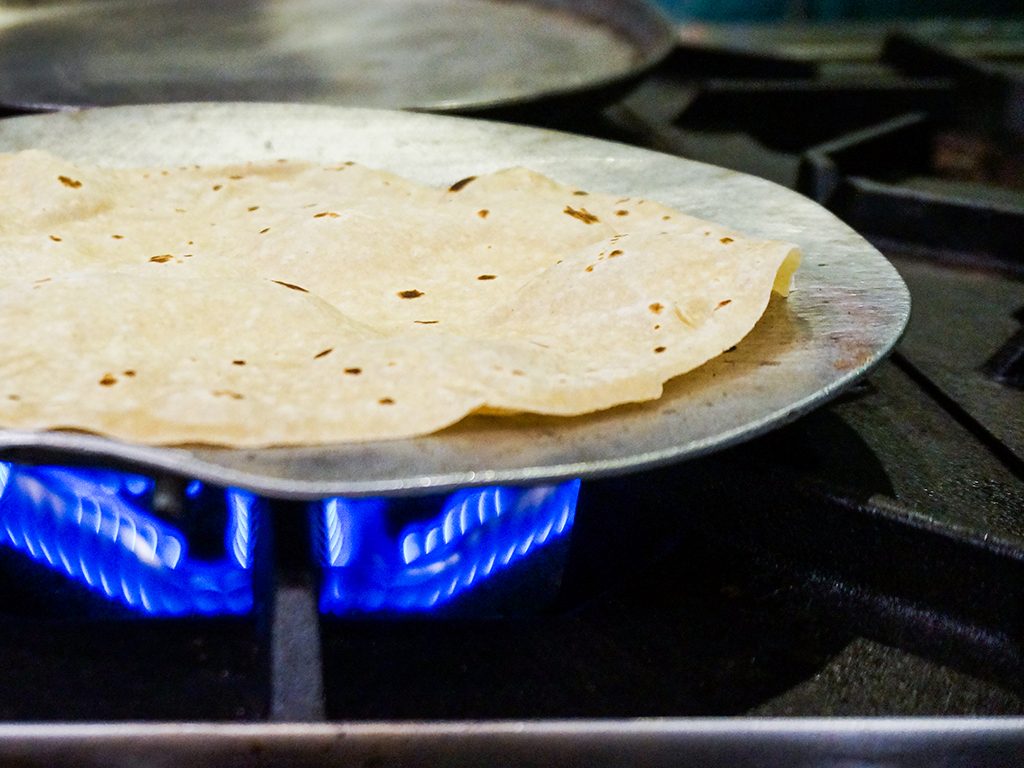
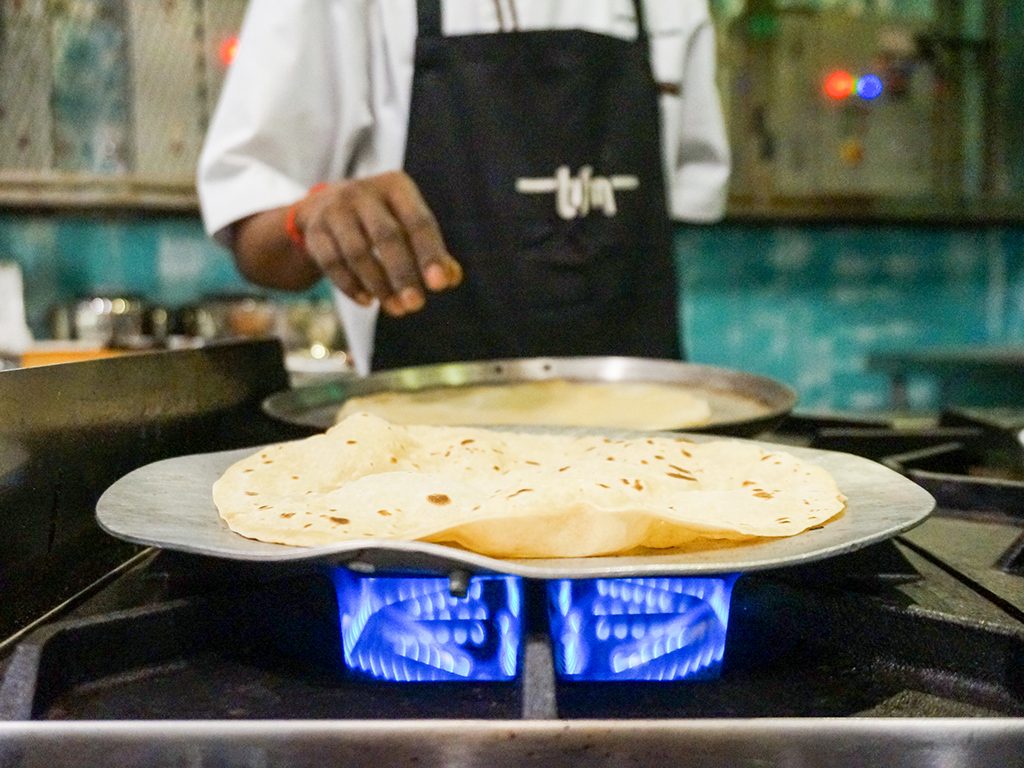
Cooking chapati (prep time: 2 mins)
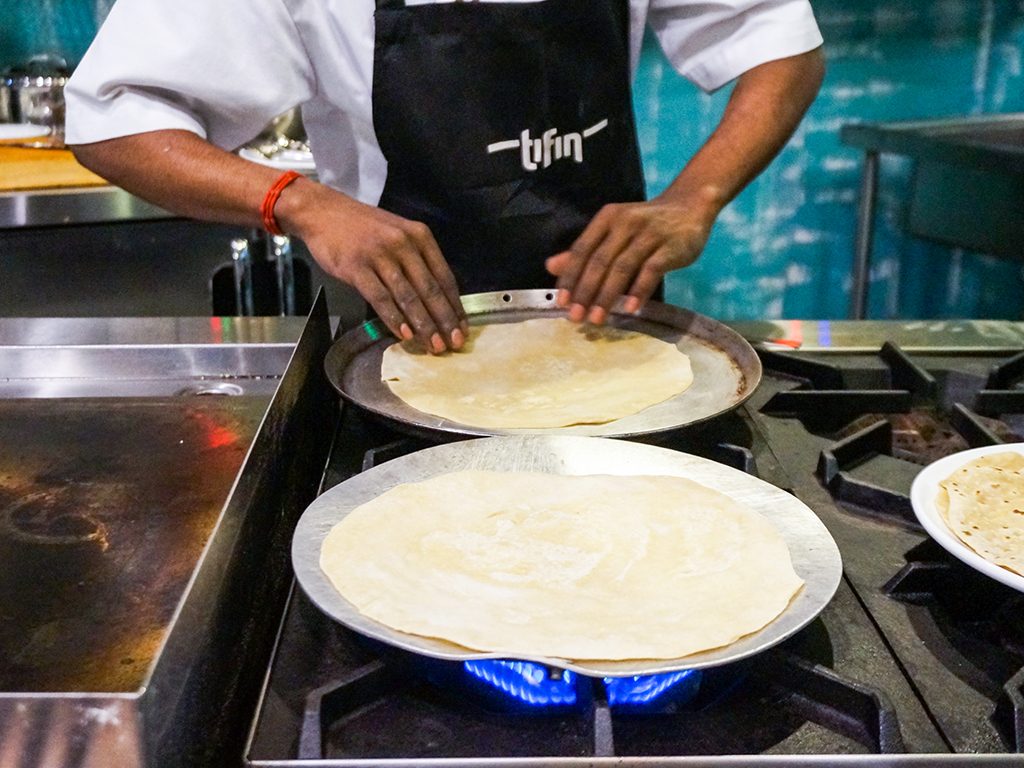
- Heat two skillets, one on low heat and one on medium heat.
- Place rolled dough on the low heat skillet. Flip after 10 seconds.
- After another 10 seconds, transfer chapati to the medium heat skillet.
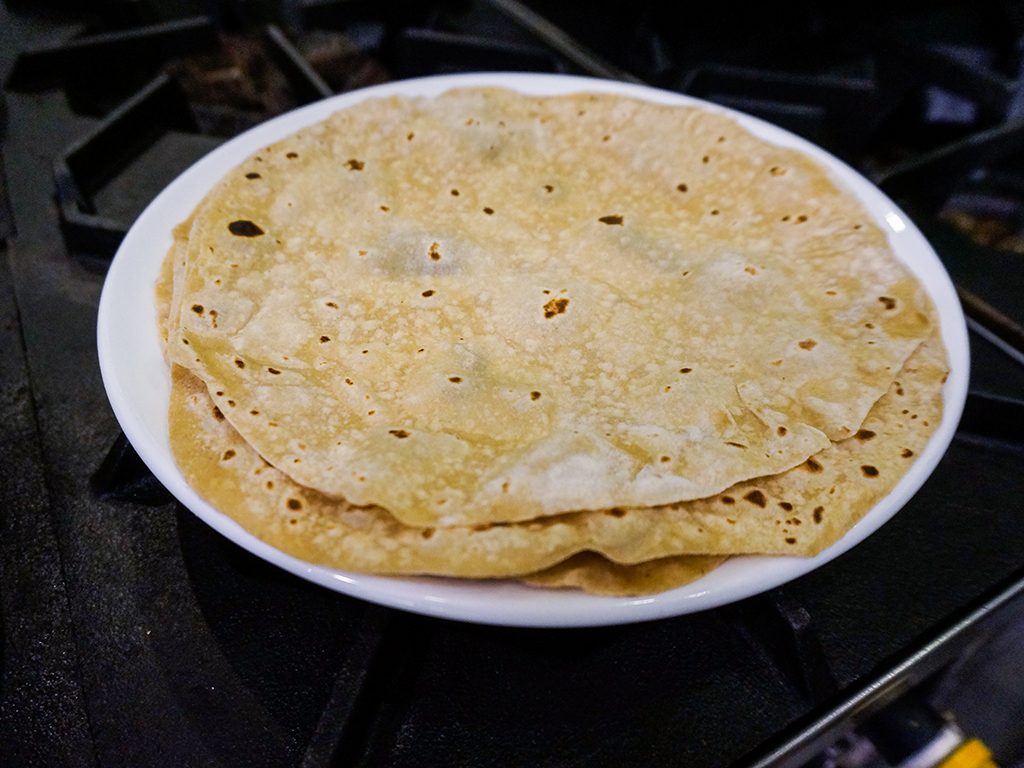
- After 15-20 seconds, turn the chapati over. The chapati will start to rise. After about 25-30 seconds, remove from skillet.
- Repeat steps 1-4 to cook the other dough circles.
Notes:
- The chapati is placed on low heat first to make sure the dough is cooked thoroughly and to avoid the chapati from becoming tough or burned.
- Spots on the chapati are a sign that the chapati is cooked. Spots appear when air bubbles trapped in the dough are released. This is why a chapati rises when it is cooked.
Extra tips
- If you want extra flavour, add a little bit of ghee on a slice of chapati while it is still hot for a richer flavour.
Well, chapati, it seems like the secret to a perfect flatbread is now uncovered! If you want to review what you’ve just learnt, hop on over to the how-to video here:
We hope the tips, tricks and preparation methods shared here will help you grow from a cha-prentice to cha-xpert. Since Deepavali celebrations are still going on strong, make some for friends and family while watching a 3-hour Hindi classic or simply to show-off your newfound chapati-making skills.
If you are already a master, share with us your own way of preparing chapati. Or show us how by tagging your chapati photos and videos with the #butterkicap hashtag.
And if you still can’t get it right, go check out Tifin by Kumar’s or @tifinbykumars on Instagram for some grub and inspiration!
More articles:
Sodhi – a Delicious and Easy Coconut Milk Curry Recipe
Dhokla and Green Chutney Recipe: Healthy & Delicious!
Puri: A Simple Recipe for Small Fried Bread that’s Very Big on Taste!