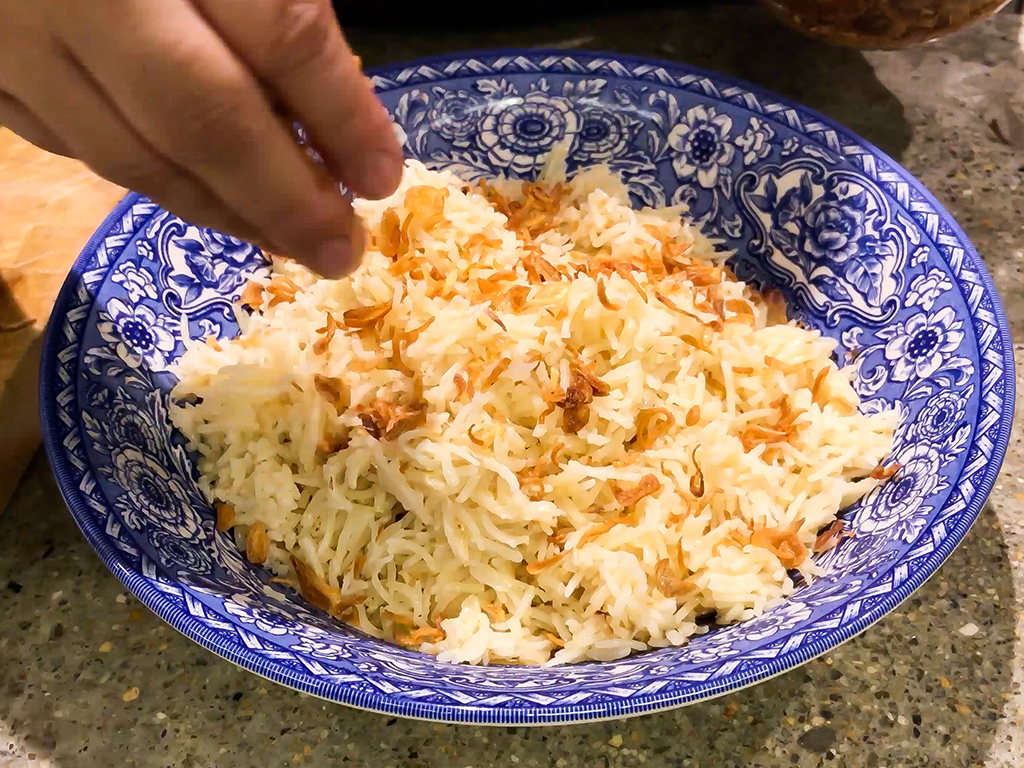
There’s bawang goreng, and then there’s bawang goreng. If you’re a regular at eating out, be it at Mamak shops, Malay food restaurants, chicken rice specialty places or even some random hole-in-the-wall noodle stall in a dodgy back alley in Petaling Street, chances are pretty high your dish will come topped with fried shallots, or bawang goreng as it is more affectionately called.
From fried rice to porridge, instant noodles to soup, bawang goreng is probably one of Malaysia’s most common condiments, yet it is hardly served to accompany meals cooked at home. While you can buy a few types of pre-made fried shallots from the supermarket nowadays, it is still very much an ‘eating out’ type of condiment as many price-conscious shoppers may balk at the premium they have to pay for such a common product.
So why do we stay away from making bawang goreng at home? The cost of the ingredients are fairly cheap all things considered. Is it because it comes across as being difficult to make? After all, from stall to stall, shop to shop, and restaurant to restaurant, the quality of fried shallots served seems to vary quite a bit, with many places producing less than average bawang goreng. How many of us have discarded spoonfuls of overly burnt, completely oily, beyond soggy, strangely puffy fried shallots from the tops of our meal? If these places who make it every single day can get it wrong, how can us regular folk possibly get it right?
As with many recipes, we found out, it’s all about getting the technique right. And it does not involve adding snipped up plastic straws into the oil…
The science behind perfect fried shallots
Perfection in cooking is, undoubtedly, a very subjective thing. But there has to be a way of making excellent fried shallots. Besides being famous for their prawn fritters, the kitchen at Bait Badawi also whips up stellar bawang goreng, so much so it’s not uncommon for guests to ask if they can take a bottle or two back with them! Some of them even go home armed with the recipe, but say they can’t seem to get it right, either. With this in mind, the Kitchen Lab team once again raided the Bait Badawi kitchen to discover their secrets for making perfectly crispy fried shallots each and every time.
In the kitchen, it came as no surprise to know they have no recipe written down. Like many of the best Malaysian kitchens, it’s all about instinct or agak-agak. But with our background of wanting to get things right so you can get it right, we decided to experiment, test and measure from a more controlled perspective. The results were so exciting that we can positively say for sure that there is a formula for making excellent fried shallots that you can easily emulate at home. Besides a cooking thermometer, no other special equipment is needed besides what you probably already have at home.
Let’s share our findings, shall we? Not interested in the findings? Check out our quick guide to sure-fire bawang goreng below!
The ingredients we used
- 200g pearl onions, peeled & sliced thinly
- 200g rose shallots, peeled & sliced thinly
- 200g Thai shallots, peeled & sliced thinly
- 800ml cooking oil
- ½ tsp fine sea salt each
Are all shallots created equal? The Bait Badawi kitchen wears that Thai shallots make the best bawang goreng. To put it to the test, we decided to use three different varieties in our little scientific study. They also recommend using unblemished shallots. We decided not to argue with them on that point.

Even though we refer to shallots and onions as bawang, i.e. bawang kecil or merah for shallots and bawang besar for onions, there is a difference between the two. Shallots are sweeter in flavour, and, unlike onions, they grow in clusters, similar to garlic. Pearl onions are not shallots, but we decided to add it into the experiment as they are of similar size to shallots. For simplicity, we will also refer to pearl onions as ‘shallots’ when talking about this experiment in general terms below.
For consistency, all shallots were weighed after they were peeled and the roots removed. We also used your average, standard local cooking oil, as we feel it gives local fried food that ‘junky’ flavour we all love.
Equipment used
- Sharp knife, or mandolin
- Cooking thermometer
- Wok
- Strainer
- Flat plates lined with kitchen paper towels, about 2 sheets deep
- Jars
As we mentioned above, apart from the cooking thermometer, no fancy equipment was used during this experiment. If you have a mandolin, please feel free to use it to speed up the slicing process as long as it is able to make thin enough slices. Just be careful with your fingers when you use it.
The slice matters
After peeling, removing the roots and weighing our shallots, we used a very sharp knife to slice the shallots about 0.5 to 1mm thick. You want them as thin and even as possible to ensure even cooking, and this thickness was optimum for perfect crunch. One very important thing we were taught though was that the shallots should be cut from root to tip, not sideways.


Once sliced, we placed each type of shallot into individual bowls and tasted each one to compare. We found that pearl onions were, overall, the tastiest among the three. The Thai shallots were sweetest, while rose shallots had a slightly bitter aftertaste.
The fry
800ml of cooking oil was added to a wok and brought up to a temperature of 150°C on high heat.
No wok? Don’t use a frying pan or skillet. A deep fryer may be okay as long as you can monitor the temperature. Alternatively, use a pot. You’ll want about eight to ten cm worth of cooking oil so the shallots can submerge.
Just before the oil reached 150°C, we added 1/2 teaspoon of sea salt to the shallots we were going to fry and stirred it to mix through. Salt was not added any earlier to avoid it drawing out moisture from the shallots.

We then added the shallots to the wok and the temperature of the oil dropped to 105°C. The fire was turned down to low and the shallots were continuously, but gently, stirred with a strainer, submerging it into the oil so it cooked evenly.
You can also use a spatula, chopsticks or other implement to stir your shallots. However, don’t forget to dislodge any stuck shallots during the cooking process.

The shallots remained in the wok for about 1 minute longer. When it was deemed ready, we noted that the temperature had once again risen to 150°C.
The shallots were removed with a strainer, and shaken gently to remove excess oil.

Cooling
The shallots were spread thinly over the kitchen paper towel-lined plates and allowed to thoroughly cool. However, as we were curious, we had to take a bit or two or three, to taste the freshly fried shallots. The shallots continued to brown for a little while longer after it was removed from the oil.
We then continued the experiment with the next batch of shallots.
Discoveries
The three different shallot varieties reacted exactly the same to the temperature of the oil. At 140°C, all three types began to caramelize and were ‘done’ at 150°C. The timing, however, varied, as the water content of the different types of shallots also differed. Timing, then, was not the key factor in making fried shallots. Instead, it’s the water content of the shallot itself. Even then, the same type of shallot can have different levels of moisture depending on the age of the shallots, the season, as well as many other factors. Therefore, the most important thing to keep one’s eye on is the temperature.
We highly recommend using a cooking thermometer. However, if you don’t have one, you can also try paying close attention to the shallots as it cooks. Look out for that colour change, and then keep a close eye and remove the shallots from the wok after about 1 minute from the point browning begins.
Another taste test was conducted after the shallots were cooked and slightly cooled. The results were similar to how the shallots tasted raw. The pearl onions were very delicious and crunchy, but it had also shrunk significantly. The Thai shallots were still sweet and crispy, while the bitterness in the rose shallots was amplified a little bit. The fried rose shallots also had tinges of purple remaining.
So which shallot won at the end of the day? While the pearl onions were delicious, the price and yield just did not make economic daily-eating sense. Thai shallots came in at a close second in terms of yumminess and we recommend them for the best balance in price, taste and crunchiness! Check out the table below for a quick snap-shot of our findings!
Fried shallots: the findings
Rose Shallots
Pearl Onions
Thai Shallots
Colour
Deep purple
White
Pink-brown
Price per 100gm (at time of purchase)
RM0.66
RM11.25
RM1.66
Taste – raw
Slight bitter aftertaste
Tastiest
Sweetest
Taste – cooked
The bitterness is amplified but shallots were still sweet and tasty
Very tasty and crunchy
Excellent balance of crunchiness and sweetness
Yield
A little shrinkage as expected
Significant shrinkage
A little shrinkage as expected
Length of time to cook
11 mins
10 mins
13 mins
Butterkicap recommends
Rose shallots only if you’re on an extremely tight budget
Pearl onions for a gourmet experience
Thai shallots for value, crunch and tastiness
Quick sure-fire guide to making perfect fried shallots
So, wait, how does one make perfect fried shallots again? Here’s a sure-fire guide to getting your bawang goreng right.
Ingredients
- 200g Thai shallots, unblemished
- 800ml cooking oil
- ½ tsp fine sea salt
Special equipment
- Cooking thermometer
Method
- Peel and remove roots from shallots.
- With a sharp knife, slice thinly from root to tip, about 0.5mm to 1mm each slice. A short paring knife works best.
- Heat oil in wok on high heat.
- Just before the oil reaches 150°C, add salt to sliced shallots and stir to mix through.
- As soon as the oil reaches 150°C, add salted shallots into the wok. Turn down the heat to low. You should fry the shallots immediately after it has been salted, so don’t salt your shallots too early.
- Keep stirring shallots gently with a strainer, spatula or chopsticks, slow frying it over low heat. This helps to submerge the shallots and allows it to cook evenly.
- The temperature of the oil will continue to rise as the shallots cook and water content evaporates from the shallots. At 140°C, the shallots will begin to brown and caramelize.
- Continue cooking for about 1 minute more, until the shallots are a few shades short of perfect, or until the temperature reaches 150°C.
- Immediately remove shallots from the wok with a strainer. Toss it a few times to remove excess oil.
- Spread fried shallots thinly over a flat plate lined with kitchen towels. You’ll want to spread the onions out as thinly as possible, so make sure your plate is large enough.
- Let cool and dry completely before serving or storing in an air tight container.
Extra tips
- 200g of shallots probably won’t last you very long, especially if you like your bawang goreng on every single thing. So, feel free to double, triple or even quadruple up this recipe! You do not need to increase the amount of oil used. However, you will continue to need ½ teaspoon sea salt for every 200g of shallots. Whether you’re making 400g or 2kgs of fried shallots, we recommend frying them in smaller 200g batches, and adding the salt as per the instructions above. Only and only when you’re more proficient at making bawang goreng can you increase the batch amount. We strongly recommend keeping it small though for even and consistent results.
- If you’re making a lot of fried shallots, we recommend frying them in a well ventilated area as the smell can get stuck onto your clothes and hair! The Bait Badawi crew recommends wearing older clothes as well as a shower cap to keep your hair protected.
- If you’re preparing several batches of fried shallots, don’t forget to prepare several flat plates lined with kitchen towels. You do not want to spread a new batch of fried shallots over one that has been cooked earlier as the oil will soak into the older batch instead of the paper towels, resulting in oily, soggy fried shallots.
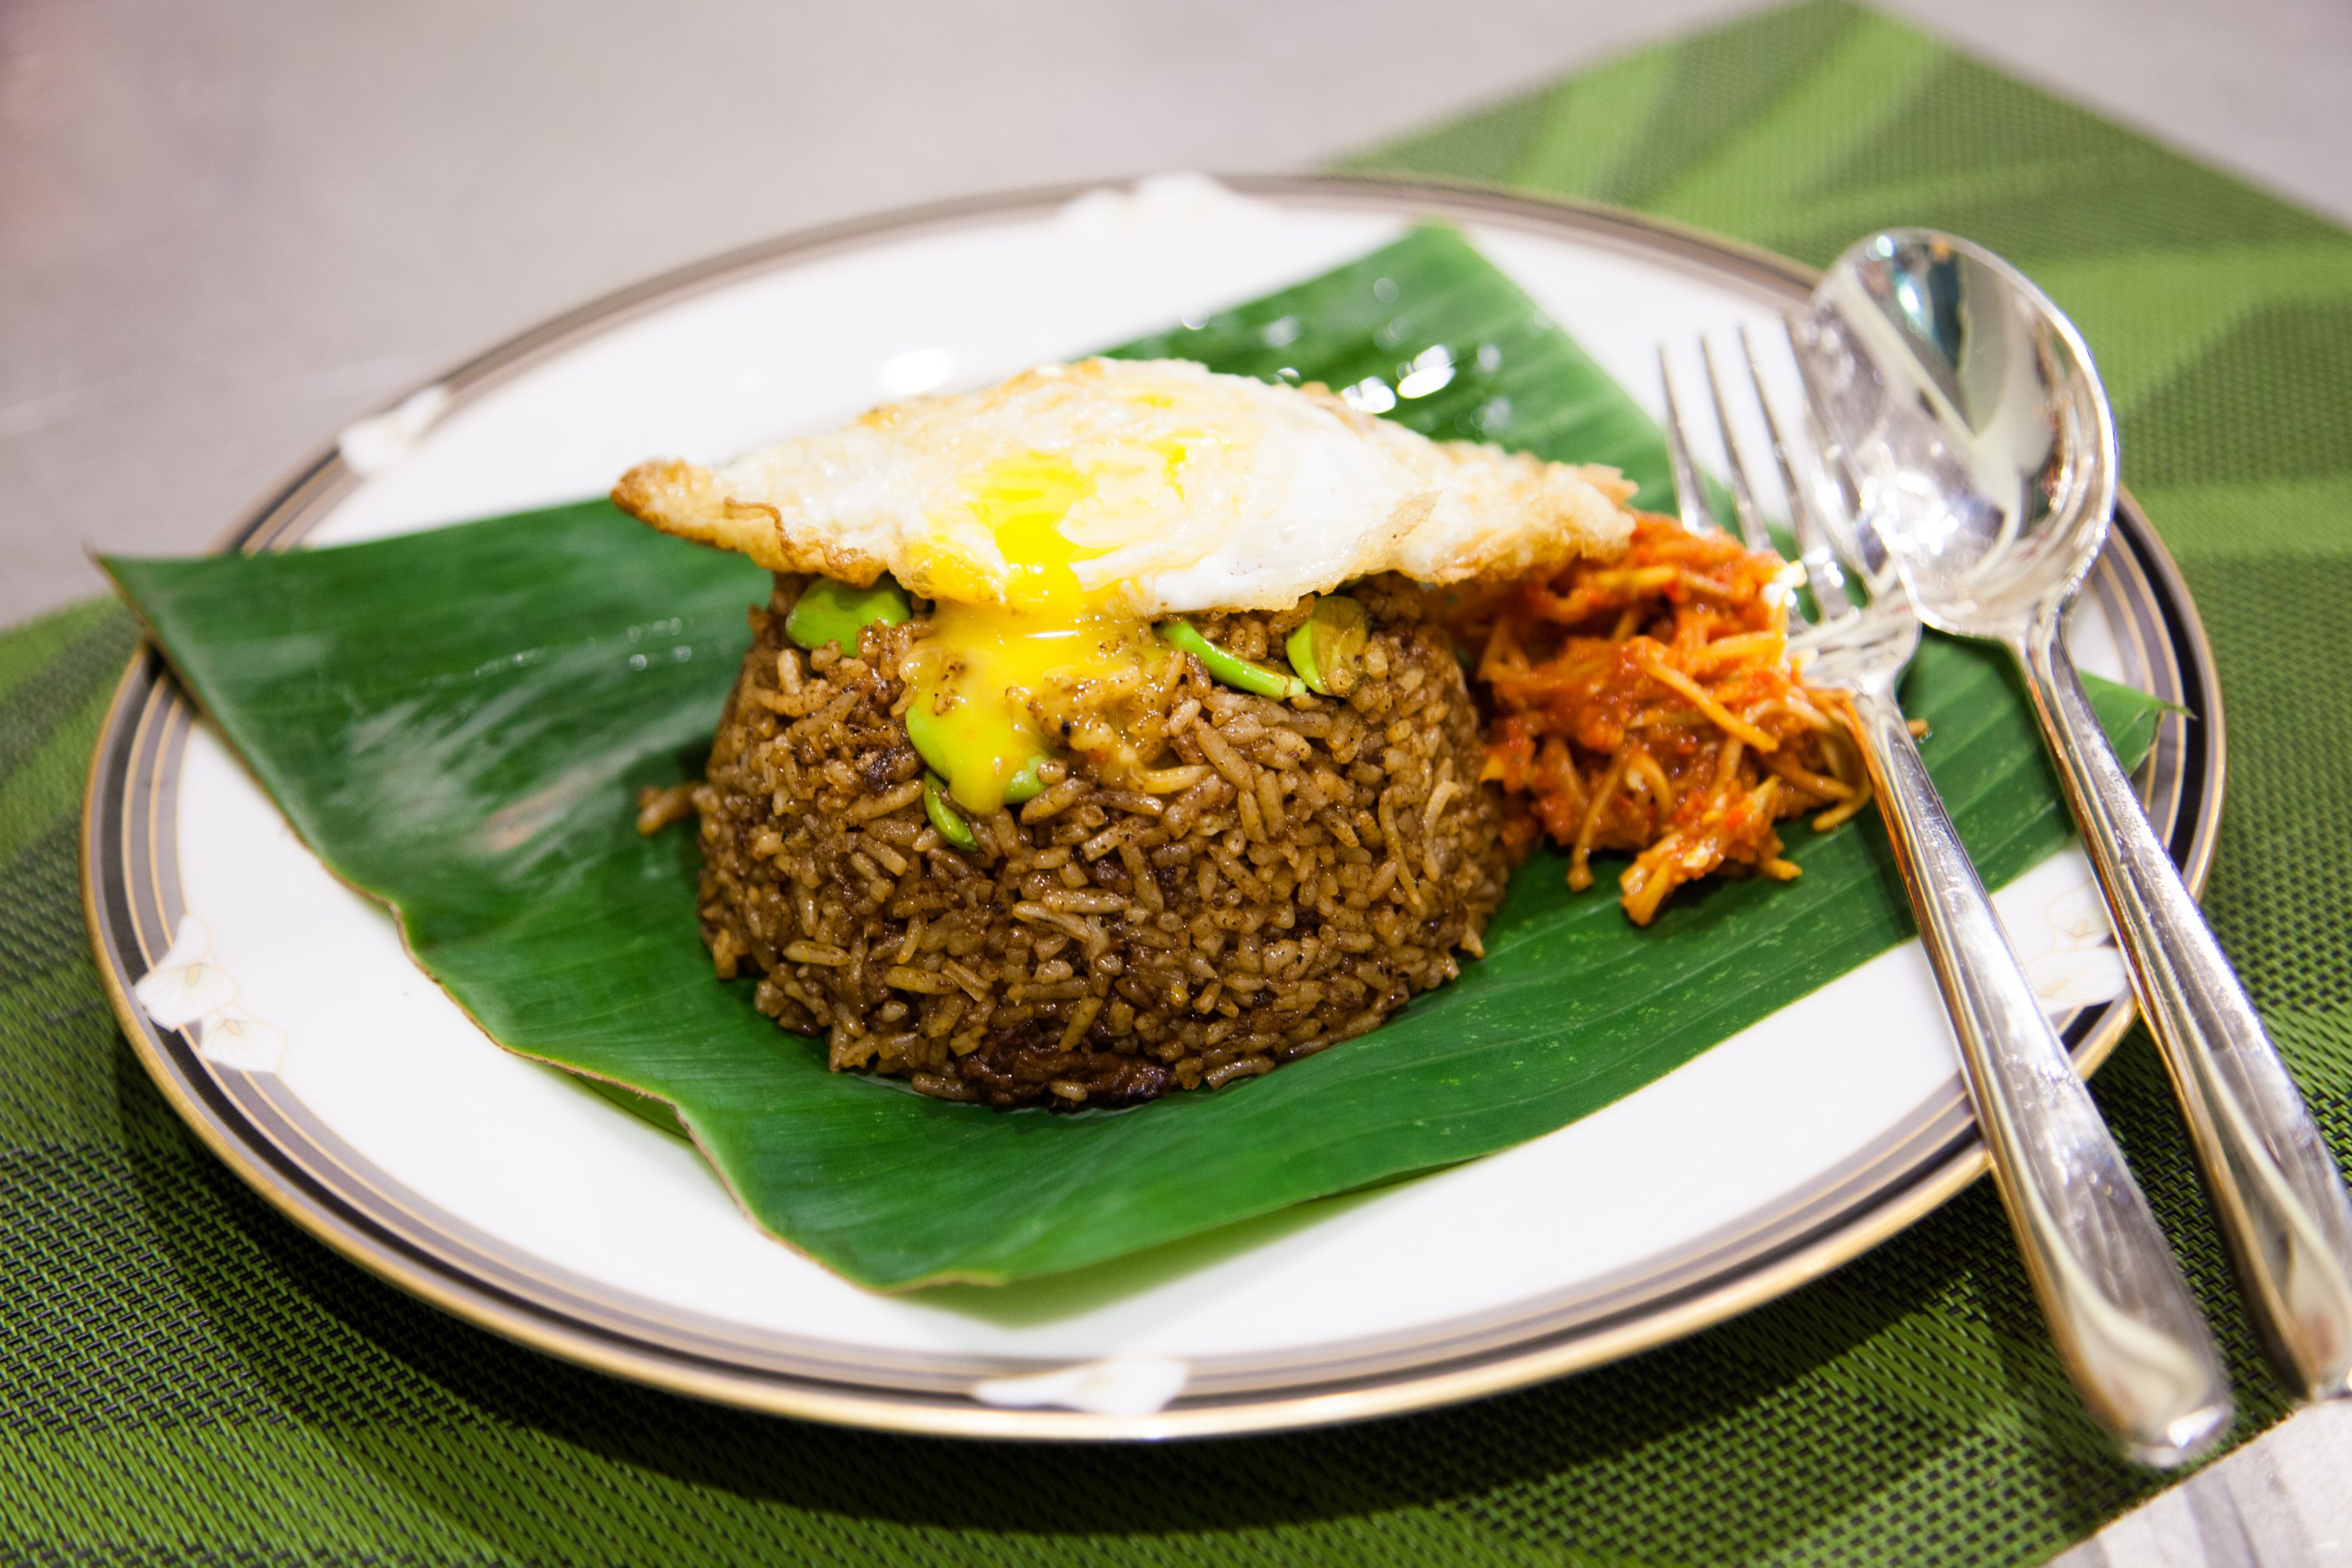
These fried shallots are so good we couldn’t help taking fistfuls and popping them straight into our mouths, just like that. Crisp, sweet and caramelized, they’re perfect with just about any dish you can think of, be it a simple plate of fried rice, a more complex rendang, or even some spaghetti bolognese. Don’t forget to show us your pictures by hashtagging us with #butterkicap.