Kuih bangkit is one of Malaysia’s beloved cookies during our festive seasons and it’s one that has crossed cultural boundaries especially within the Nyonya and Malay communities. Typically made from tapioca flour, these tapioca cookies are believed to have originated from China, baked into shapes resembling money as a form of altar offering to the ancestors. This eventually evolved into tapioca cookies made to resemble other forms such as birds, flowers, fruits and other incredibly detailed shapes.
In Malaysia, Nyonya style kuih bangkit are typically shaped in intricately designed molds, while the Malay community simplifies the shaping of these tapioca cookies by using cookie cutters. The recipes are very similar, and as with many Malaysian recipes, variations exist from culture to culture, community to community, and even family to family. In fact, our first attempt to prepare these cookies turned out to be quite a disaster even though instructions were followed carefully. The recipe ratio we were provided with was perhaps too traditional, with measurements for a cawan not quite equalling that of a standard measuring cup. So we went back to the drawing board and with some assistance from our instagram community (with special thanks to @debbie_teoh and @sitikader), we successfully put together legit kuih bangkit our second time around.
Some recipes for tapioca cookies call for a combination of flour, but we decided to stick to a simple and basic recipe. It was a good call as simplifying the ingredients and techniques yielded fragrant and crumbly melt-in-your-mouth tapioca cookies with just the right amount of sweetness. However, while there were some steps we could simplify, others, we discovered, needs to stick to tradition to get this cookie just right.
Lessons in the kitchen
Despite its simple list of ingredients, and, in all honesty, not particularly complicating technique, there a few things you really shouldn’t attempt to skimp on when making kuih bangkit.
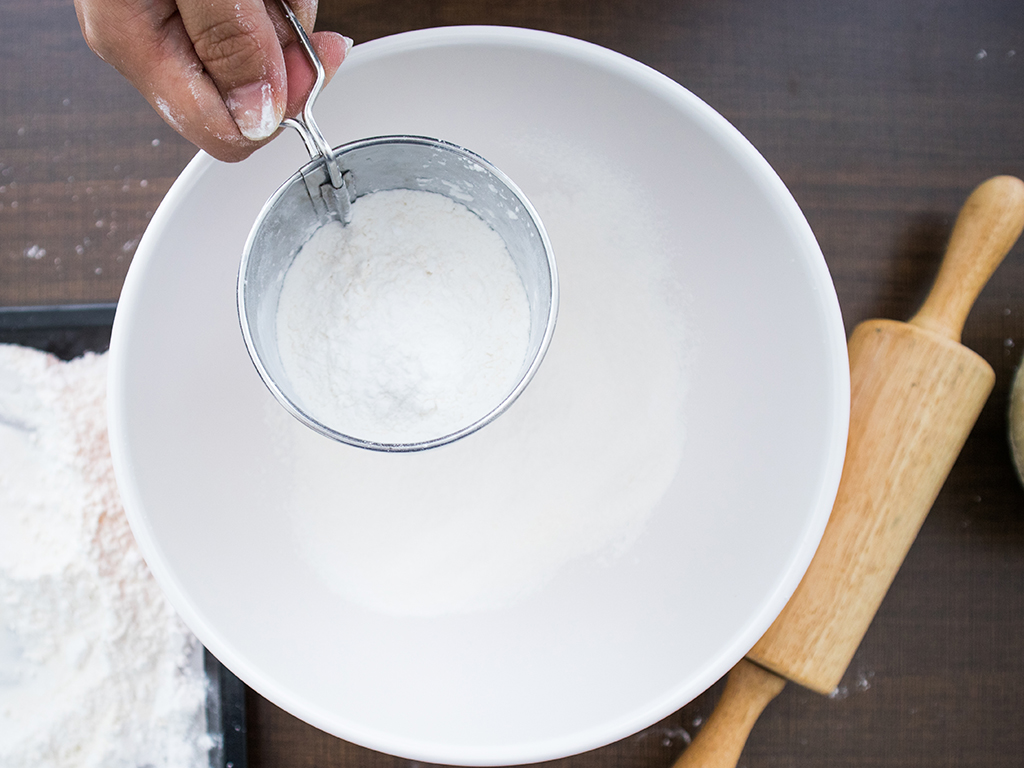
Traditionally, flour was toasted in a wok over low heat until it becomes dry, fluffy and airy. However, tapioca flour is incredibly light and tends to fly everywhere, resulting in a fine mess that is not all that fun to clean up. It also needs to be stirred constantly, to avoid any part from getting burnt. We discovered a much easier trick – baking the flour instead. It’s significantly less messy and allows you to control the heat and temperature. It’s also one of the ingredients you can prepare in advance, as it’s important to let it cool thoroughly at room temperature before using it to make kuih bangkit.
Tapioca (or any) flour will also lose some weight after it is toasted, as the water content evaporates from the heat. This results in an even lighter flour, which will make your cookies and cakes extra ‘fluffy’. With this in mind, if a recipe calls for 200g of toasted tapioca flour, always start with more, as you could lose about 5-8% of flour weight after toasting.
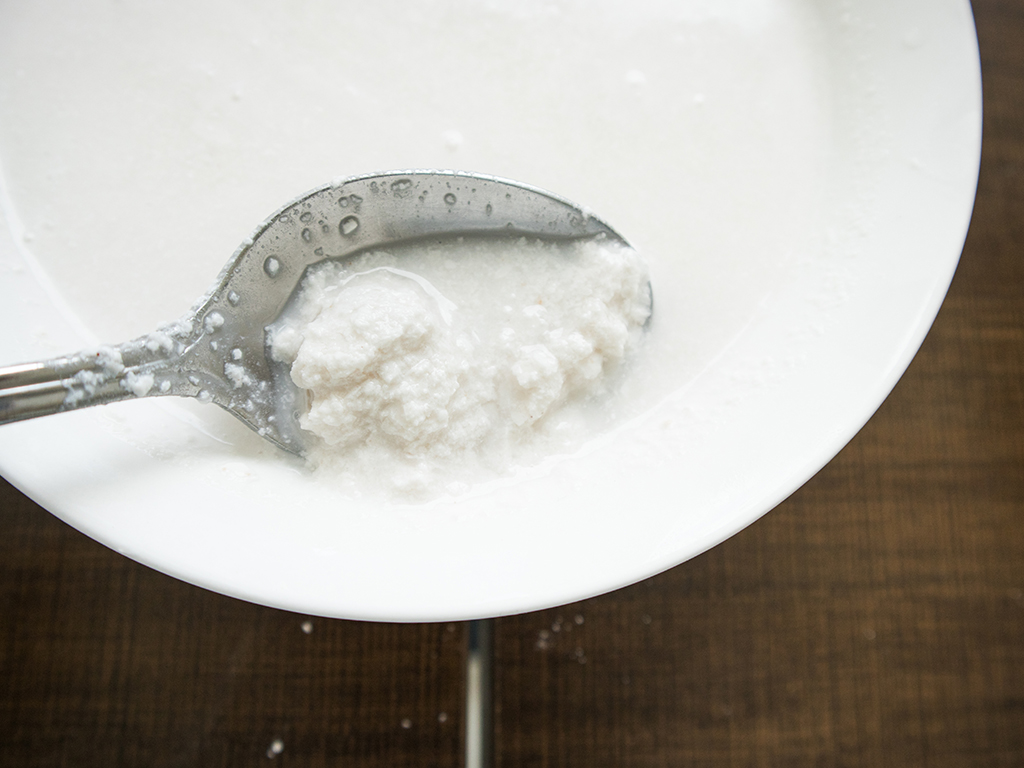
Another important key to making kuih bangkit is coconut cream. By this we don’t just mean fresh first-pressed thick coconut milk. Instead, you want the thick layer of cream that forms after letting first-pressed coconut milk sit for a couple of hours. The amount of cream a bag of first-pressed coconut milk yields will vary, so err on the safe side and get a little bit more than you think you will need.
Got that? Let’s make some kuih bangkit!
Ingredients
- 200g tapioca flour, toasted + extra for flouring
- 80g castor sugar
- 115ml coconut cream
- 2 egg yolks
- ½ tsp baking powder
- 3 pandan leaves
Early preparation: toasting tapioca flour
- Heat oven to 100°C.
- Cut pandan leaves into 7-8cm lengths.
- Combine pandan leaves with tapioca flour. We recommend starting with 300g to 400g of untoasted tapioca flour.
- On a baking sheet lined with baking paper, spread tapioca flour and pandan evenly, using a fork or spoon to even it out.
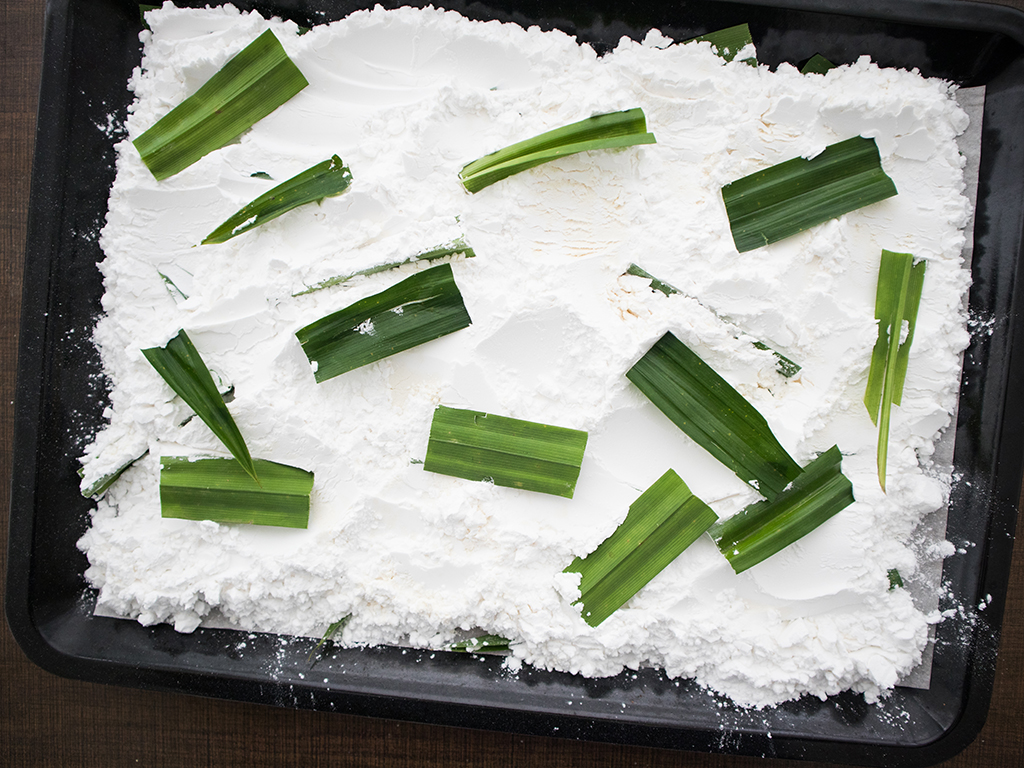
- Bake flour in the oven for 1 hour.
- Once the hour is up, remove baking tray from the oven. Remove pandan leaves. Don’t worry if there are small bits leftover as they’ll be removed in the next step.
- Sift tapioca flour and let it cool completely. Timing will vary according to your room temperature. We recommend preparing the flour at least a day in advance. You can even prepare it a week or two ahead of schedule, just be sure to keep the flour in an air tight container and store it in a cool and dry place.
Coconut cream
- Pour first-pressed fresh coconut milk into a transparent bowl and let it sit covered in the fridge for about 2 hours.
- Once the liquid has separated, you’ll notice a thick layer of coconut cream on the top, and a layer of watery coconut milk underneath. Using a spoon, scoop out the cream. You’ll want about 115ml of coconut cream. A little extra is fine as you may need to add some to your dough if it is too dry. Reserve any extras in a separate container.
- Do not used boxed coconut milk as they are often pasteurized and will not separate. Canned coconut cream or coconut milk can work in a pinch. Don’t shake the can. Instead, let it sit unopened for an hour or two before opening the can and scooping out the cream from the top.
Making the dough
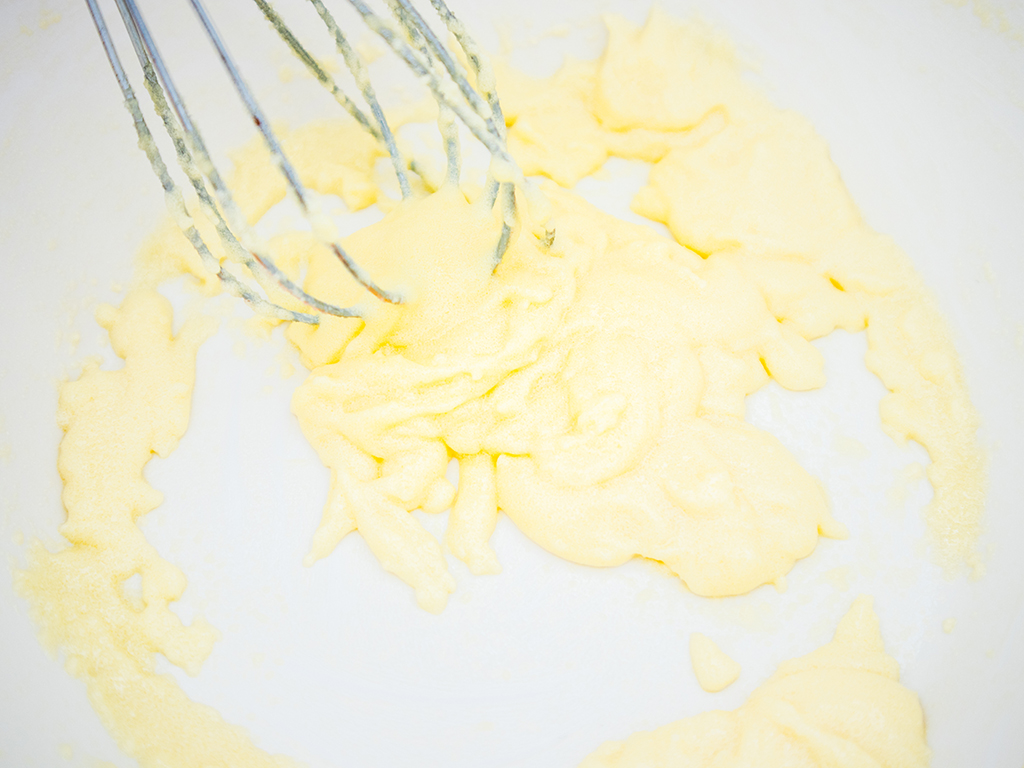
- In a mixing bowl, beat sugar and yolk until pale yellow and fluffy. You can use a hand mixer to speed up the process.
- Add to baking powder to 200gm toasted tapioca flour and mix it through. If your tapioca flour was prepared more than a day earlier, run it through a sift one more time to loosen up the flour.
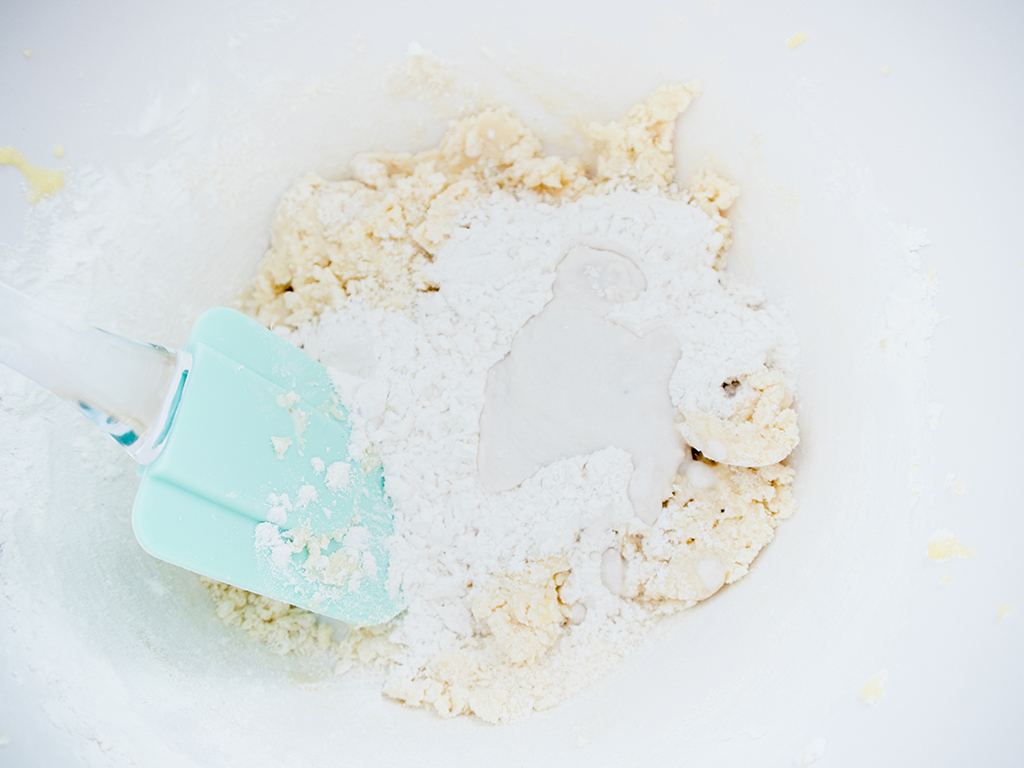
- Add one third of the tapioca flour and one third of the coconut cream to the sugar and yolk mixture. Stir with a spatula or handheld whisk to combine.
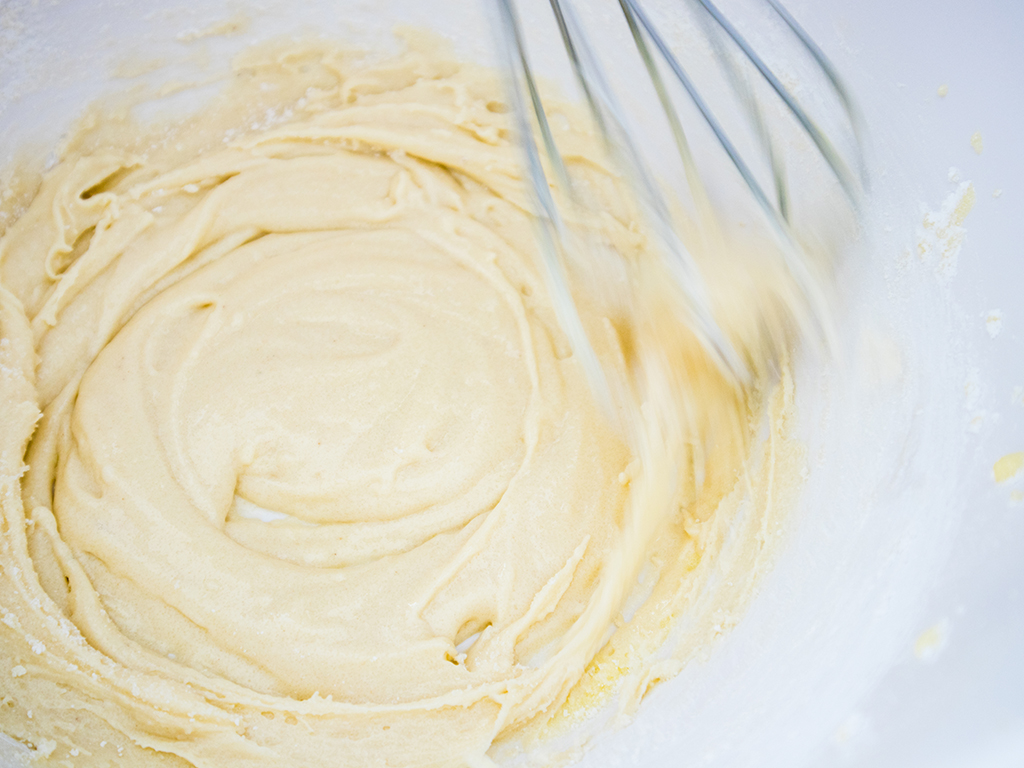
- Add the next third of tapioca flour and coconut cream and stir to combine. Add the final third and stir until more or less combined.
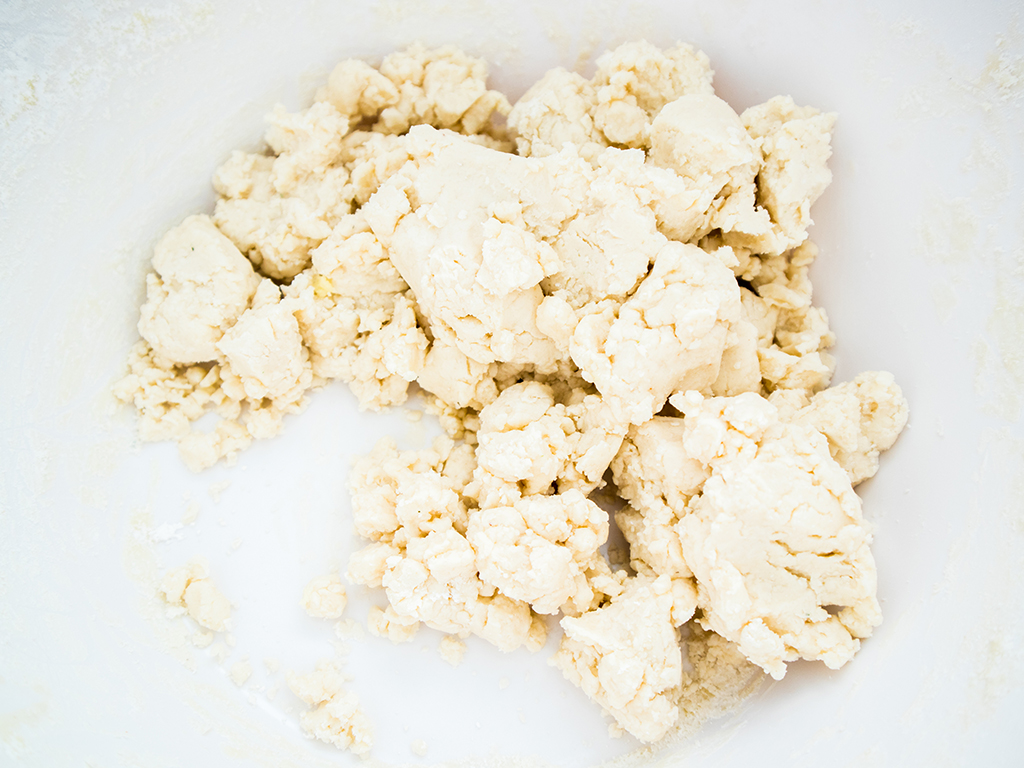
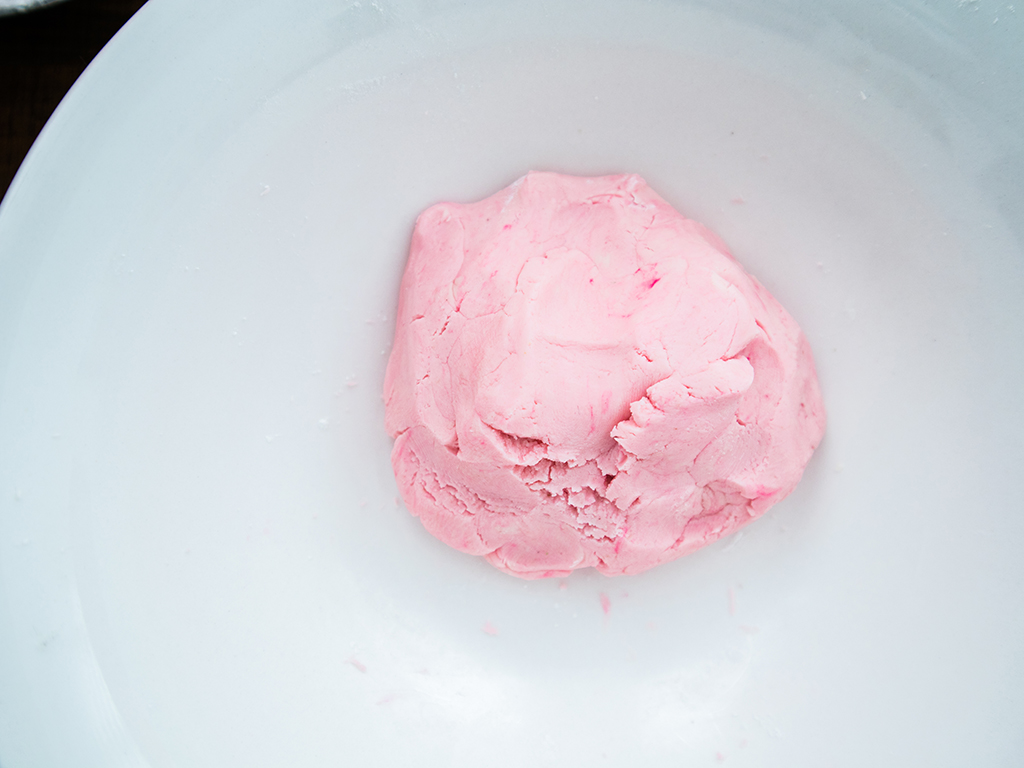
- Use your fingers to knead the dough together.
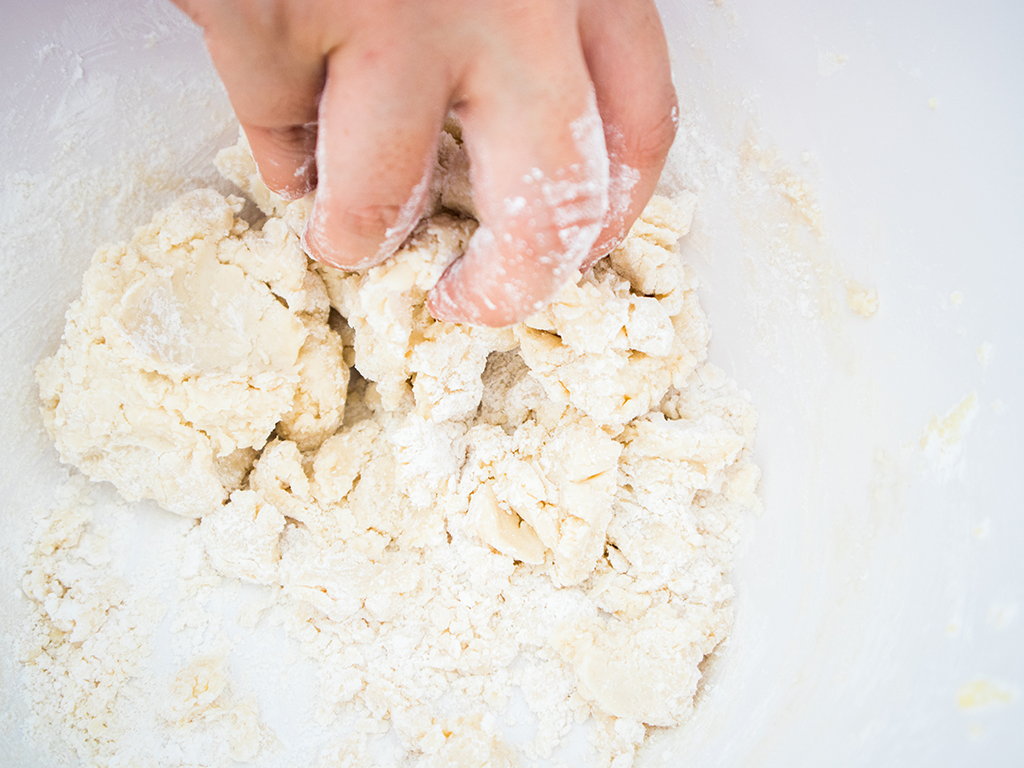
- The dough should be soft, smooth and not sticky. If your dough feels too dry, add coconut cream 1 tablespoon at a time. We experienced the opposite – our dough was too wet, in which case, add 1 tablespoon of toasted tapioca flour to your dough one at a time. We ended up using an extra 4 tablespoons of tapioca flour, but this figure may vary depending on the condition of your tapioca flour. The dough for tapioca cookies tend to be a little on the crumbly side.
Baking tapioca cookies aka kuih bangkit
- Heat oven to 170°C.
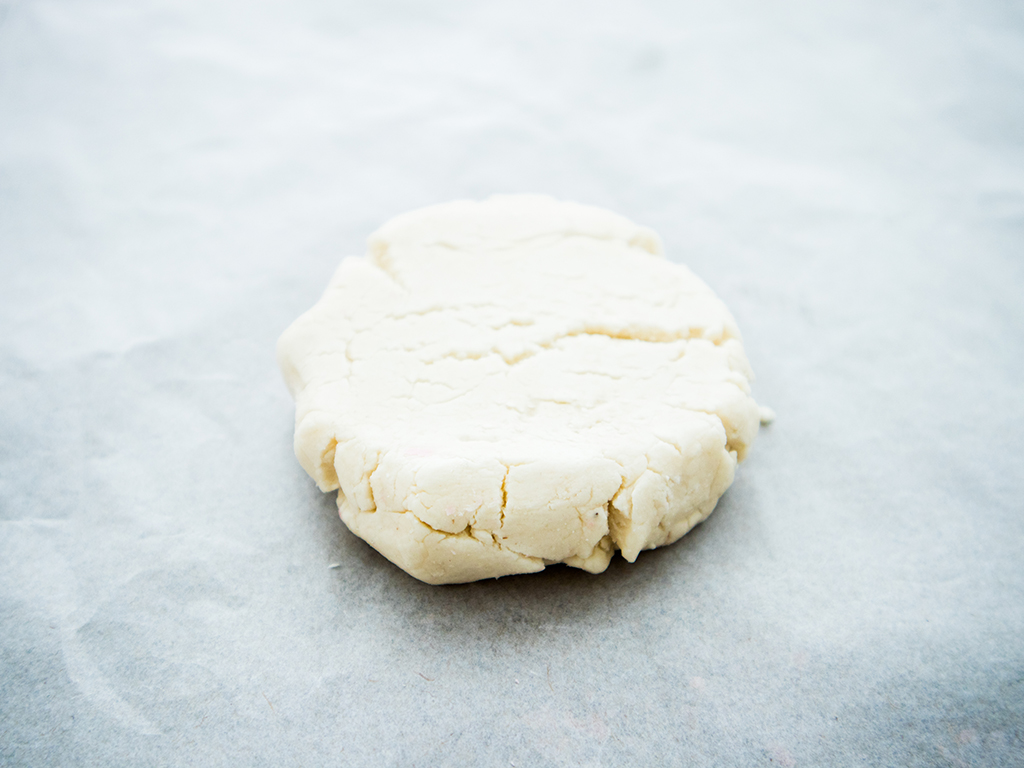
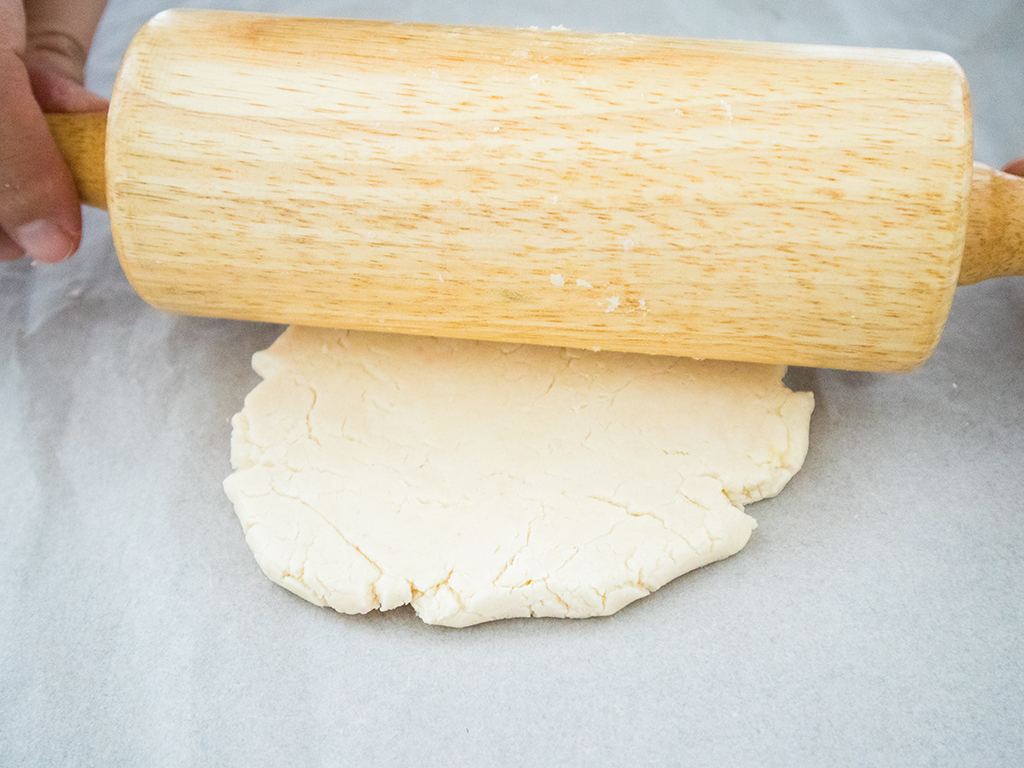
- Dust your surface with toasted tapioca flour and press the dough down. Using a rolling pin, roll the dough until it is about 7mm thick. It is important to keep the dough compressed.
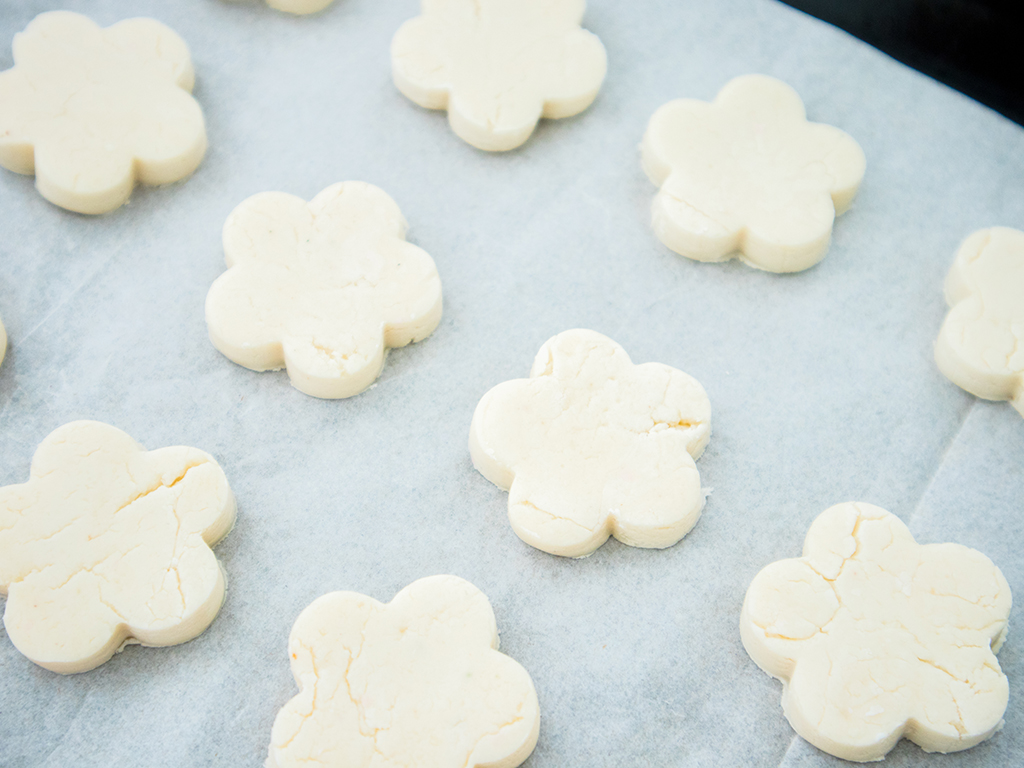
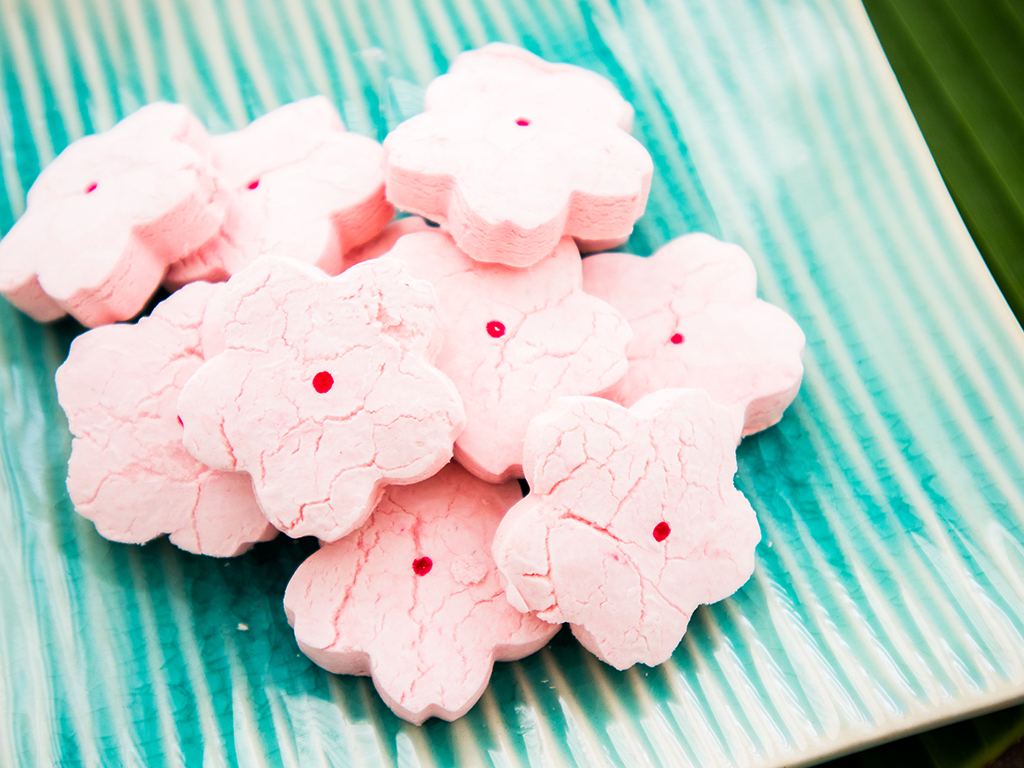
- Flour or dip your cookie cutter in water so it doesn’t get too sticky. Floral shapes are the favourite choice for tapioca cookies, but feel free to explore other shapes! We recommend 1” cookie cutters.
- Use the cookie cutter to cut out shapes until the dough is finished or your baking tray is full.
- Bake for 20 to 25 minutes, depending on the size of your cookie.
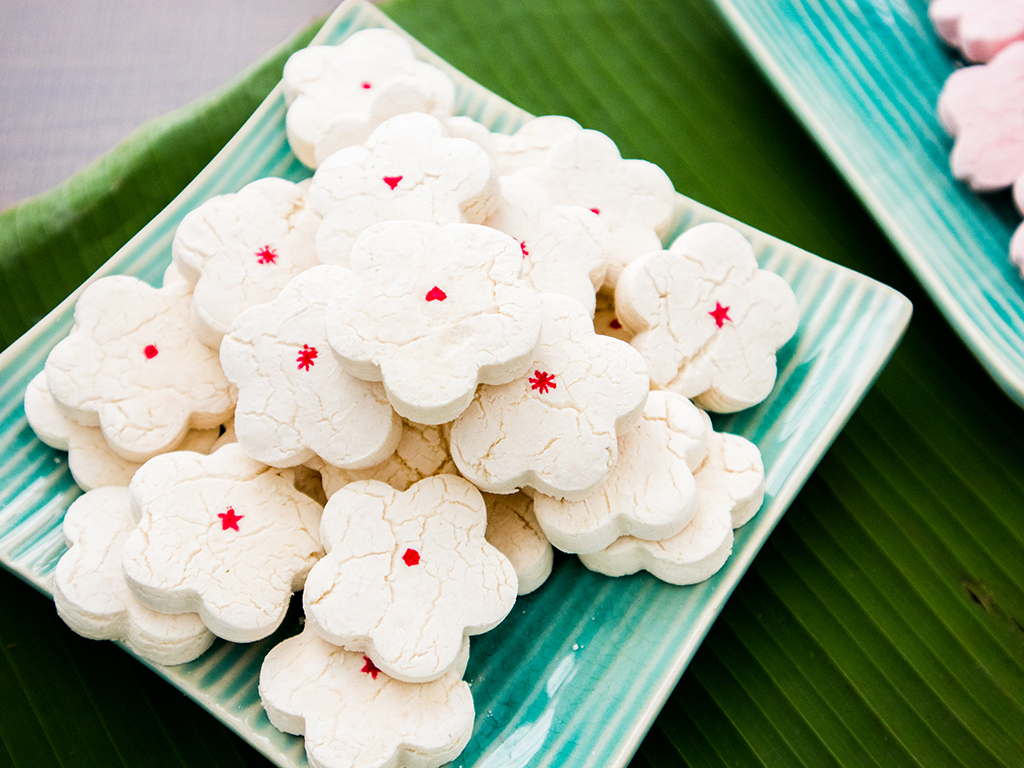
- Once your cookies are done, add the finishing touch with a dot of red food colouring. This step is completely optional and doesn’t affect the flavour of these tapioca cookies whatsoever, but a naked kuih bangkit just doesn’t look right!
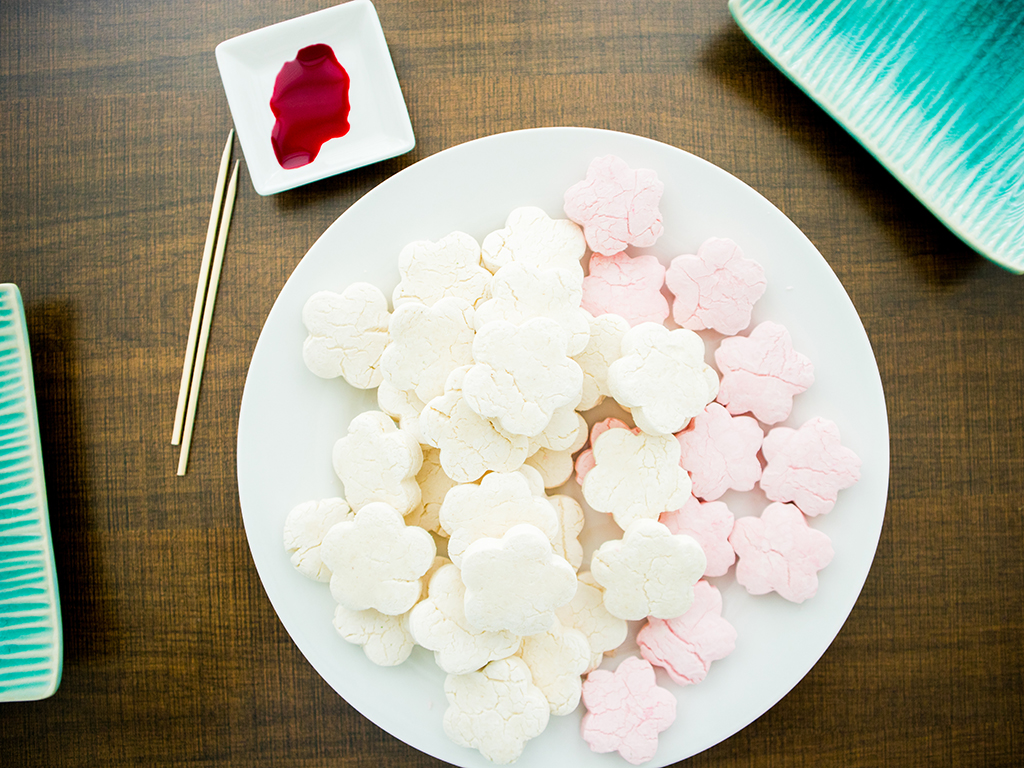
A colourful twist
- Kuih bangkit us always a little off-white in colour, but make it fun to make (and eat) with your kids with a little food colouring. You can separate the dough into as many portions as you like, and add a few drops of colouring to each portion.
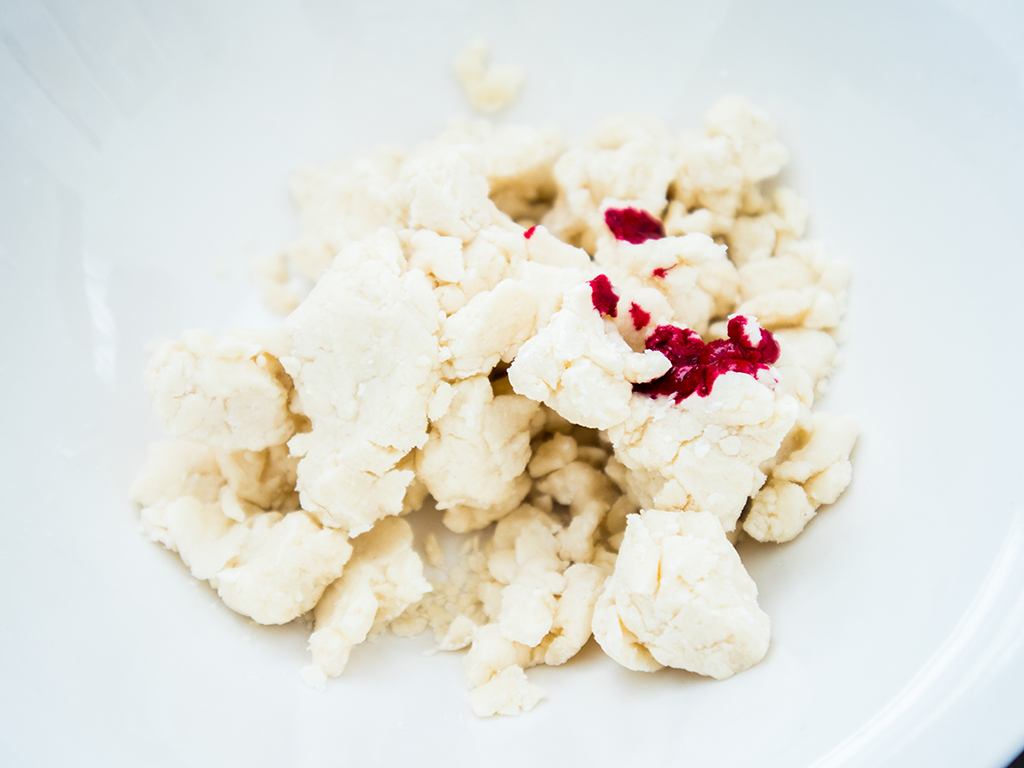
- Stir the colouring through the dough until the tone is even, and then bake as usual!
Are you ready to take on the kuih bangkit challenge? It can be a deceptively simple cookie to make so follow our instructions to get your tapioca cookies done right. One of the best things about kuih bangkit is that it is also naturally gluten free, making it the perfect treat for someone who is on a gluten-free diet. Enjoy the recipe above and tag us with #butterkicap to show us how your tapioca cookies turned out!