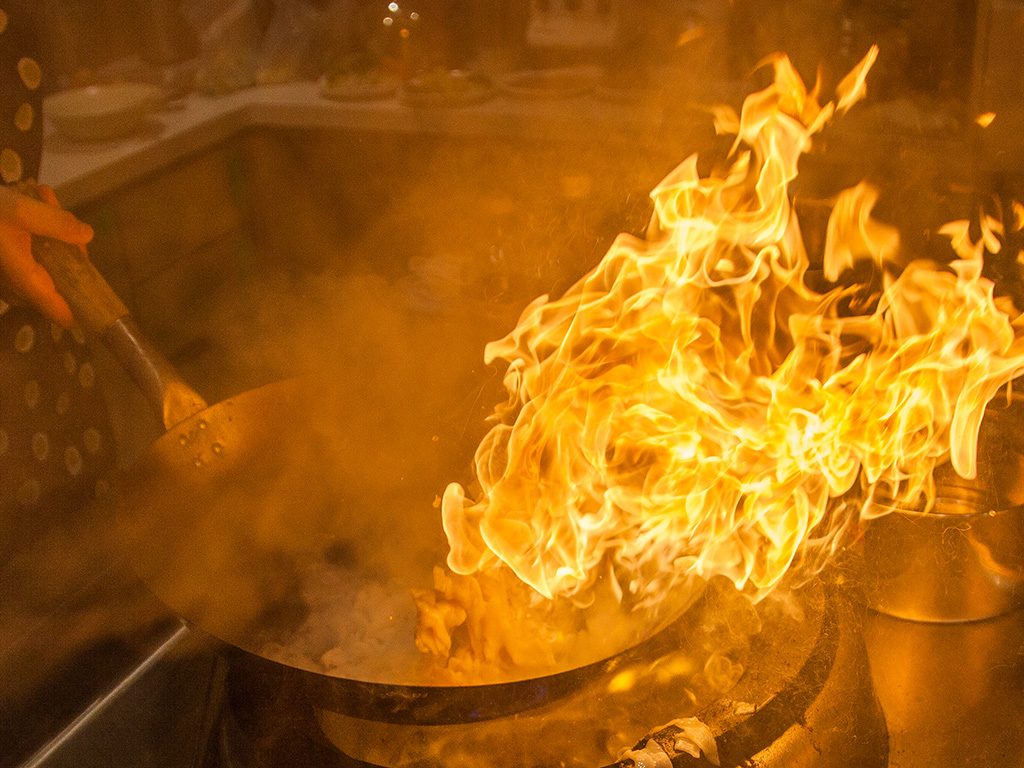
Take a peek into any kitchen in Malaysia and chances are you’ll find at least one wok amidst a collection of various pots and pans. Even home owners who rarely cook want one in their kitchen, just for a little street cred. Those ones are often pristine, with a fresh-out-of-the-box appearance. Sure, they may get used occasionally for a basic stir-fry, then scrubbed to bits until it’s all shiny and gleaming again.
And then you walk into your aunty’s kitchen – a stained and battered wok, blackened from years and possibly decades of use, taking centre stage right there on the stove top, even when nothing’s cooking. The handle is a little wobbly, threatening to come lose at the next cookout. You wonder why she doesn’t just get a new one. But she insists this one makes the best nasi goreng kampung. Plus, it’s been seasoned.
Wait, what? Seasoned?
That’s right. If you’re uninitiated about all things wok related, ‘seasoned’ doesn’t mean a bit of salt or pepper has been sprinkled over it to taste. That blackened wok your aunt has? It’s one that’s been seasoned over and over again with every single use. And if you don’t know you should season it in the first place, well, then, you better read on.
Let’s start with the basics – choosing your wok
A wok generally refers to a deep pan with sloped sides. It comes in handy for various cooking methods including steaming, deep frying, stir frying, boiling and more, making it a very versatile piece of equipment for just about any kind of cuisine you have in mind. The sloped edges are great for tossing ingredients, whether using a spatula or tossing them into the air.
Woks are available in a variety of prices, sizes, materials, handles and bottoms, so choosing one from a large selection of options can be confusing for those who don’t know much about this particular kitchen equipment. As a beginner cook, you may be tempted to go the easy route and a choose a non-stick aluminium one with a flat bottom – don’t, unless you’re a non-culinary student moving into a shared on-campus flat.
Here’s what you should be looking for instead:
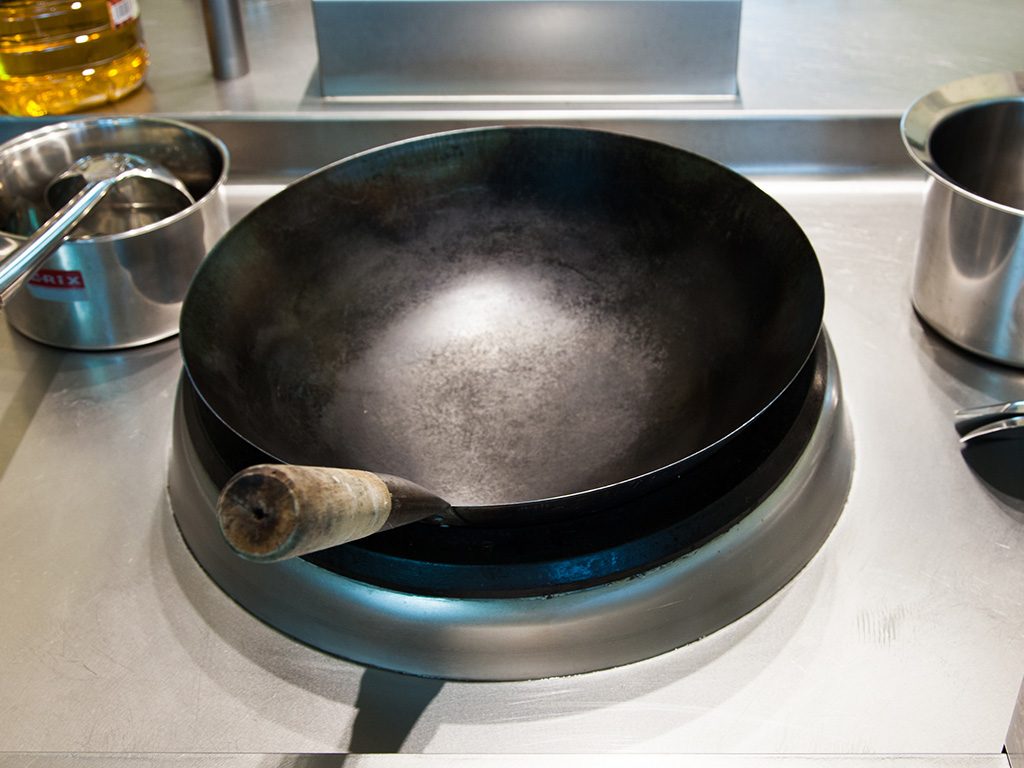
- A wok made of carbon steel with at least 2mm thickness – you do not want the sides to bend when you press it.
- Slight grooves or texture on the inner part. This helps food ‘stick’ to the walls when you want to push it aside.
- One long handle, occasionally accompanied with a shorter handle on the opposite side. This is particularly useful for tossing food.
- A rounded bottom.
- Size-wise – make sure it fits your stove top comfortably. A 12” to 14” diameter (at its widest point), is ideal for home use.
Note:
- Not all stove tops, especially electric ranges, are round bottomed wok friendly. You can either purchase an insert or ring so it sits comfortably on the stove, or, as a last alternative, get one with a flat bottom. You’ll want one with a narrow flat bottom so it can sit on your stove top comfortably without toppling over when you cook.
- If you have a high-pressure stove, you probably know all about woks and don’t really need to read this article. But if you have a high-pressure stove and zero clues about them, please get a larger round bottomed wok instead as you don’t want it to fall in!

I’ve bought one! What next?
Let’s start by cleaning your wok from the oil or grease it comes pre-coated with to prevent it from rusting while in storage. You’ll want to get rid of that coating of oil before you start using it.
Things you’ll need
- Your new wok
- Water
- Dishwashing liquid
- Steel wool
- Salt
- Vegetable cooking oil
- Tongs
- Paper towels
- Dry cloth
Let’s clean
- First, you’ll need ventilation. It’s going to get smoky, so make sure your area is well ventilated.
- Turn your stove on to high heat and place your wok directly on the heat. If you have a high-pressure stove, this process is significantly faster, if you don’t, patience is required.
- Burn off the oil coating. You will notice the wok start to discolour as the coating burns off, ranging from yellow to brown, silver or blue or black, depending on your wok. Use the handle to tilt the sides down towards the fire so the coating will burn off there too.
- Turn your wok upside down and sprinkle some salt on the bottom. Shake it off.
- Turn it right side up again and place it on the fire. Being careful of the steam, pour water into the wok, filling it about halfway.
- Squeeze some dishwashing liquid into the water.
- Grip steel wool with a pair of long tongs and scrub it thoroughly. This is the only time you should scrub your wok with steel wool.
- Remove the water and rinse quickly once or twice with clean water, throwing the water away after each rinse.
- Wipe with paper towels or a dry cloth. Use tongs if the heat is too hot.
- Let it sit on the fire for a minute until it is thoroughly dry. Tilt the sides down towards the fire to reach all sides.
Seasoning time
- Once your wok is thoroughly dry, add cooking oil. You can either add 3 to 4 cups of cooking oil and use a large ladle to pour the hot oil down the walls of the wok, or pour about ½ to 1 cup of cooking oil and use paper towels held by tongs to wipe the oil, thoroughly covering the surface.
- Remove excess oil.
- Using a dry cloth or paper towels, wipe the wok again, and then use the same cloth to wipe the underside.
- Your wok is ready to be used!

Important things to remember
- Try to avoid scrubbing your wok once it has been seasoned. A little soap and soft sponge is all you really need. Dry immediately.
- Don’t forget to season your wok after cleaning. This protects it from rust. Just pour a little vegetable oil on a paper towel and rub both sides before storing.
- The more you use your wok, the more it’ll start to darken. This will also eventually make it completely non-stick. Now you know why your aunt refuses to throw out her blackened and bruised wok!
- You don’t need to wash the wok before reusing it unless it’s been awhile and some dust has accumulated. Even then, a rinse will suffice. All you need to do to start reusing your wok is to heat and season it by wiping a thin layer of oil around it with a paper towel. You will know your it’s hot enough and ready to be used when the layer of oil has dried up and the wok seems to glow.

So, now that your wok is all set, how about trying these recipes?
And don’t forget to tag your pictures with #butterkicap!
