In North America, turkey is a popular dish served during Thanksgiving. In Malaysia, this extra large bird tends to make its appearance during the Christmas season. But turkey is not just for Christmas anymore, as this high-in-protein-but-low-in-fat meat is great for lowering cholesterol levels. It is also a source of iron, potassium, vitamin b6, amino acid tryptophan and selenium, making it a healthy meat to include in your daily diet, as long as you’re talking about actual turkey and not the processed version that is.
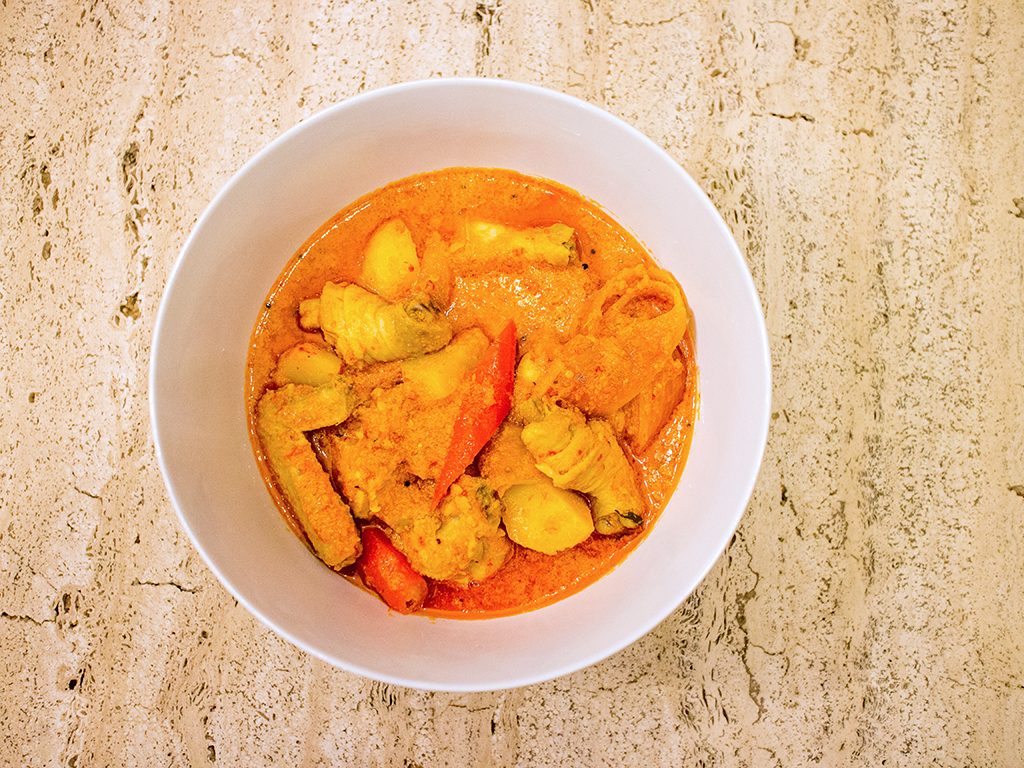
This large bird also has a special relationship with one of our heritage Kristang dishes – devil curry. Traditionally, devil curry was made using leftover turkey the day after Christmas – sort of like a Boxing Day treat. Nowadays though, devil curry is part of the Christmas spread, and so uses chicken instead. Plus, the bigger your family gets, the less turkey at the end of the day.
Refrigerated, cooked turkey lasts about 4 days. Frozen, its shelf life extends to 2 to 3 months. If you’re worried about the seasonality of turkey, many local supermarkets now stock frozen turkey all year round. And whether you plan to have it for a special gathering or just roast one up for your own meal prep, we’re here to show you that tackling this big bird is not as complex as it sounds.
Let’s get started on our Basic Guide to Preparing Your Turkey from Freezer to Table.
Quick reference guide

Ingredients
- 4.2kg whole turkey
- Kosher or fine salt (for dry brine)
- 150g butter (for the butter trick)
For roasting
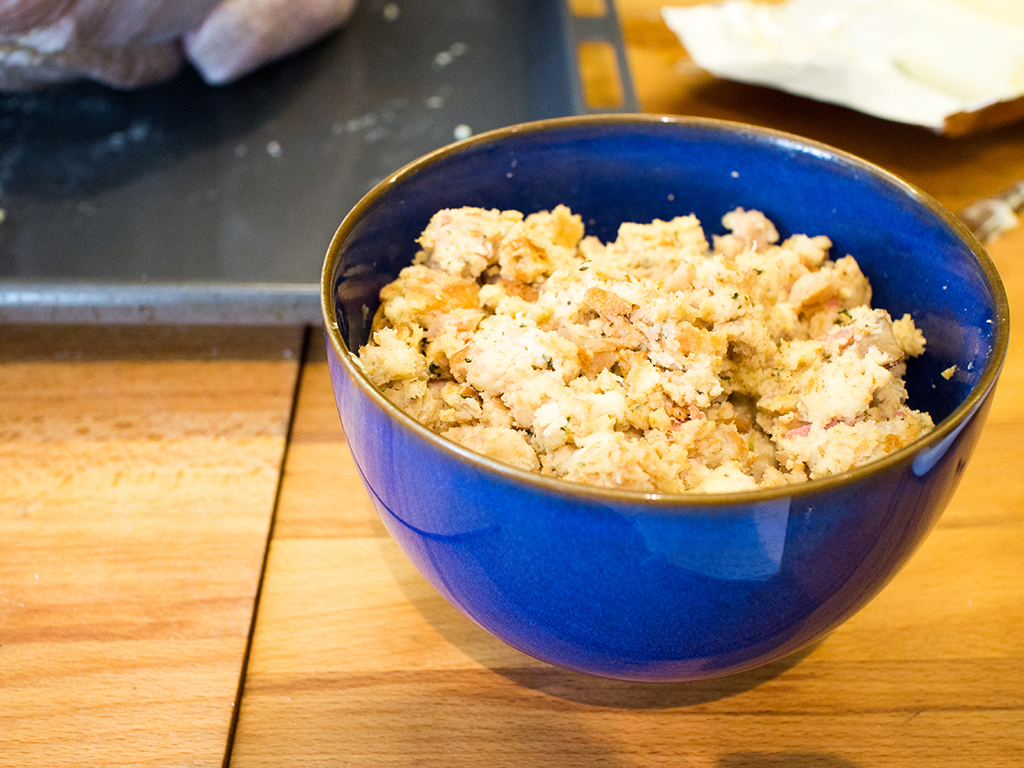
- 550g stuffing (store bought, we used a mushroom, cranberry and bread stuffing)
- 5g garlic powder
- 3g onion powder
- 10g fine salt
Defrosting
While fresh is always great, chances are your supermarket will only have frozen whole turkey in stock. Fret not, as long as you’re not planning to eat that bird within the next 50 odd hours, you’re good to bring it home.
Method
- Important – leave your turkey in its original wrapper.
- Place it breast side up in a large container to catch any leaks.
- Make sure your fridge is on its coolest setting.
- Defrost in your refrigerator at least 24 hours before preparation. The timing, however, depends highly on the size of your turkey. The general rule is 24 hours for every 2kgs. Most turkeys, even the smallest ones, clock in at about 4kgs, so you’ll need 48 hours minimum.
- Don’t worry if you go over the hours required. You can keep a fully defrosted turkey in your fridge for a maximum of 2 days.
The best way to defrost your turkey is via the refrigerator method above. However, if you are in a tight spot, you can speed up the process by using cold water:
- Ensure your turkey wrapping has no holes and is completely waterproof.
- Make sure your container is large enough to contain the entire bird, otherwise, use your (clean) sink.
- Submerged entire turkey in cold tap water. Do not use warm, room temperature or hot water.
- You will need 1 hour of soaking for every 1kg, so a 4kg bird will require 4 hours.
- Replace water every 30 minutes.
- Turkey defrosted using this method must be cooked straightaway. Do not store in the fridge or refreeze to extend its shelf life.
Important tip
Never thaw your turkey on the countertop or in warm or hot water as this will breed bacteria.
Preparation
- Once fully defrosted, remove turkey from fridge and open and discard packaging.
- If turkey drumsticks are held together with a piece of plastic, remove it. Also remove any other bits of plastic that seems to be holding the turkey to keep it in shape.
- Some turkeys come with a temperature gauge. If you’ve got a meat thermometer, you can remove this. If you don’t, keep it in as it can help identify when your turkey is cooked. The temperature gauge is supposed to pop out once the turkey is cooked, however, we don’t recommend relying on this alone.

- The turkey’s cavity will most likely be stuffed with its neck and usable innards. Remove this and set aside for the gravy. Keep the bits refrigerated when not in use.
- Rinse turkey thoroughly for a few minutes under cold tap water.
- Drain excess fluids and pat dry with a kitchen cloth or paper towels.
Dry brine
Brining is an important step as it gives you a more flavourful and succulent turkey. Generally, there are two ways to brine your bird, dry or wet. We’re keeping it simple and sharing with you an easy dry brine method.
Ingredients
- Kosher or fine salt
- Defrosted & rinsed turkey
Method
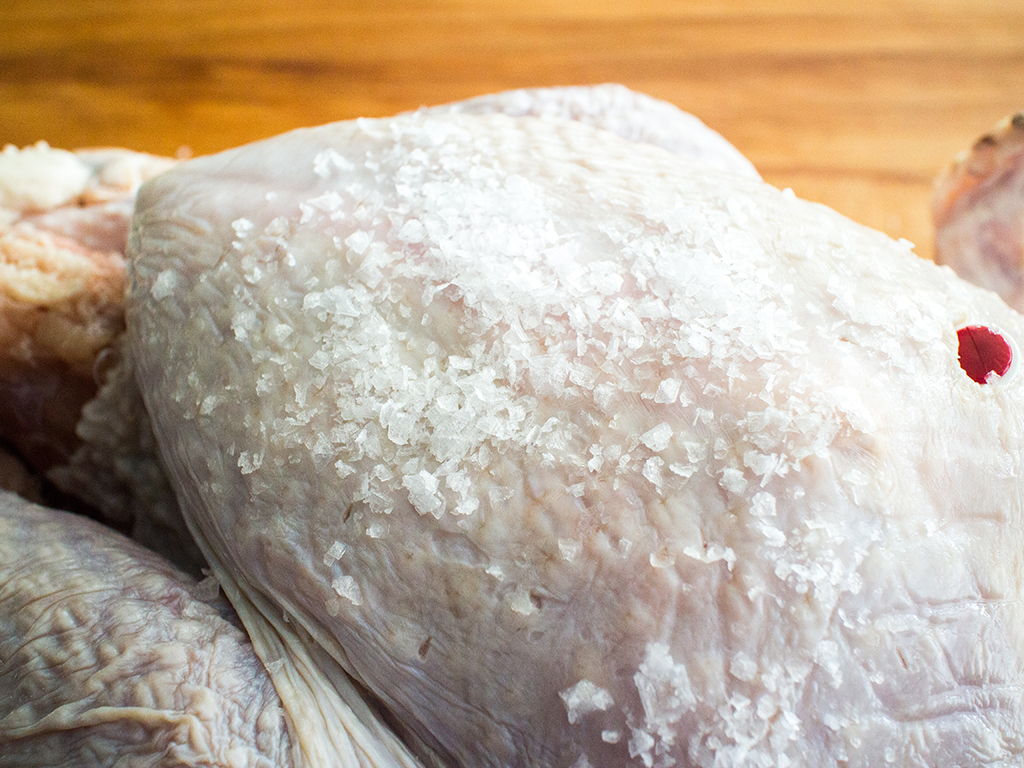
- Once turkey has been pat dry, pour a generous amount of kosher or fine salt all over its skin. Put extra salt where the meat is thickest. Gently pat salt into the skin.
- Let sit for an hour.
- You can dry brine for longer, but keep the turkey refrigerated (but uncovered) if you do.
- After the hour is up, or when you’re ready to roast your turkey, rinse and pat dry.
Removing the wishbone
This step is entirely optional as some families love digging into a turkey and ‘discovering’ the wishbone – a V-shaped bone also called a furcula. If you’re unfamiliar with the wish bone tradition, the person who finds it gets to ‘share’ the bone with someone else. Each person will grab one end of the V and make a wish, and then pull it to break the bone. The person who ends up with the with the intact centre portion will have their wish come true. Or so they say.
If you plan to carve your turkey before serving, we recommend removing the wishbone. If you plan to leave it whole, then it’s up to you. However, the bone gets in the way of slicing cleanly with a knife, so if you’re having a grown-up fancy dinner with a whole roast turkey, definitely remove it. If it’s one with kids, keep it in.
Method
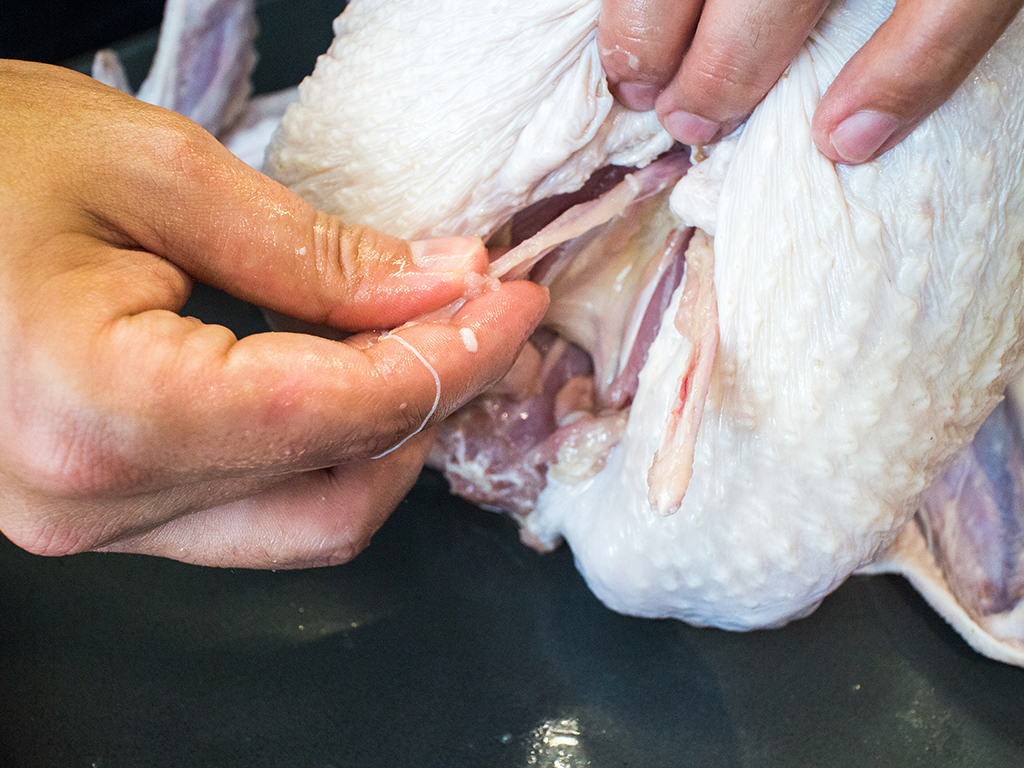
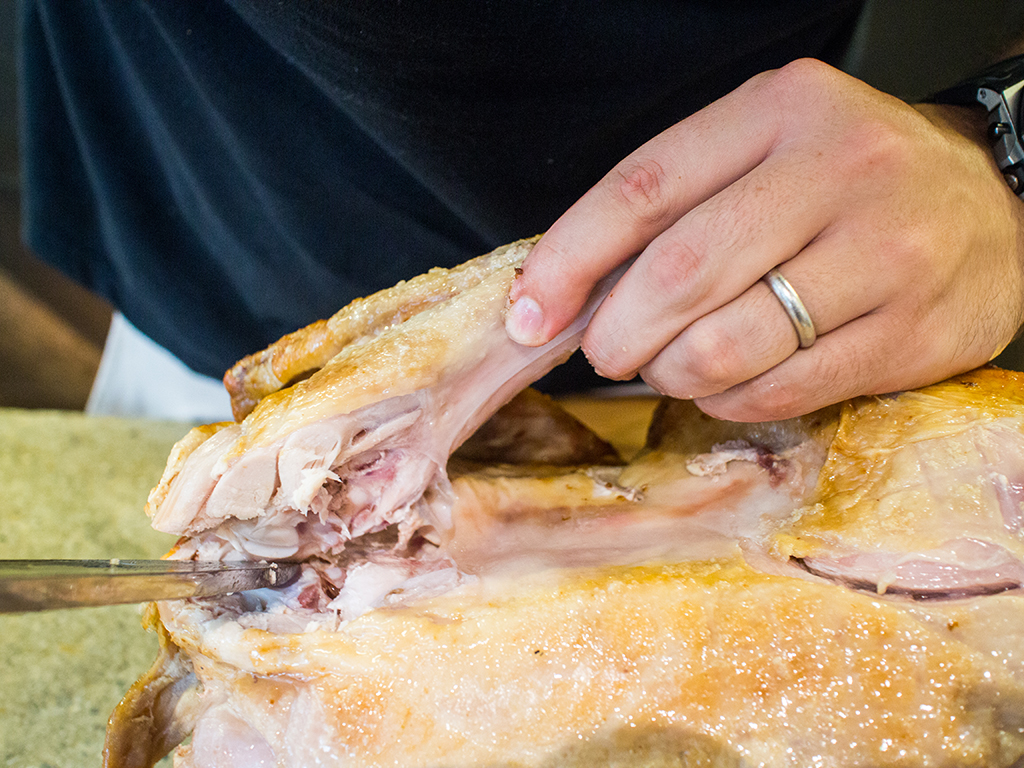
- The wishbone is located just beneath the neck joint at the top portion of the breast. You may need to push the skin aside a little. It’s identified by a white-ish triangular shape.
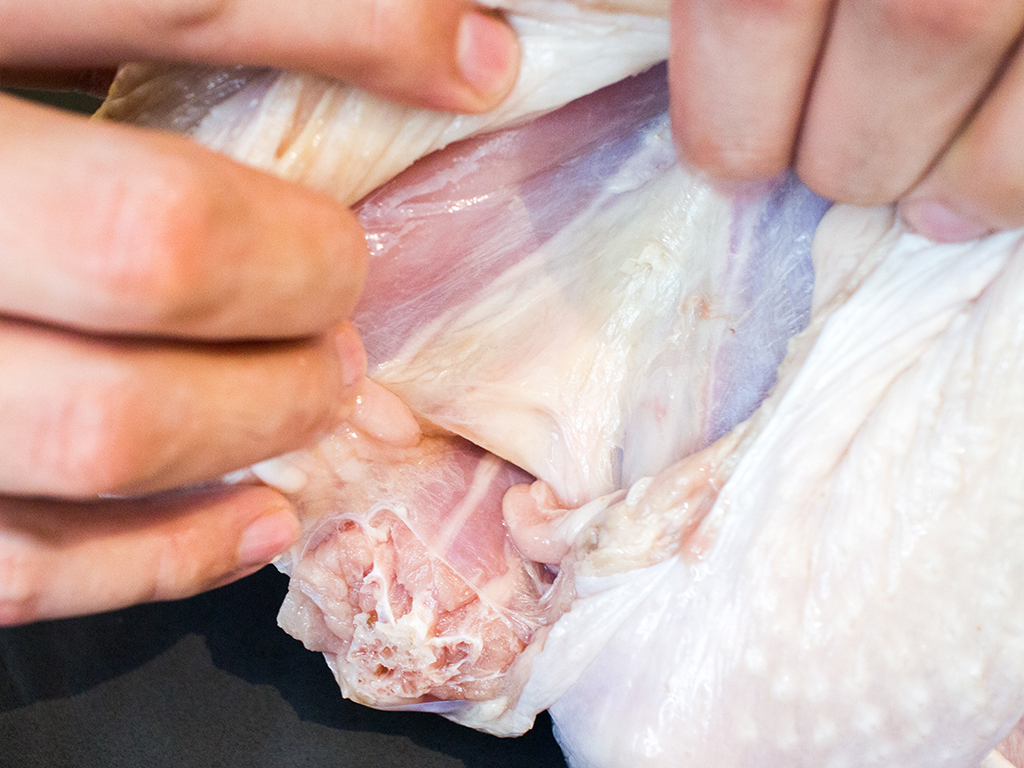
- Use a sharp knife to cut along the white shape on both sides, forming an upside down V. When you cut along the shape, you should be able to feel the bone along the outer part of your knife.
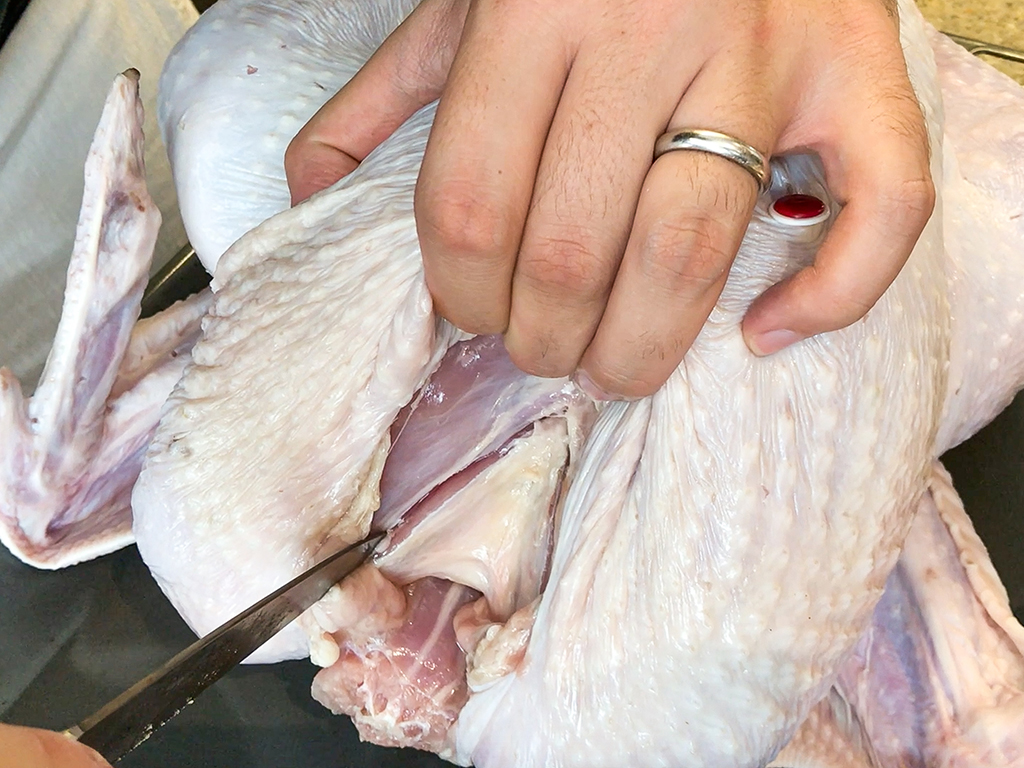
- Feel the bone with your knife, and cut immediately next to it. Now the bone should be on the inner part of your knife. Don’t forget to cut the other part of the V.

- Your bone is still buried in the meat, so hook your finger behind the bone and run it up and down the bone to sever the meat and sinews. Repeat on the other side.
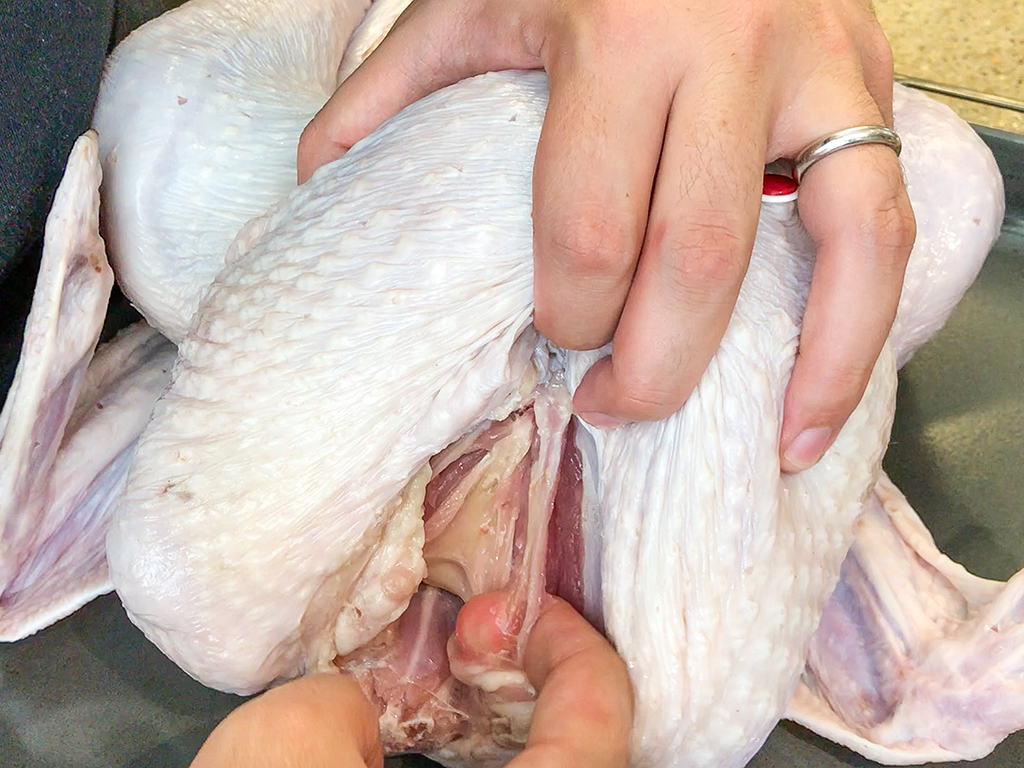
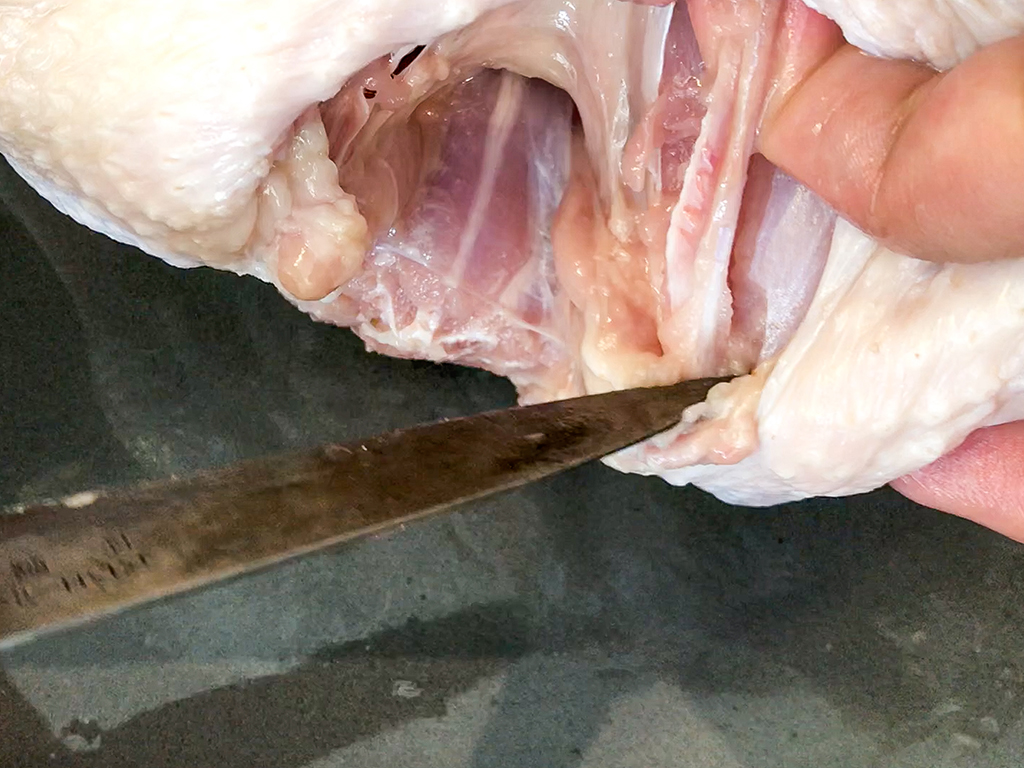
- Lift the bone as far as it can go and use a knife to cut off the joint between the top part of the V still attached to the turkey. Be careful. Repeat on the other side.
- Wrap your hand around the V ‘legs’, and give it a few twists to remove the wishbone entirely.

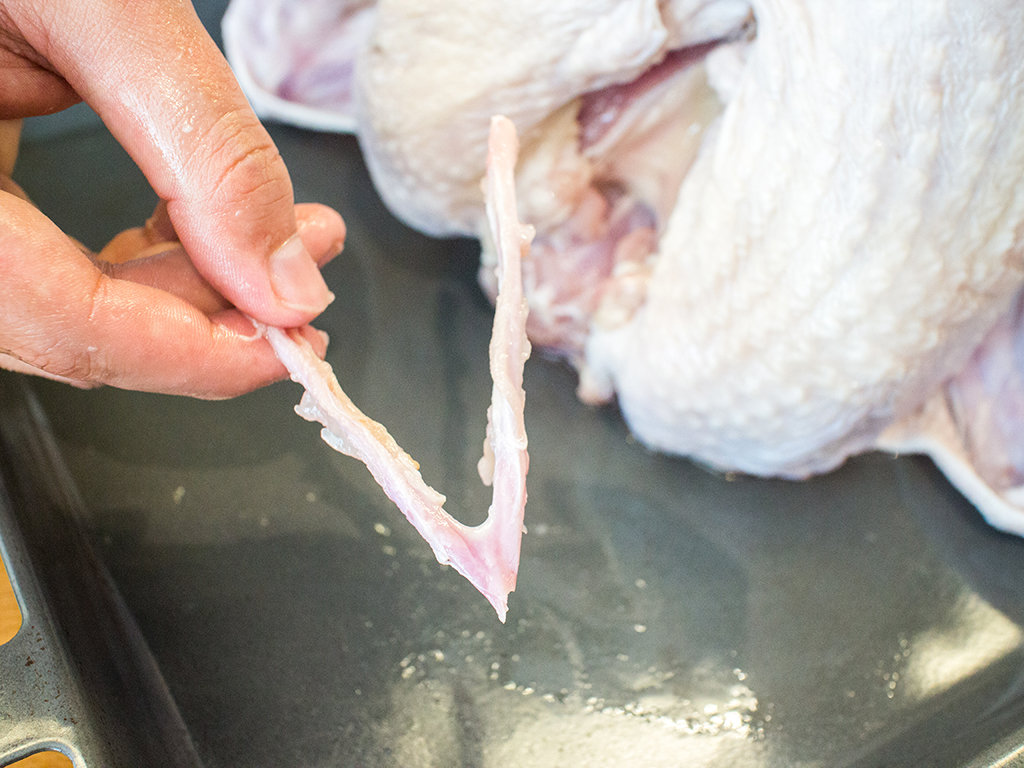
- Discard wishbone.
The butter trick
Besides moist and flavoursome turkey meat, the perfect turkey also has a delicious, crispy and perfectly browned skin. This butter trick is optional, but adds that extra oomph to your roast. You can use this technique to make roast chicken too!
Ingredients
- Softened butter
Method
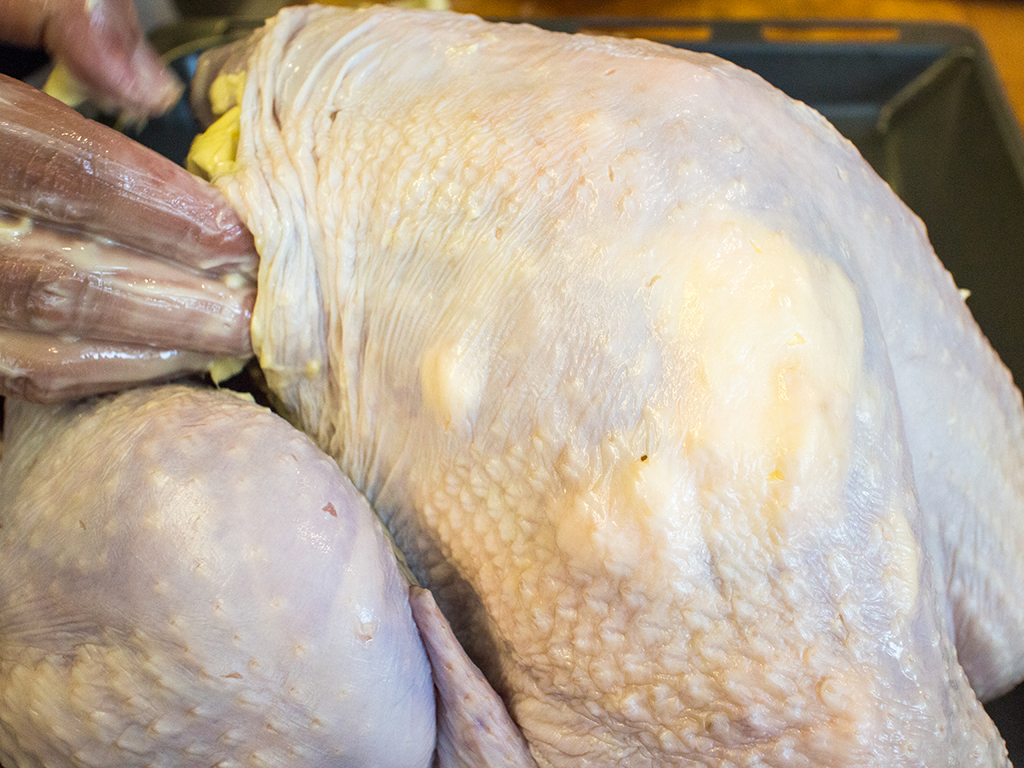
- Gently insert your fingertips into the space between the skin and flesh, pushing your whole hand in as you slowly separate the skin from the flesh. Be careful not to tear the skin.
- You’ll want to separate the skin on the breast right up to the neck, the sides, along the back, as well as the top of the thighs. You don’t have to separate the skin on the drumsticks or wings as the space is a little too small to manoeuvre.

- Grab a lump of butter.
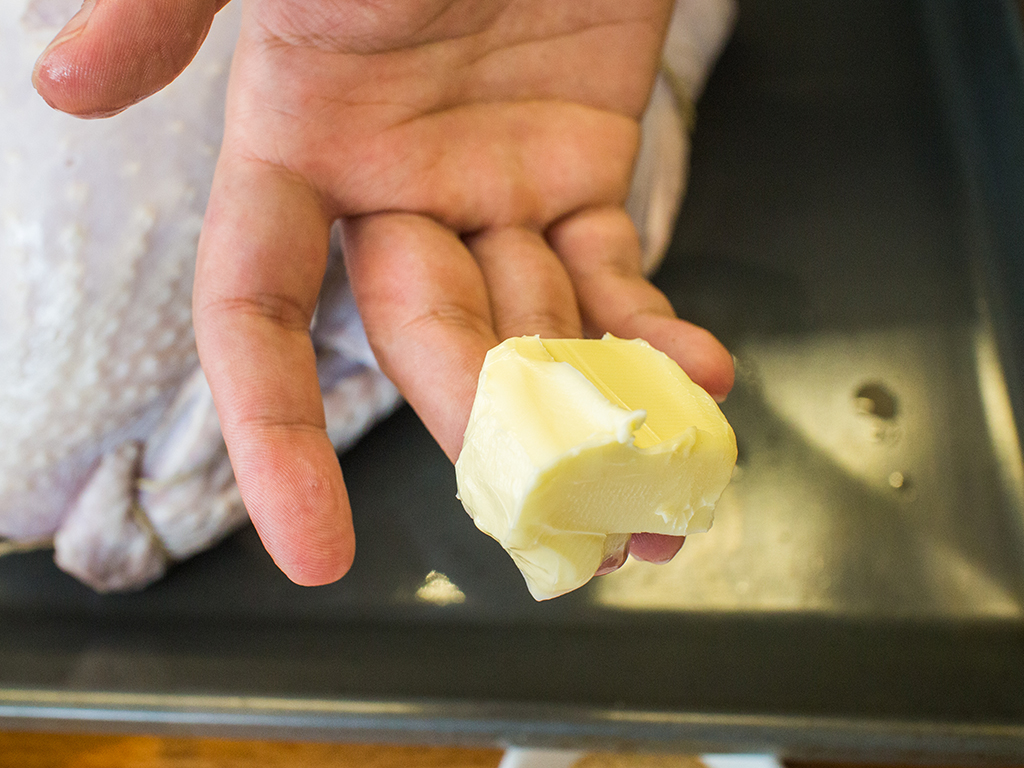
- Spread it all over the flesh underneath the separated skin. It doesn’t have to be perfectly even as long as you rub some butter everywhere.
Important tip
Short fingernails make this step a little easier!
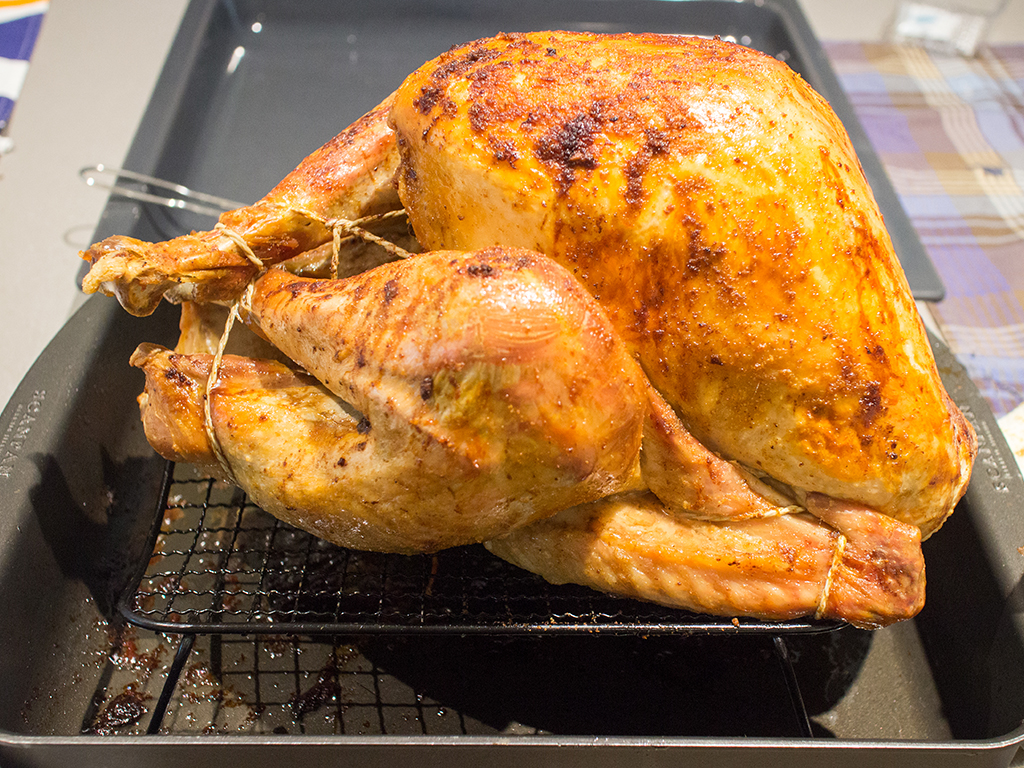
Trussing
Why truss a turkey? For two important reasons. Firstly, trussing ensures the wings and legs cook evenly. Secondly, it keeps your turkey in a tight little bundle and so it looks good on the table when served whole for an absolutely Instagram-worthy roast turkey. Trussing isn’t difficult, but you may need a few tries to get it right if you’re a beginner.
Equipment required
- 3m long baker’s twine (longer, if you have a bigger turkey)
Method
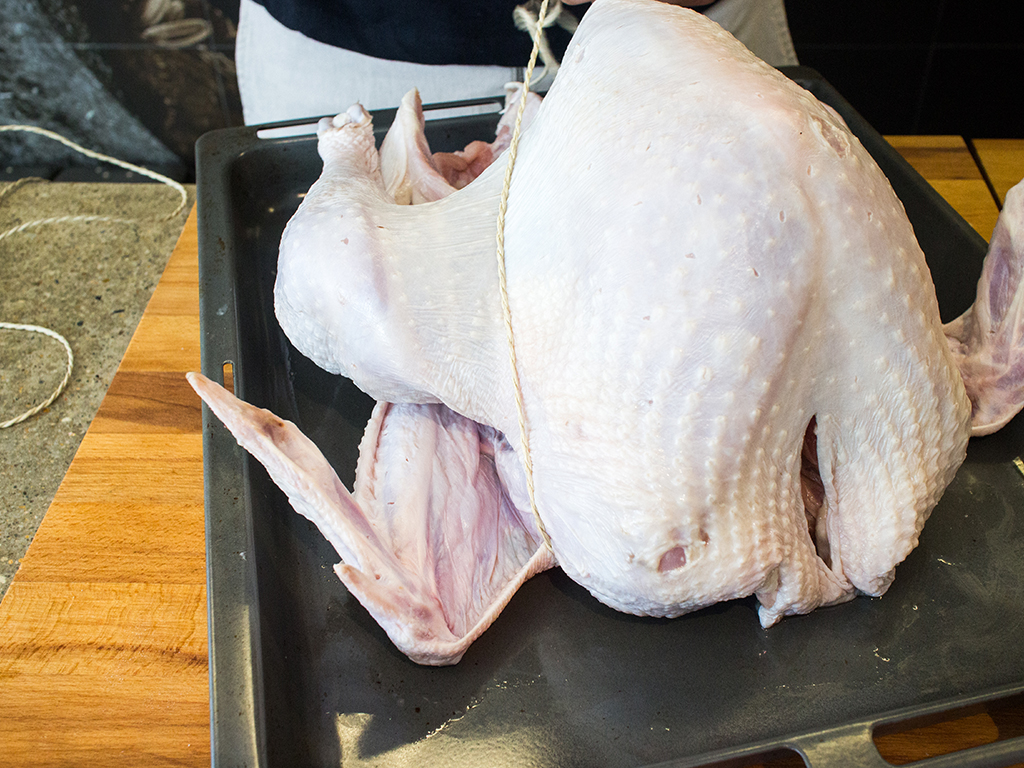
- Lay turkey flat on its front and slide the middle point of your twine underneath the neck.
- Slide twine under the breast until it’s level with the front wing joint (the joint connecting the wing to the breast). Pull taut and bring twine over the top of the joint, wing and thighs on each side. Important, the wings must be tucked in under the thighs, not over it!
- Crisscross twine under the back bone, just above cavity opening. Pull firmly. If your trussing is slipping, tie a dead knot here.

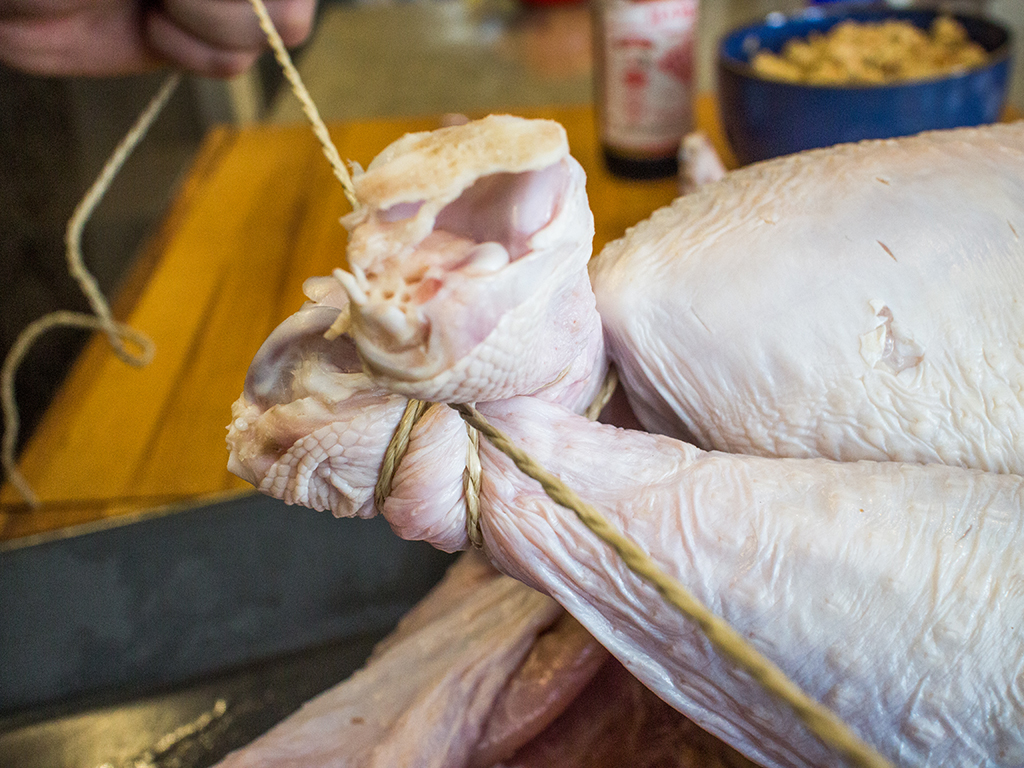
- Loop twine around drumstick end on one side, then repeat with the other drumstick.

- Pull drumstick ends together and arrange so it’s ‘cross-legged’. Crisscross twine and loop it around the drumstick again, finalizing with another crisscross. Feel free to knot this to secure drumsticks in place.
- Pull twine underneath thighs and cavity opening so drumsticks will cover the opening. Knot to secure.

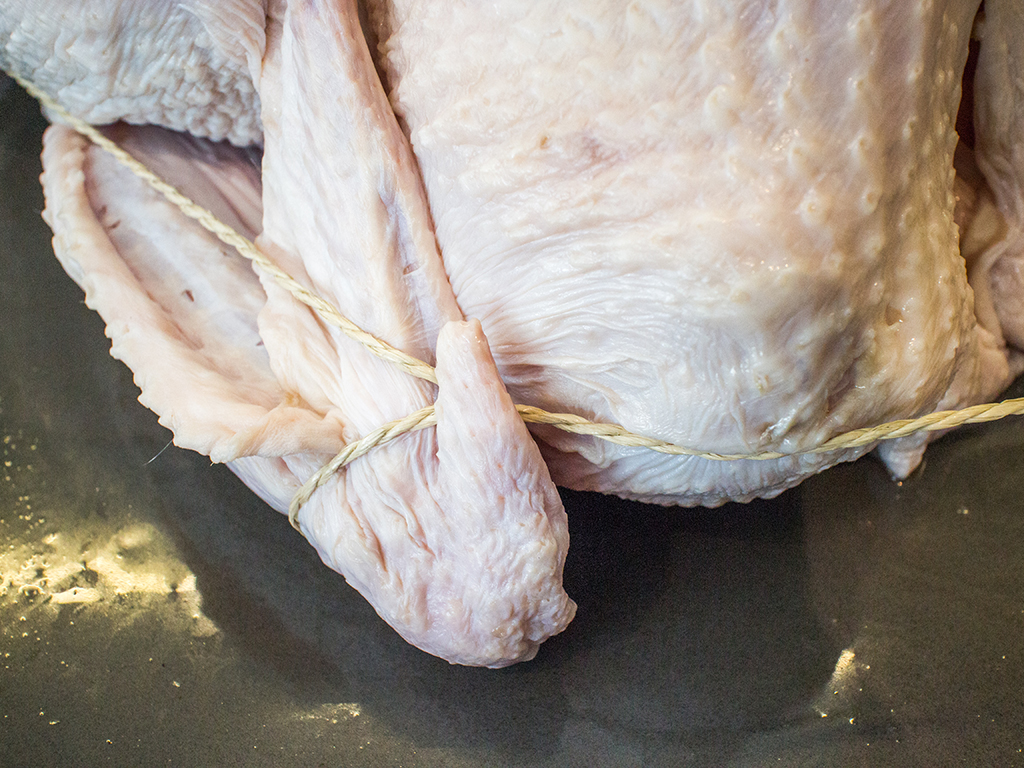
- Run twine to the front of the bird, along the wing. Loop twine around wing joint, hooking it around the protruding tip.
- Bring twine back across the neck, to where we first started trussing. Tie a strong knot to keep it in place. Snip excess twine or tie into a bow.
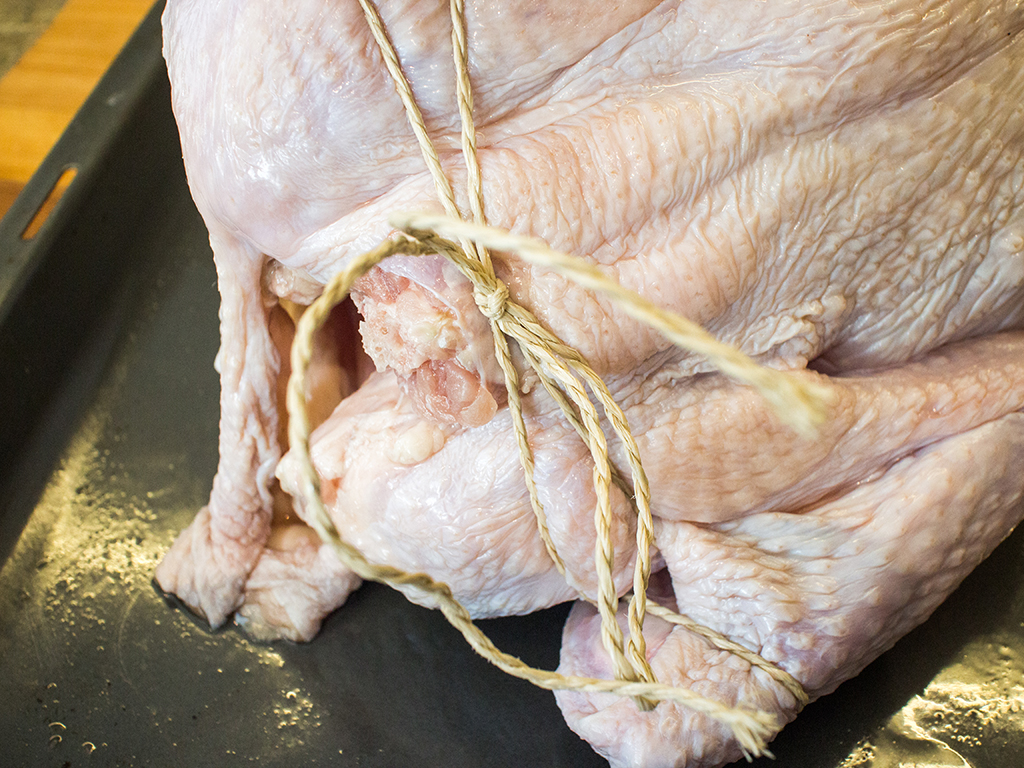
- If there’s excess neck skin, tuck it under the twine to keep things neat.

Roasting your turkey
It’s finally time to get that roast on! Since we’re sticking to the basics here, we’re sharing a simple recipe that works. We also used store bought stuffing. Feel free to make your own!
Special equipment
- Roasting rack
- Meat thermometer
Preparation
- Set your oven to 180°C on the convection (fan) setting and the heat source furthest from the breast, i.e. in this case, typically, you’ll want to set the bottom heat source on only.
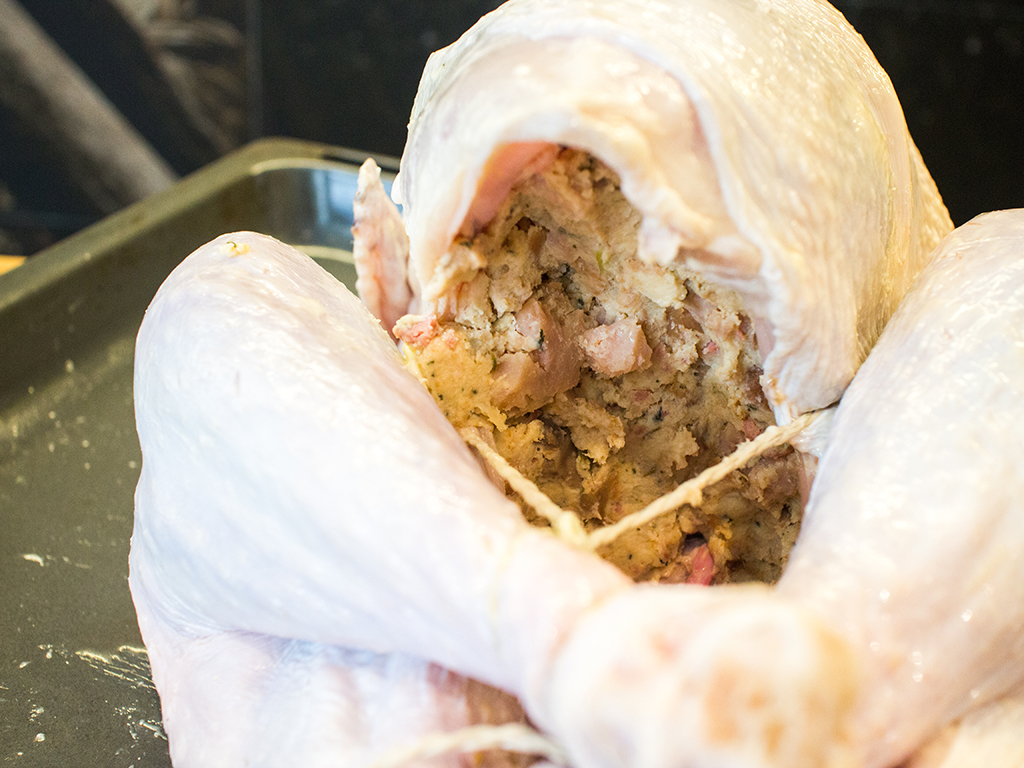
- If you’ve trussed your turkey but have not put in the stuffing, shove stuffing into its cavity. The stuffing needs to be quite packed to ensure there are no air pockets.

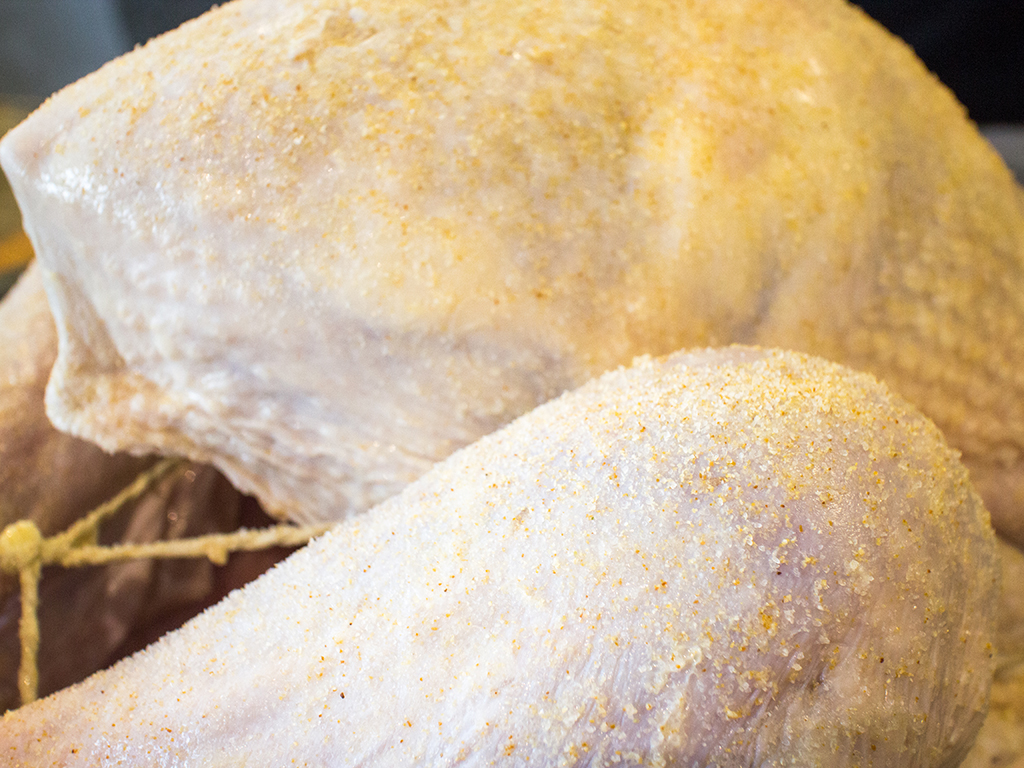
- Mix garlic powder, onion powder and fine salt.

- Sprinkle generously and thoroughly all over the the skin. Use your hand to pat the salt and powder mixture into the skin. Don’t rub it in.
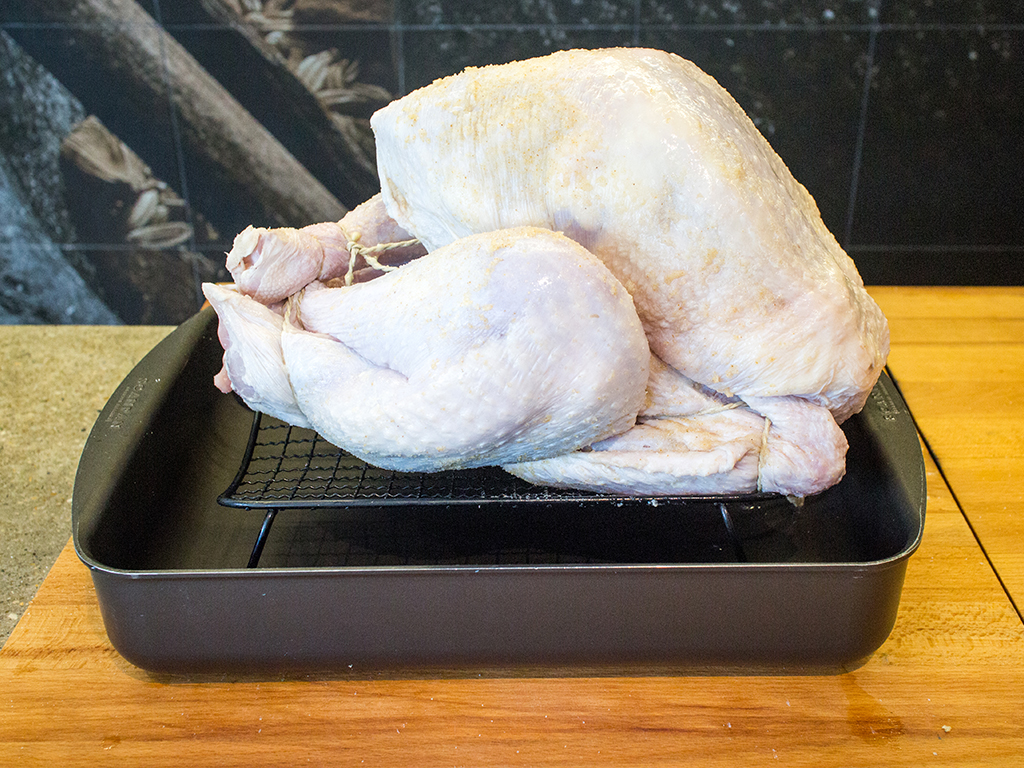
- Place turkey on a roasting rack over a roasting pan. The rack ensures the air circulates around the bird and cooks it evenly, while the roasting pan catches some very important juices.
Roasting
- Once your oven is sufficiently hot, place turkey on the lowest rack. The interesting thing about cooking turkey is that we’re looking for two different temperatures for two different parts of the same bird – 65°C for the breast, and 74°C for the wings. This makes cooking turkey as a whole bird a little tricky as one part is bound to get overcooked, so it’s important to keep an eye on your bird.
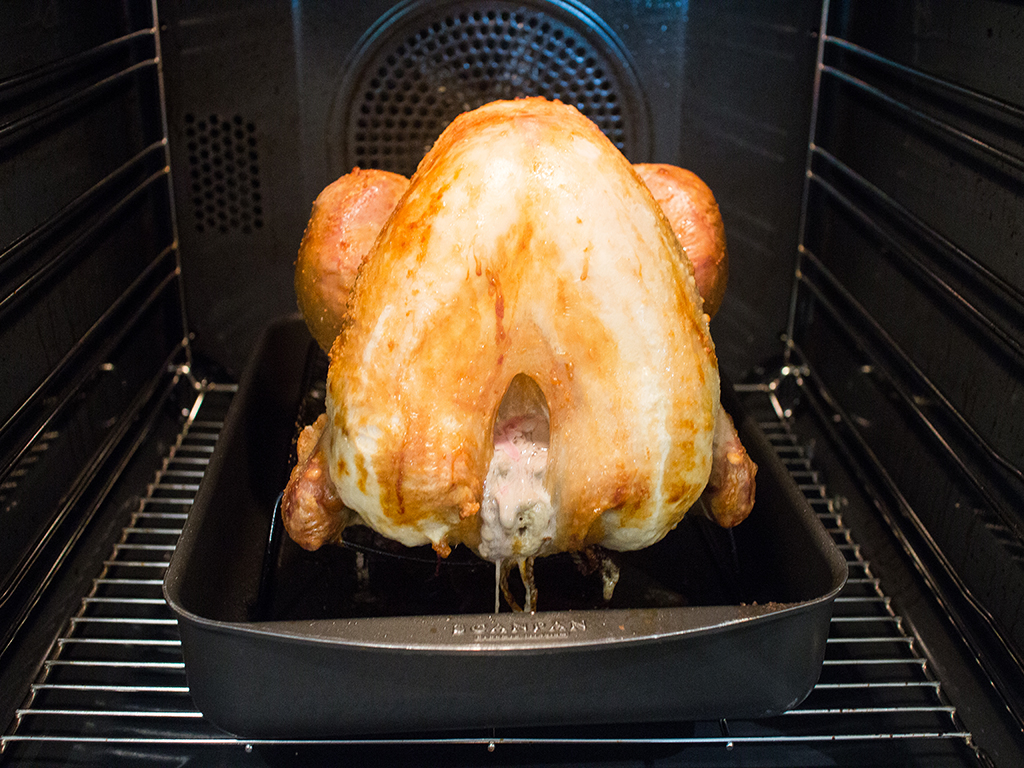
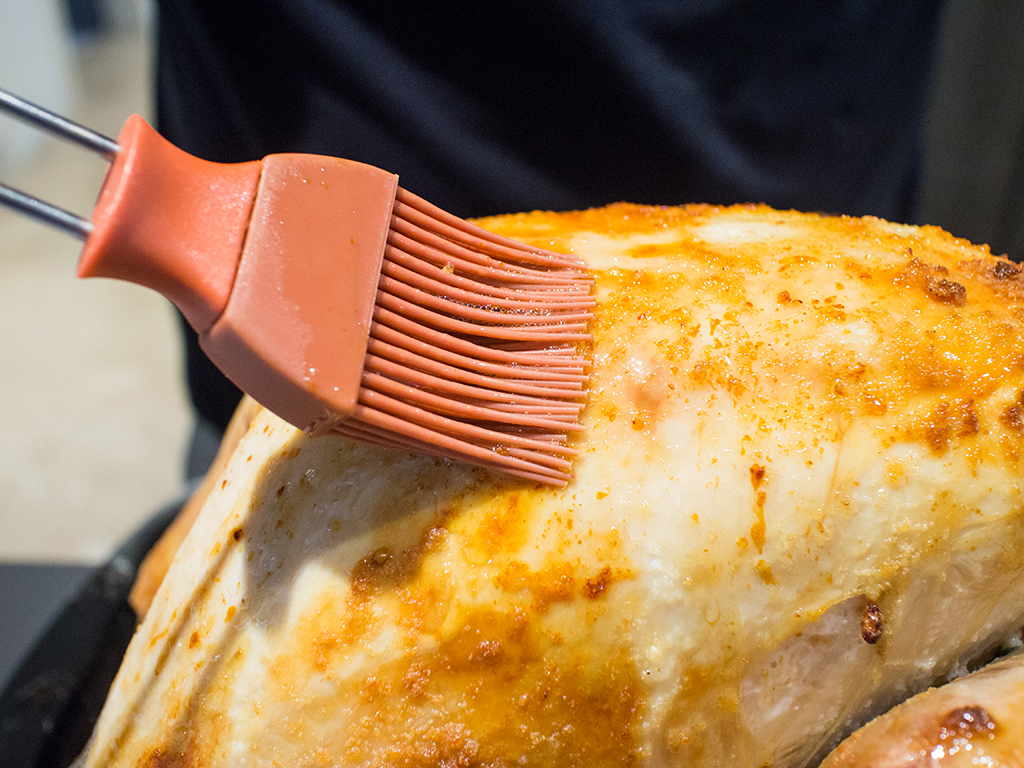
- Baste turkey surface every 30 minutes with pan juices.
- While the turkey is out, test its temperature with a cooking thermometer by poking the thigh and then the breast. Generally it’ll take at least 90 minutes (for a turkey our size) to get close to the ideal temperature, so you only need to test it after about an hour in the oven.


- After 1 hour, turn the oven temperature down to 150°C and check every 20 minutes. Be adaptive to the bird as the core temperature is most important when preparing turkey. The higher heat browns the skin and dries it up nicely, while a lower temperature cooks the meat well and brings the temperature up to where we want it.
- Once cooked, remove from the oven. Let it rest on the roasting rack for 1/3rd of the time it was in the oven for.
- Remove pan juices and set aside for gravy.
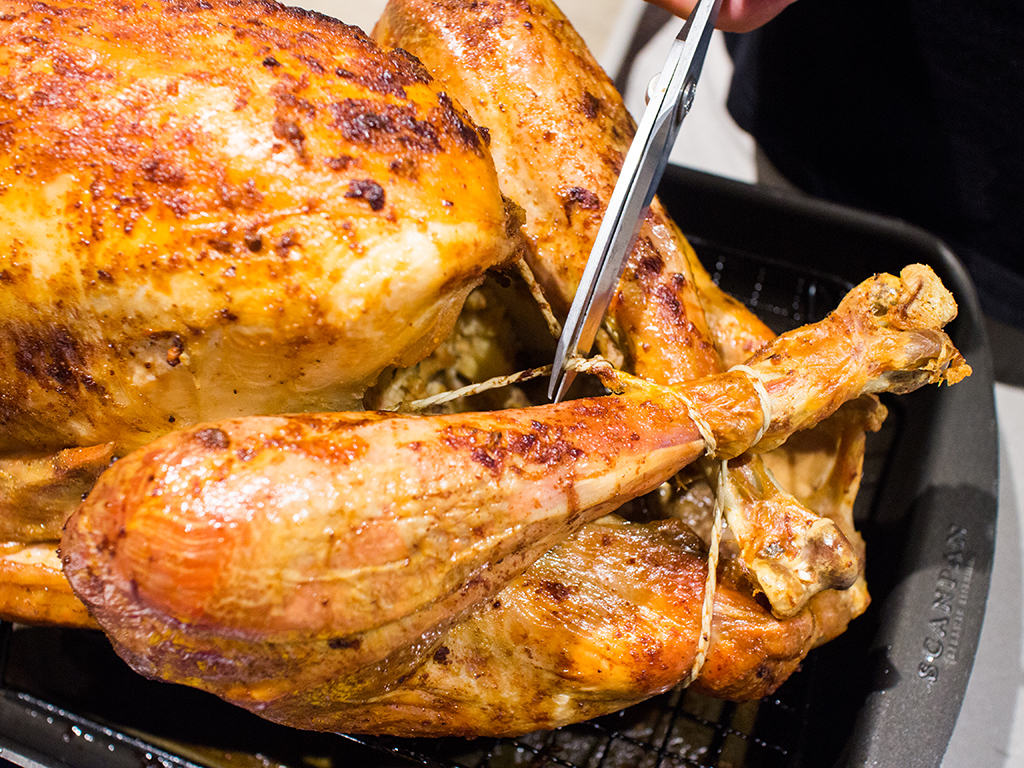
- Once turkey is cooler to the touch, cut and remove trussing and discard.
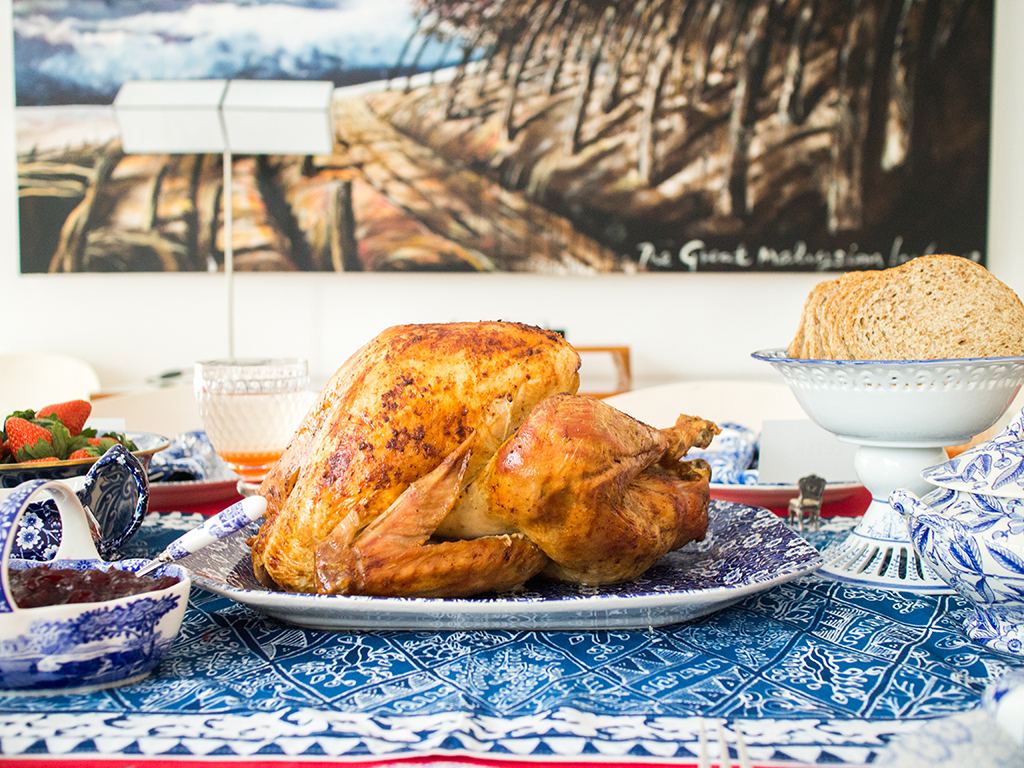
- Serve turkey whole after resting. When you’re ready to eat, bring it to the kitchen to carve before serving.
Important note
If you’re preparing your turkey several hours before serving, remove stuffing and transfer to a separate bowl to avoid spoilage.
Carving
Carving breaks the turkey down into smaller, servable portions. This is especially useful if you’re having a large sit-down dinner so your guests won’t have to wait as long to start eating. If you’re making turkey to keep and store for yourself, you should carve it as it takes up significantly less space in your freezer.
Method
- Use a sharp carving knife.
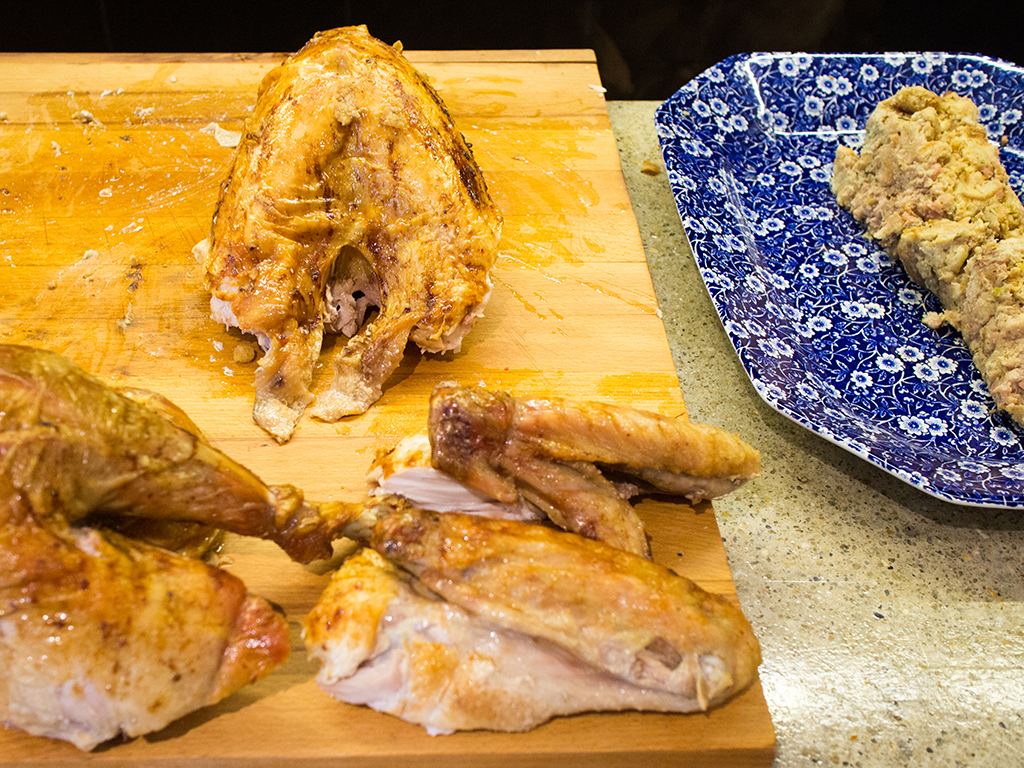
- Slice both wings off at the joint, completely removing the wing and drummet from the main body. Separate drummet from wings at the joint.
- Remove both thighs completely and separate drumstick from thigh.
- Make a deep cut across the body from the cavity, starting from the back bone, under the breast, all the way to the neck – you don’t have to sever it completely. We want to separate the backbone from the breast.
- Push both sides open to separate – almost like a coconut!
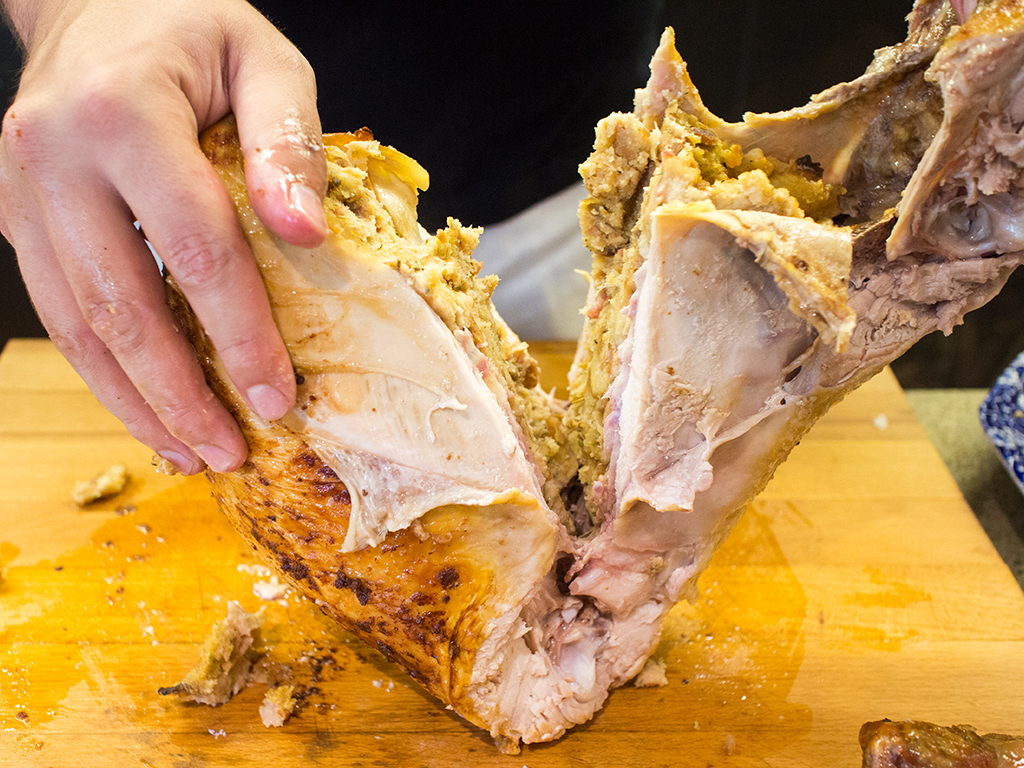
- Scoop out stuffing and arrange on a serving plate or bowl.

- Cut away ribs from breast.
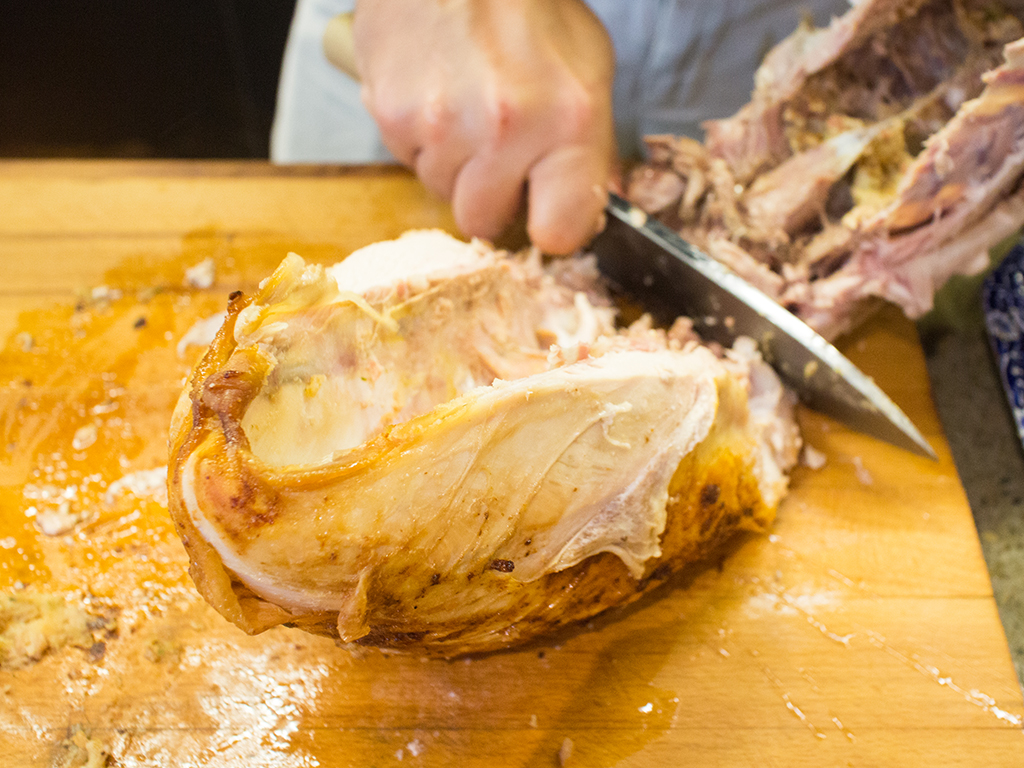
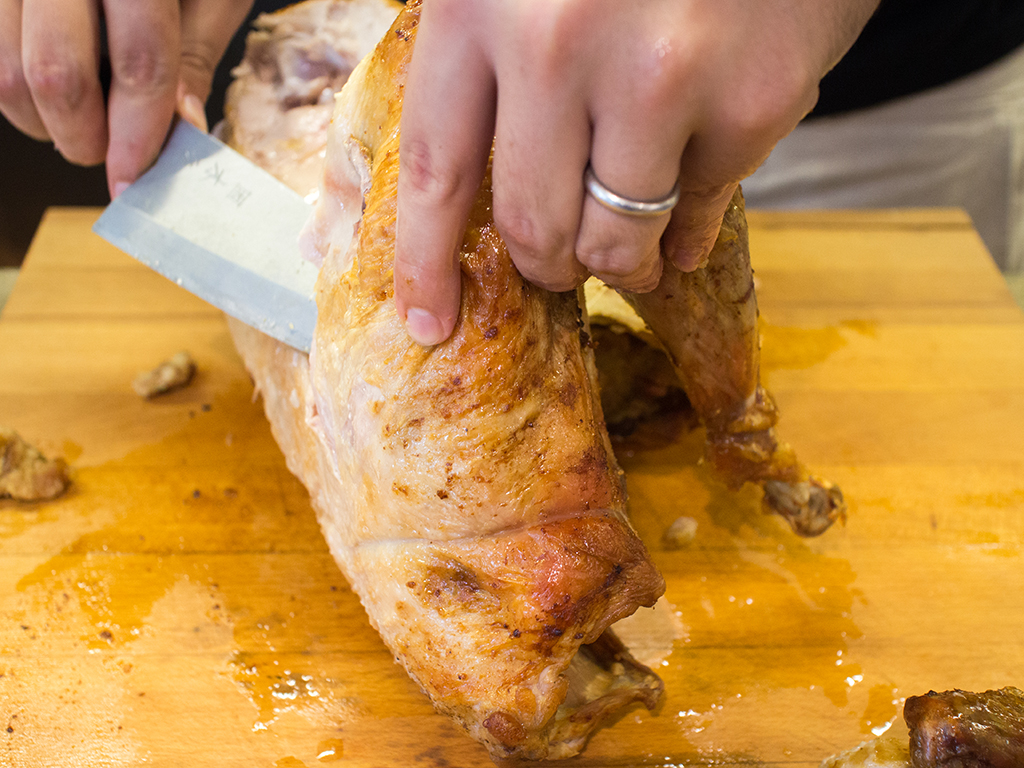
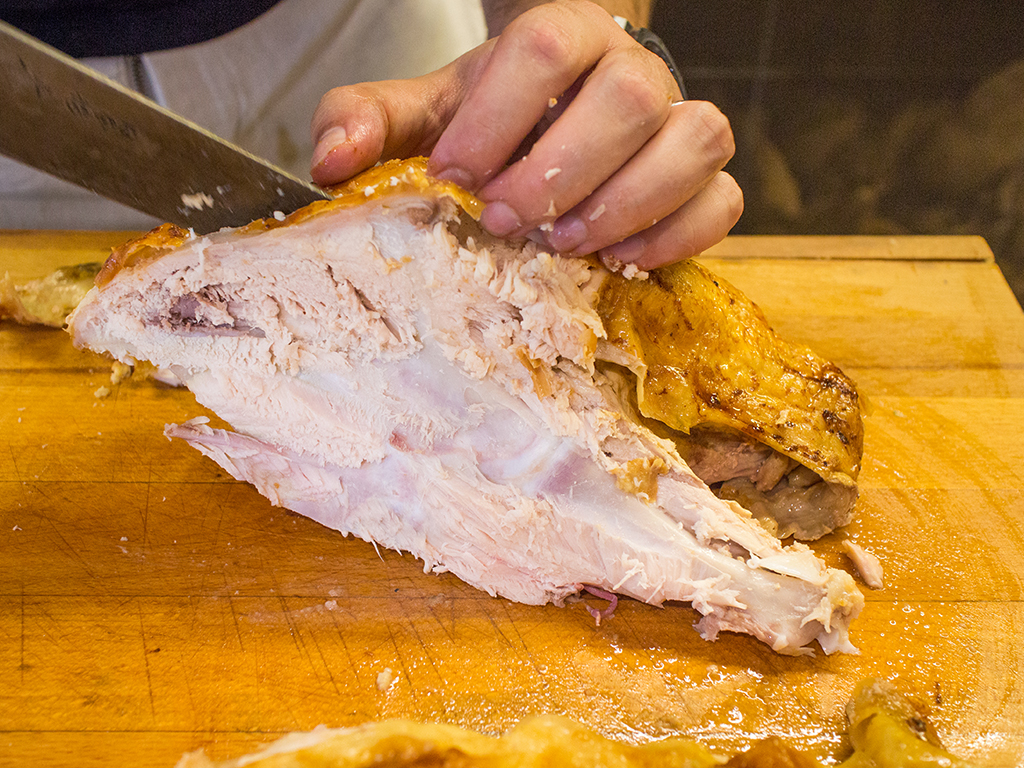
- Lay breast on its flat side and find the middle bone. Slice and cut right next to it and cut the breast meat off completely.

- Cut and remove the other breast.
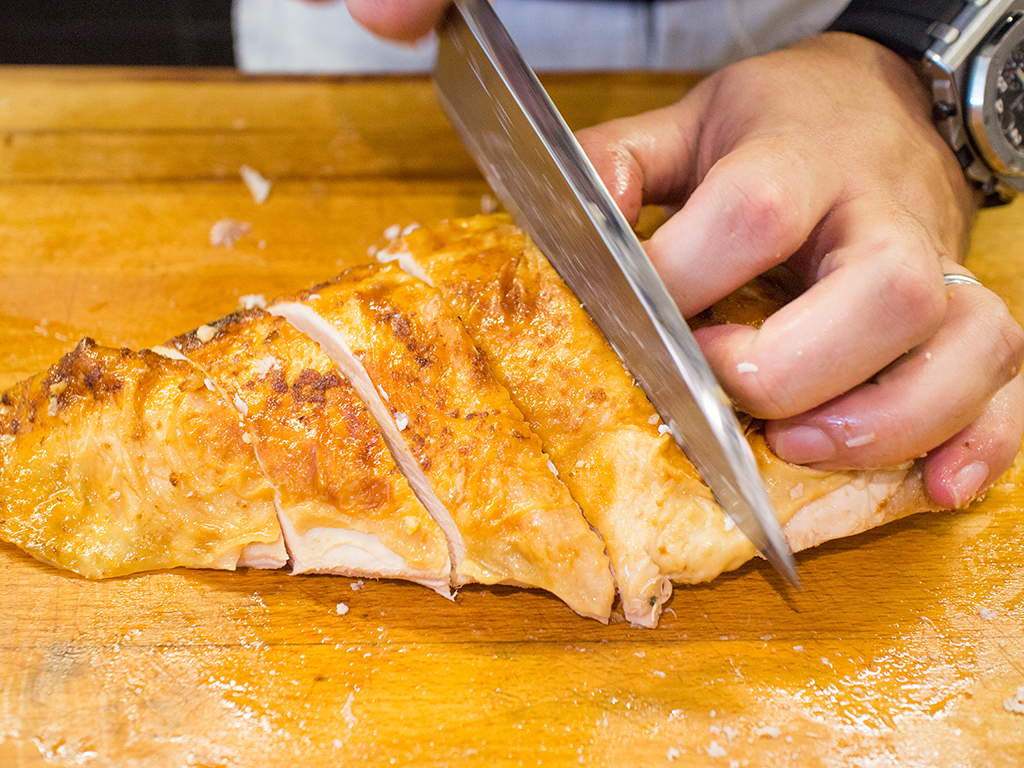
- Cut breast meat into slices of about 1.5cm to 2cm wide. Arrange on your serving platter.

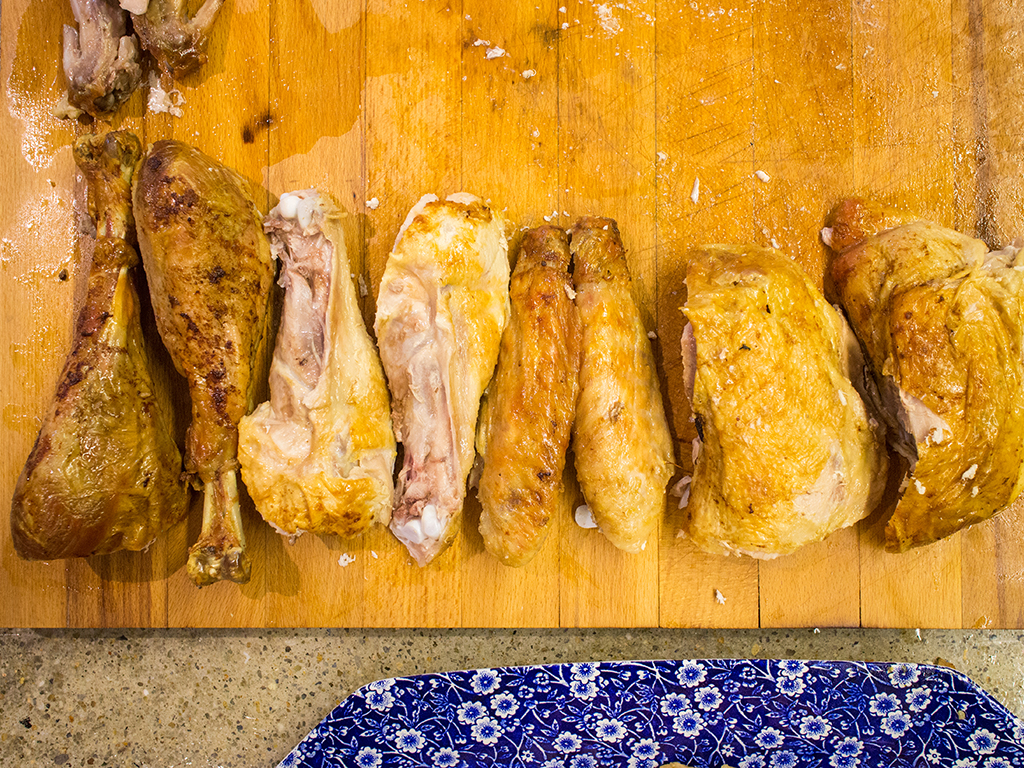
- Slice thigh meat and arrange on platter. You can arrange the meat any way you like, but we recommend ‘rebuilding’ it. Lay thigh meat next to the breast, drumsticks next to the thighs. Then lay drummets on the opposite side and wings next to it.
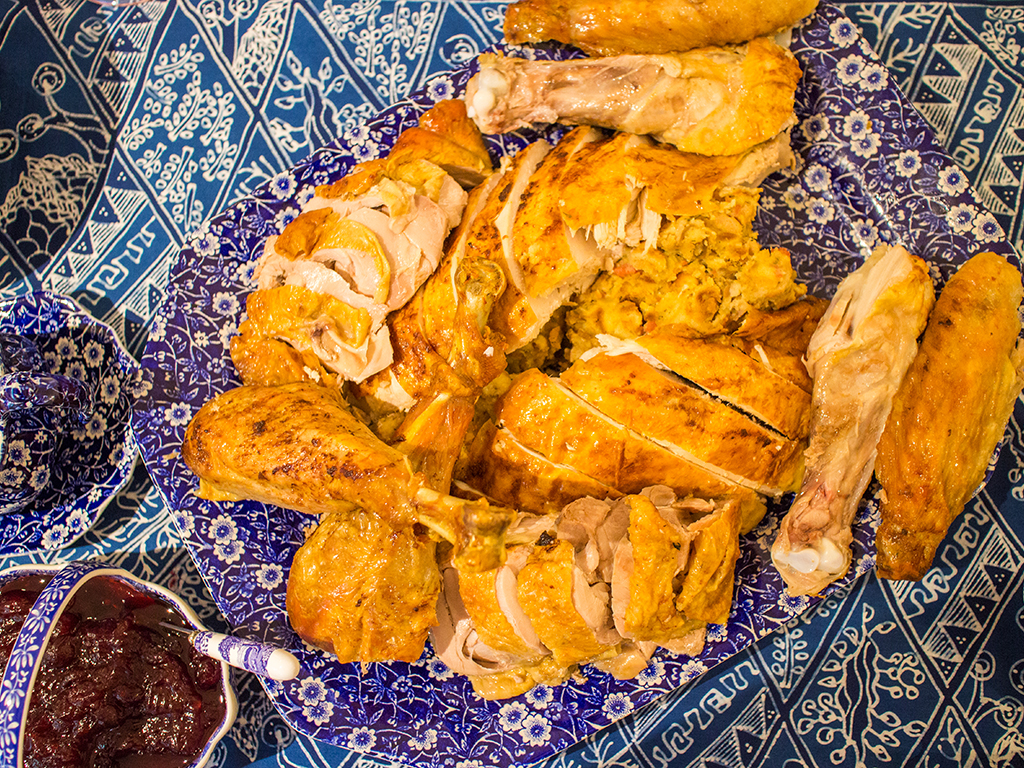
- Ready to serve!
Important note
This method is for carving turkey away from the dining table. You can use a similar concept for carving at the dinner table but generally the stuffing should be removed first. Then cut off the wings and thighs. To keep things neat, the breast meat is normally sliced off the bone and served instead of being removed entirely and then cut and served. Avoid turning the turkey upside down or sideways when carving in front of guests!
Pro tip
Serve your turkey whole on the dining table so guests can see how beautiful it is and take the necessary pictures. When dinner is ready to be served, bring it into the kitchen so you can carve it properly and thoroughly.
Gravy
Much like chicken, turkey meat can be quite dry and even more so as they’re significantly bigger. Gravy adds moisture and brings extra flavour to the meat. We have two gravy recipes you can opt for, one richer and thicker utilizing turkey drippings. Find the recipe here. The second recipe makes use of the turkey bits we reserved earlier. We recommend using the recipe below as its liquid texture and saltier flavour complements the turkey meat well.
Ingredients
- Turkey bits, reserved from earlier
- Turkey drippings, from roasting the turkey
- 330g chicken stock
- 150g brown onion (1 large onion), sliced thinly
- 17g garlic (about 4 cloves), sliced thinly
- 8g soy sauce (1 tbsp)
- 9g fish sauce (1 tbsp)
Method
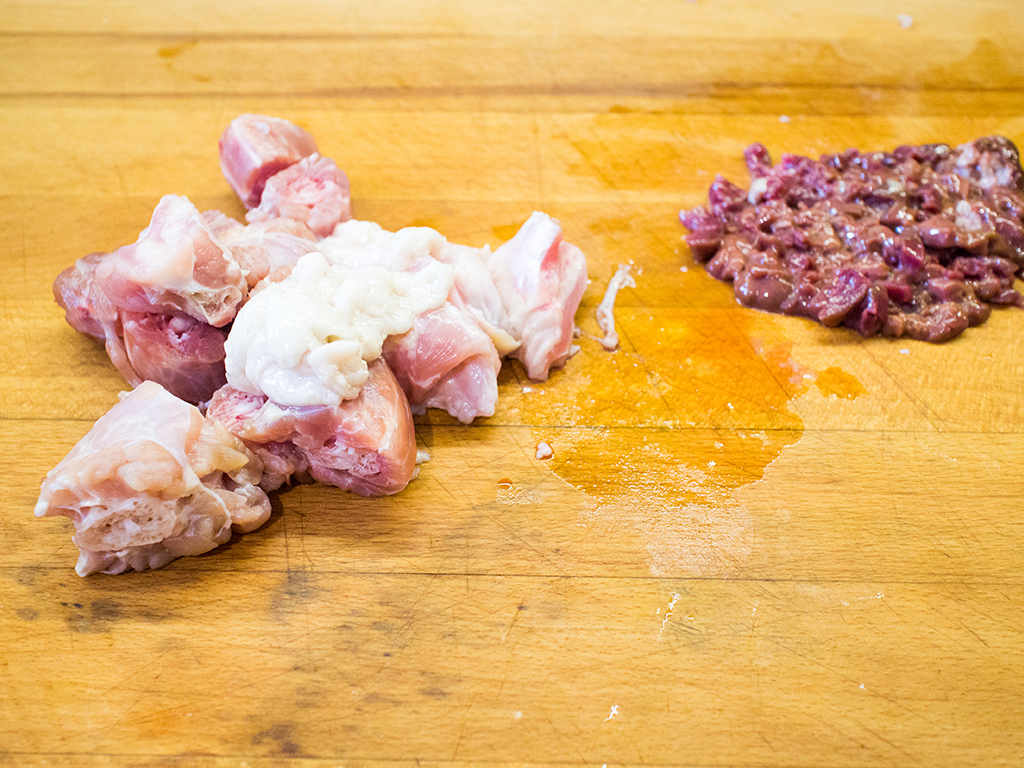
- Cut neck into smaller segments and mince liver and turkey bits.
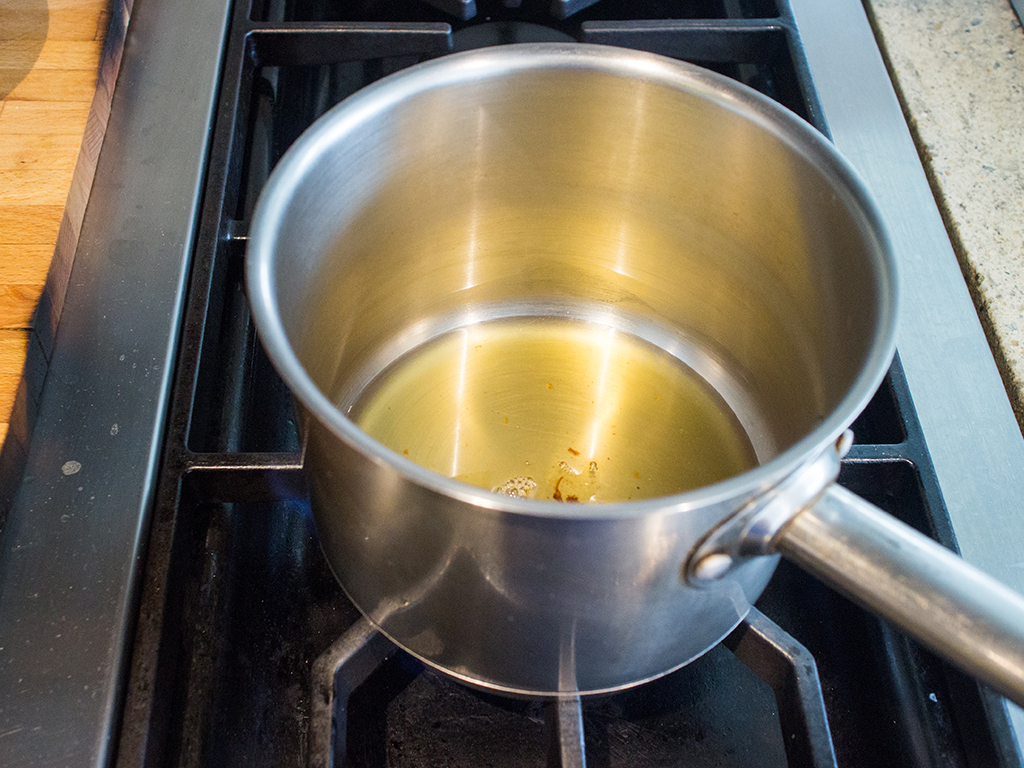
- Heat a small pot on high heat and pour in oil from turkey drippings.
- Add chopped neck. Continue stirring so it doesn’t stick to the pot.
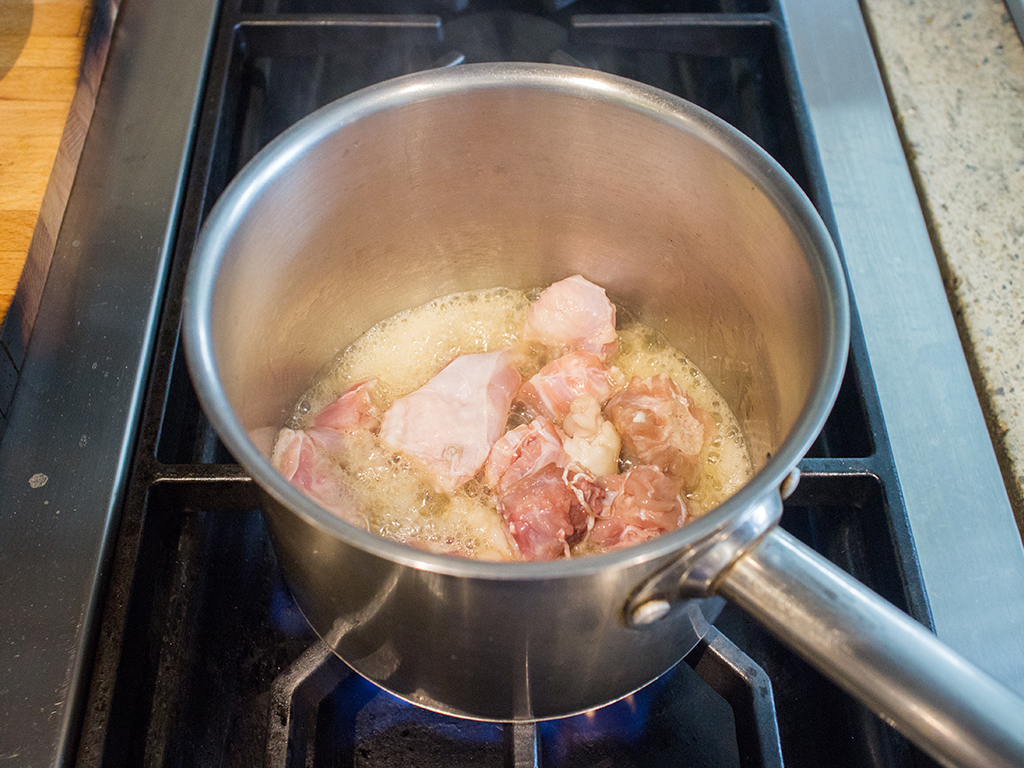
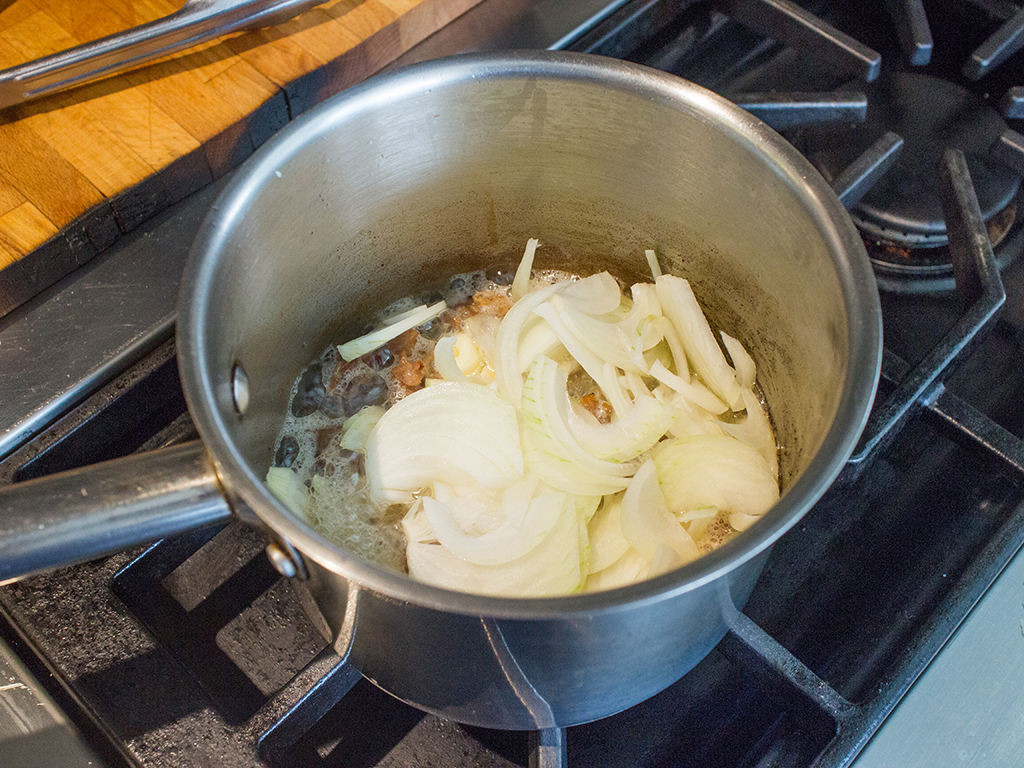
- Once neck is very brown (about 7 minutes), add sliced onions and garlic. Continue stirring.
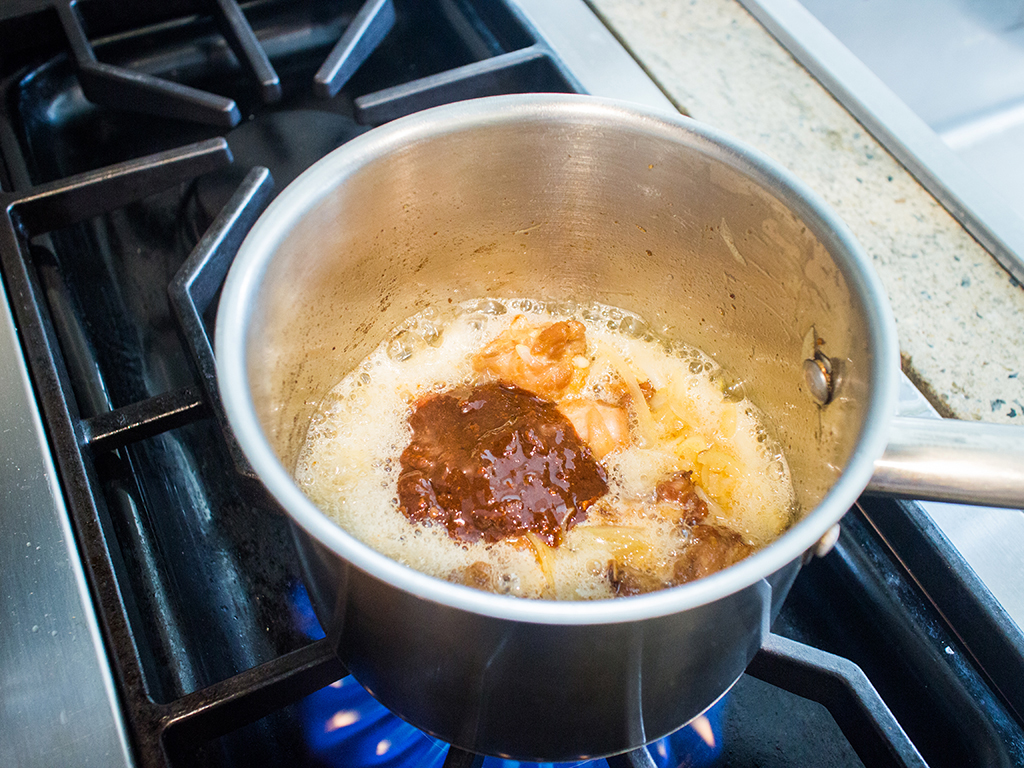
- When onion has softened, about 4 minutes, add the brown turkey drippings. Your gravy will really start to brown after this.
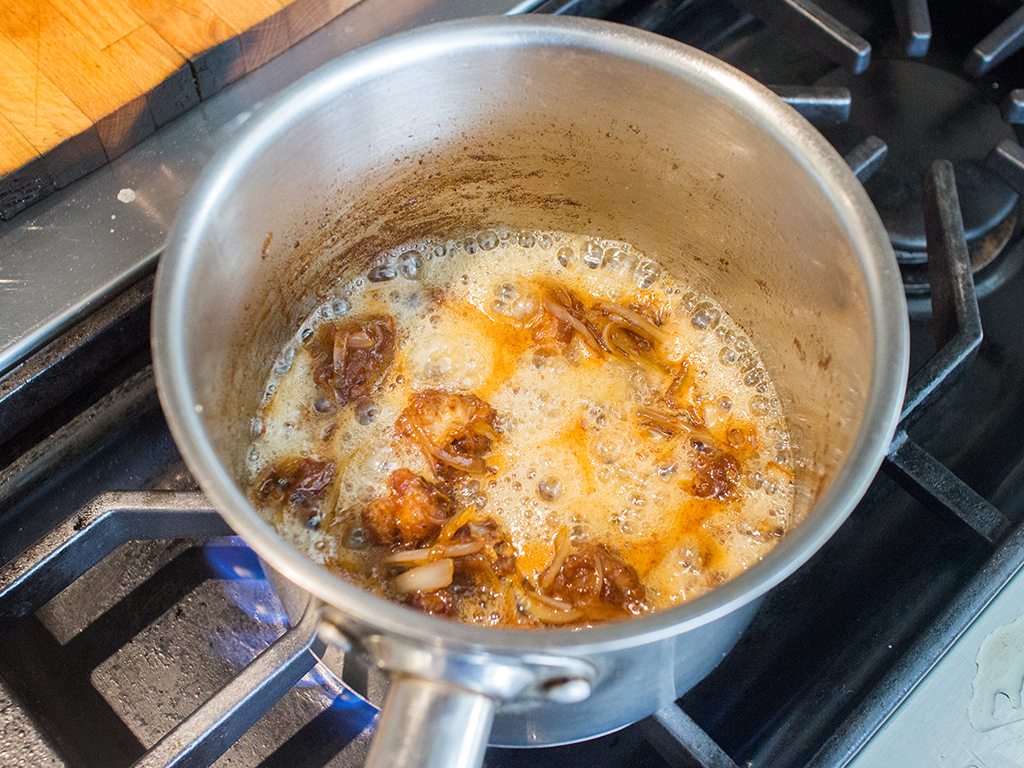
- After 4-5 minutes, add chicken stock and continuously stir, scraping the bottom and sides of the pot for 1 minute.

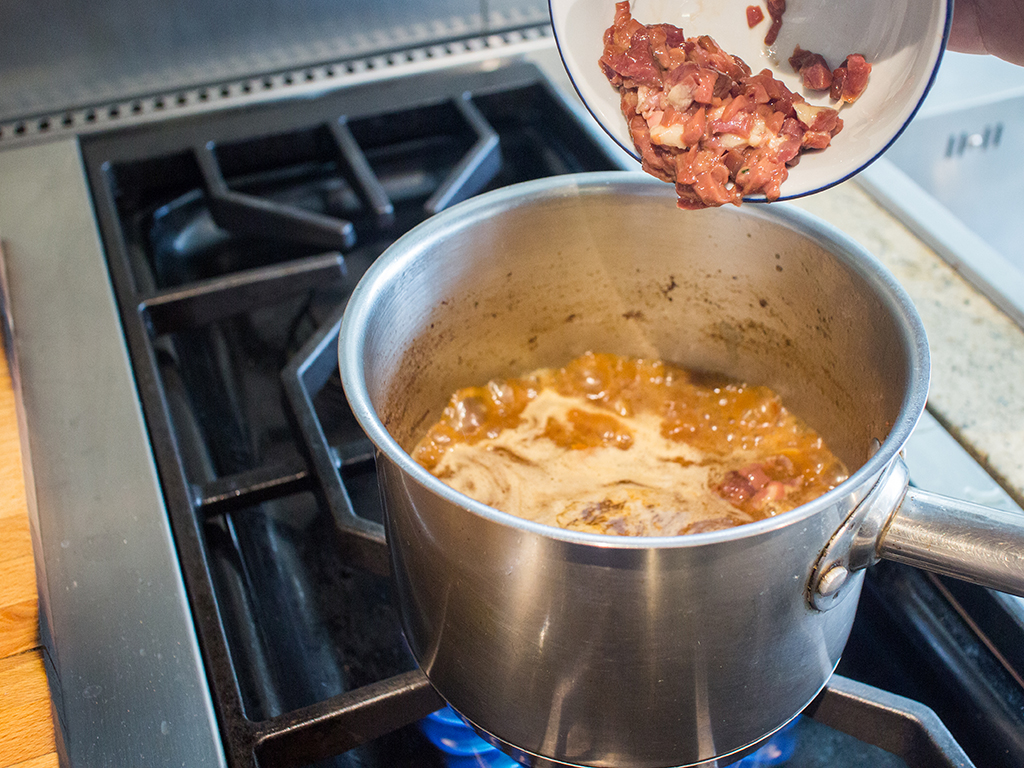
- Add minced bits and let it cook for 4-5 minutes.
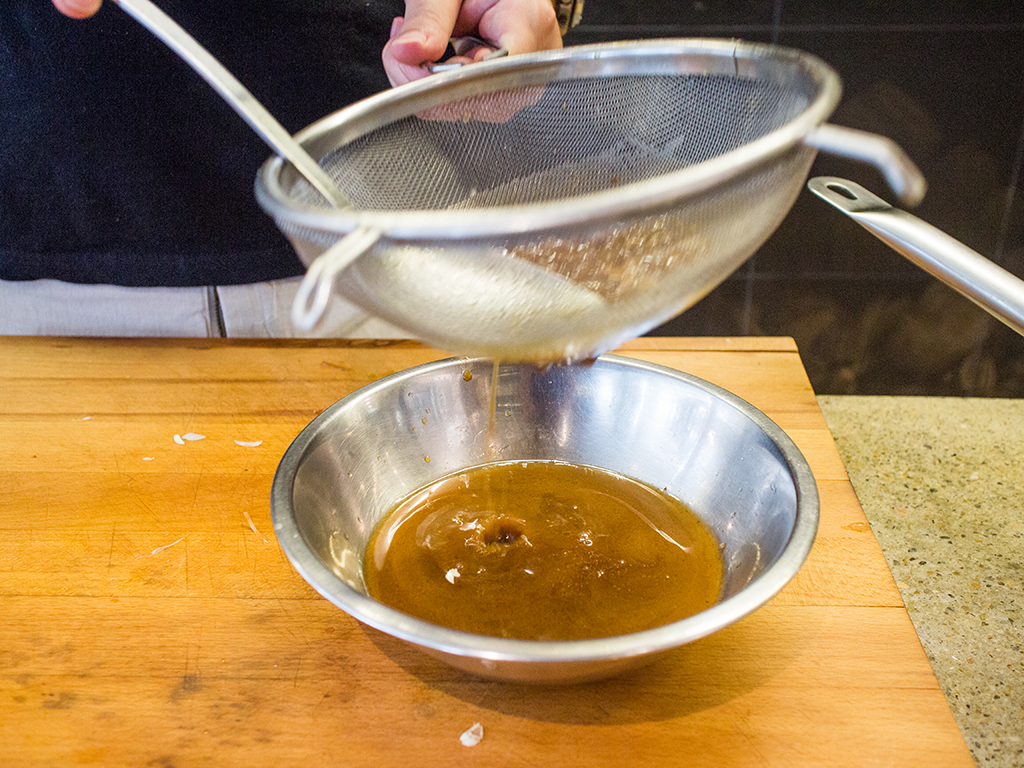
- Add soy sauce and fish sauce. Stir and let boil until it reduces, about 10 minutes. If you would like a slightly thicker sauce, add some butter.

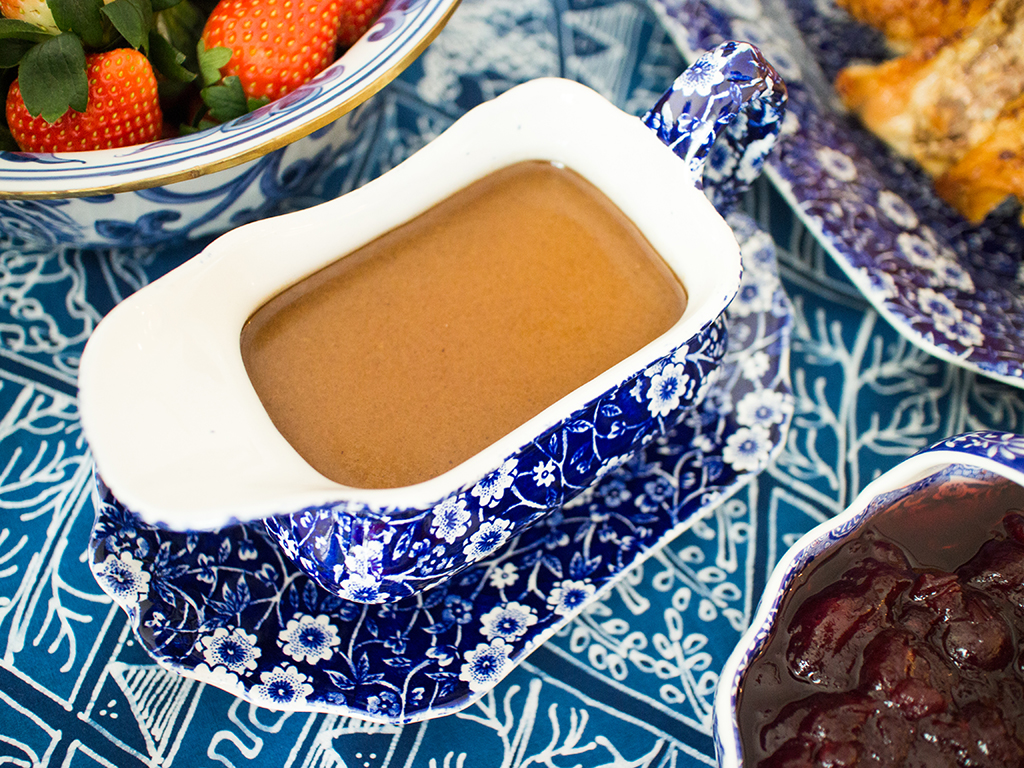
- Strain gravy to remove chunks. Serve in a bowl or gravy boat.
Important note
Feel free to add a herb of your choice in step 4.
Extra tips
- This guide is for preparing a whole turkey. If you find frozen (or fresh) turkey meat in parts, similar rules still apply, but the timing must be adjusted accordingly. Remember – temperature is key!
- Whole roast turkey does not need to be served hot, although it does taste better that way. Cold turkey slices can also be used to make sandwiches.
- Serve with cranberry sauce as they go perfect together. You don’t have to make this from scratch as fresh or frozen cranberries are not always available in our supermarkets. However, canned or bottled cranberry sauce is always available and most of them are delicious.
- Stuffing is completely optional. Some prefer to serve their stuffing on the side, while some prefer no stuffing at all. It’s up to you!
We know this list is comprehensive and can be overwhelming, but don’t panic! Just take it step by step and you’ll be roasting perfect turkeys in no time.
Will you be adding turkey to your list of recipes for holidays and special occasions? Show us your spread by hashtagging us with #butterkicap!