The belacan taste test
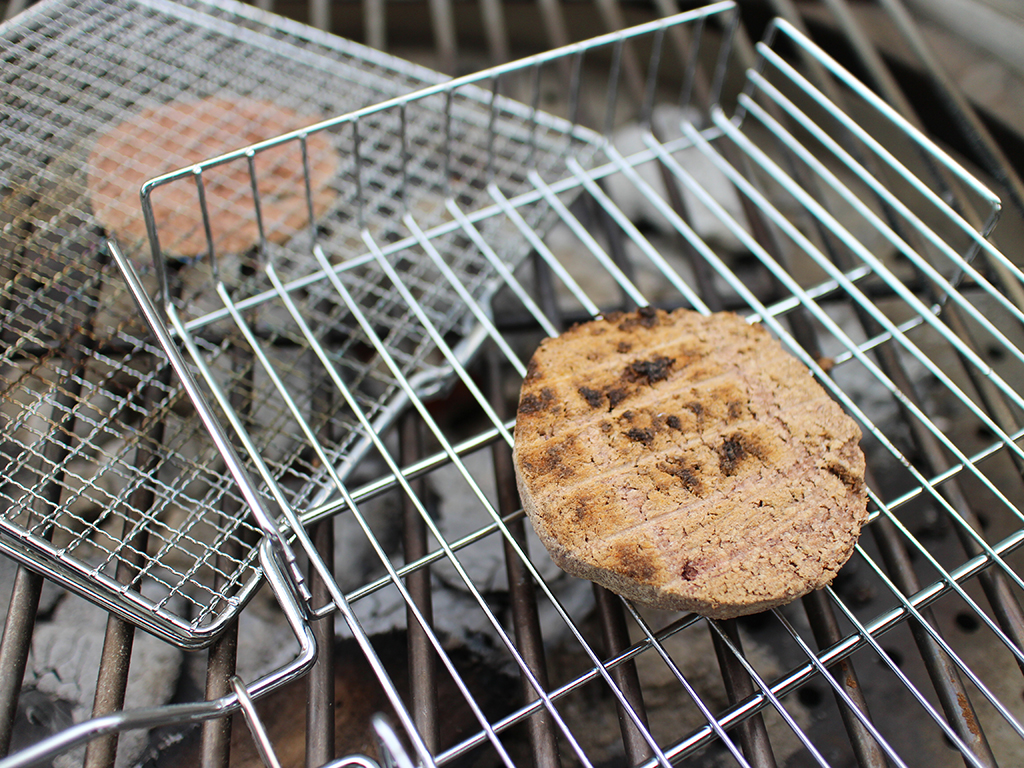
It was a sunny afternoon at the ButterKicap Kitchen Lab outdoor kitchen, Intan and Nik working up a mild perspiration grilling belacan over a wood fire. The pungent aroma invaded my nostrils immediately. It’s a unique smells that repulses you ever so slightly, while making your mouth water at the same time. On the table, packets of different belacan lay open. Some uncooked, some already roasted, in shades ranging from the very dark to a pinkish hue, like a cross between cincalok and clay.
Nine different varieties were purchased as contenders for a taste test, which aimed to:
- Rank belacan in order of taste pre- and post-toasting,
- Discover if there is a difference between an RM0.80 belacan compared to the RM6.50 version, and
- Decide whether it’s necessary to toast or roast it in the first place.
We soon discovered that while none fell into the I-would-not-use-that-ever-again category, it became clear that not all belacan were created equal.
Taking into consideration saltiness and that dried prawn-squidy seafood flavour associated with belacan, they were first tasted untoasted and ranked from best to last. They were then grilled over a wood fire. This is undeniably a somewhat indulgent and fancy way to bakar your belacan. You can easily toast or grill it over a gas stove flame or on a pan. However, ensure your area is well ventilated to avoid lingering smells that take forever to disappear. One of the varieties was also cooked in a grilling bag. This had an interesting effect of toasting and steaming the belacan at the same time.
The results are in!
There was a bit of movement after the second taste test. Some of the initially lower placed belacan moving up in ranking after toasting. This proves that toasting belacan really makes a difference to its flavour, adding depth, dimension and an additional richness.
| Rank | Pre-toasting | Post-toasting |
| 1 | Amy Heritage Cuisine | Cheong Kim Chuan Premium |
| 2 | Belacan Muara | Belacan Muara |
| 3 | Cheong Kim Chuan Premium | Amy Heritage Cuisine |
| 4 | Yahya B Osman | Cheong Kim Chuan |
| 5 | Chop Prawn and Globe | Yahya B Osman |
| 6 | ABC Terasi Udang* | ABC Terasi Udang* |
| 7 | Cheong Kim Chuan | Chop Prawn and Globe |
| 8 | Sing Long | Sing Long |
| 9 | Chin Lean Trading | Chin Lean Trading |
* the only non-Malaysian made belacan tested
We cooled down after with Intan’s homemade jelly to discuss the finer points of belacan. We wanted to know whether better belacan would have an effect on the overall flavour of sambal belacan. Another of Malaysia’s dishes popularly made with the agak-agak technique, Nik broke down the essential components of a standard sambal belacan so we could determine the exact measurements and recreate a solid version of Malaysia’s favourite spicy condiment.
Five core ingredients were determined:
- Fresh red chilies
- Belacan
- Acid (typically lime, vinegar or tamarind)
- Sugar
- Salt
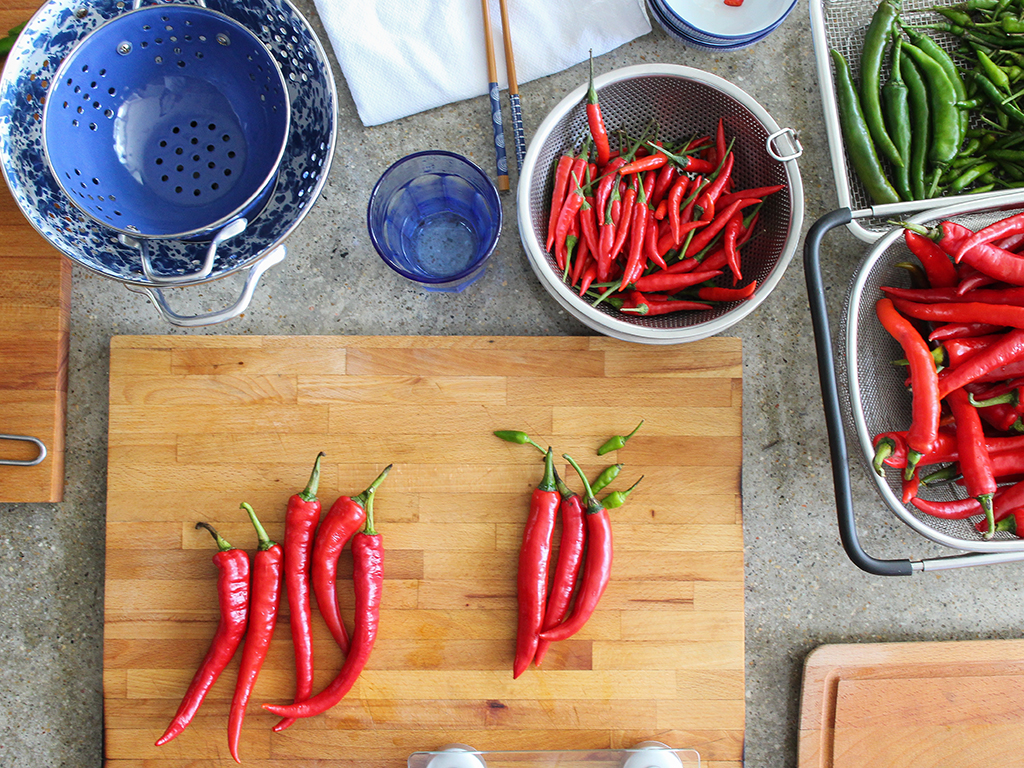
Red vs Green chilies
As we faced the ingredients laid out on the kitchen island, Nik issued his first cooking science question. He wanted to know why use red chilies instead of green ones? Besides green chilies being used to make sambal hijau, Intan insisted there was a difference in flavour between red and green chilies. Nik was not convinced and challenged Intan to a blind test to see if she could distinguish the difference between the two chilies.
Intan correctly identifies both chilies and Nik, too, tried them with his eyes closed. He was able to note the difference – green chilies being a little fresher and herbier in taste.
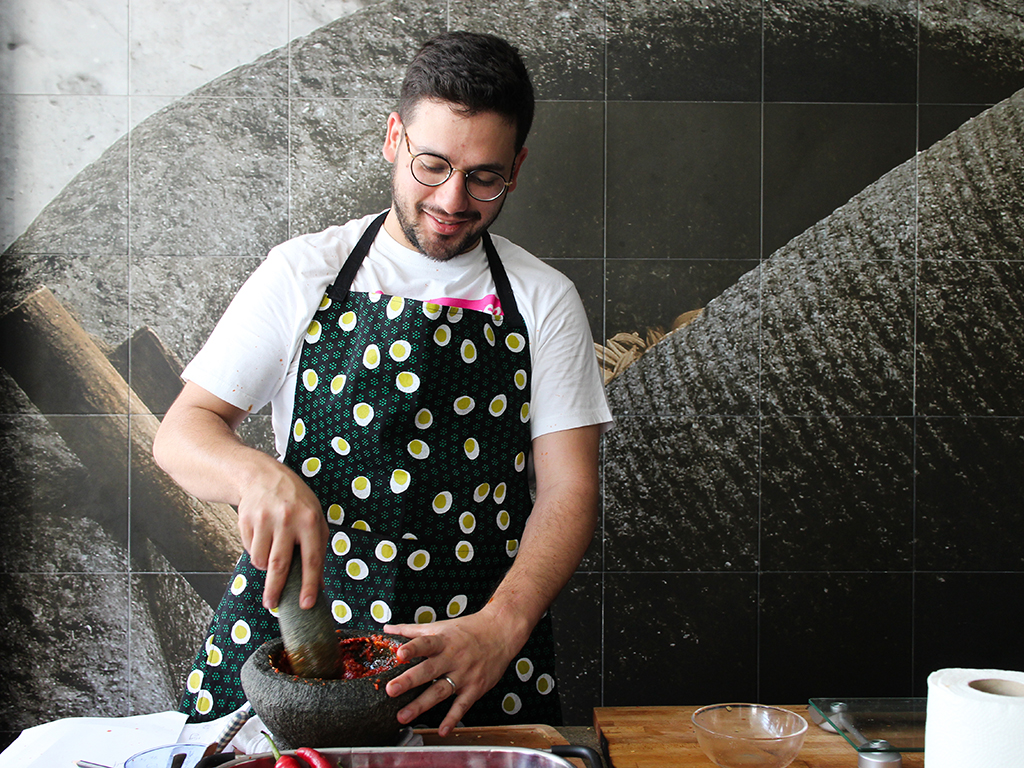
Back in the kitchen it was time to make the first batch of sambal belacan. We were a little over eager after the belacan taste test. The first try had too much belacan which ended up overpowering the sambal. Using a traditional pestle and mortar that Intan’s grandmother gave her, we determined that combining almost half the amount of belacan to chilies was not a good idea.
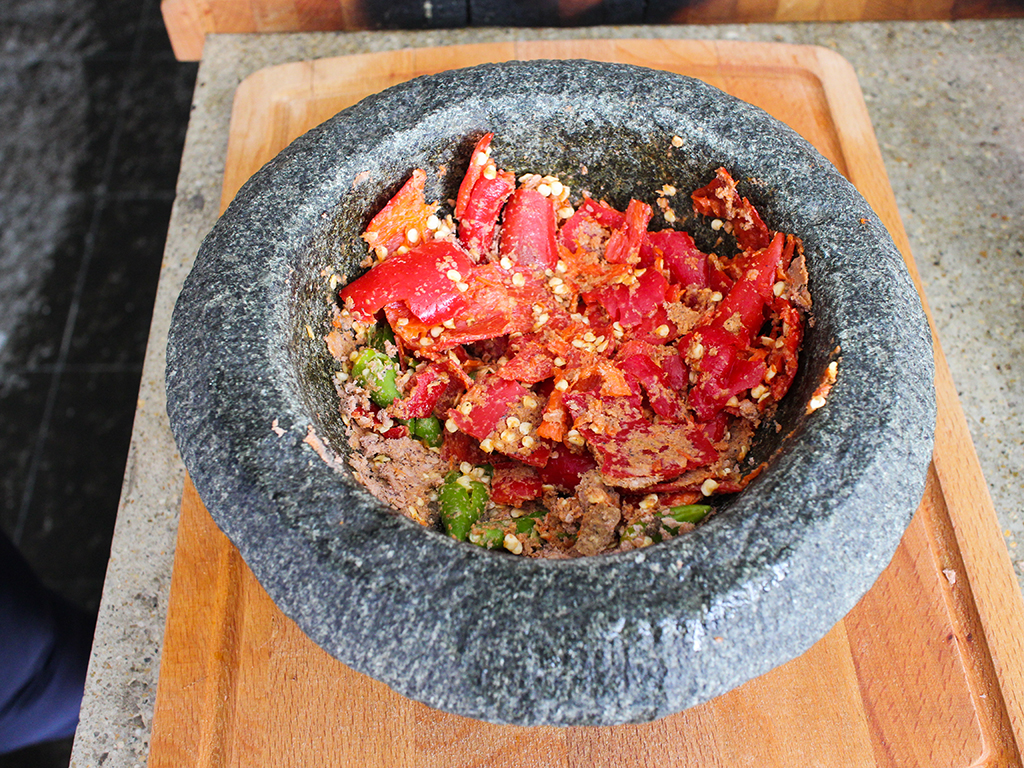
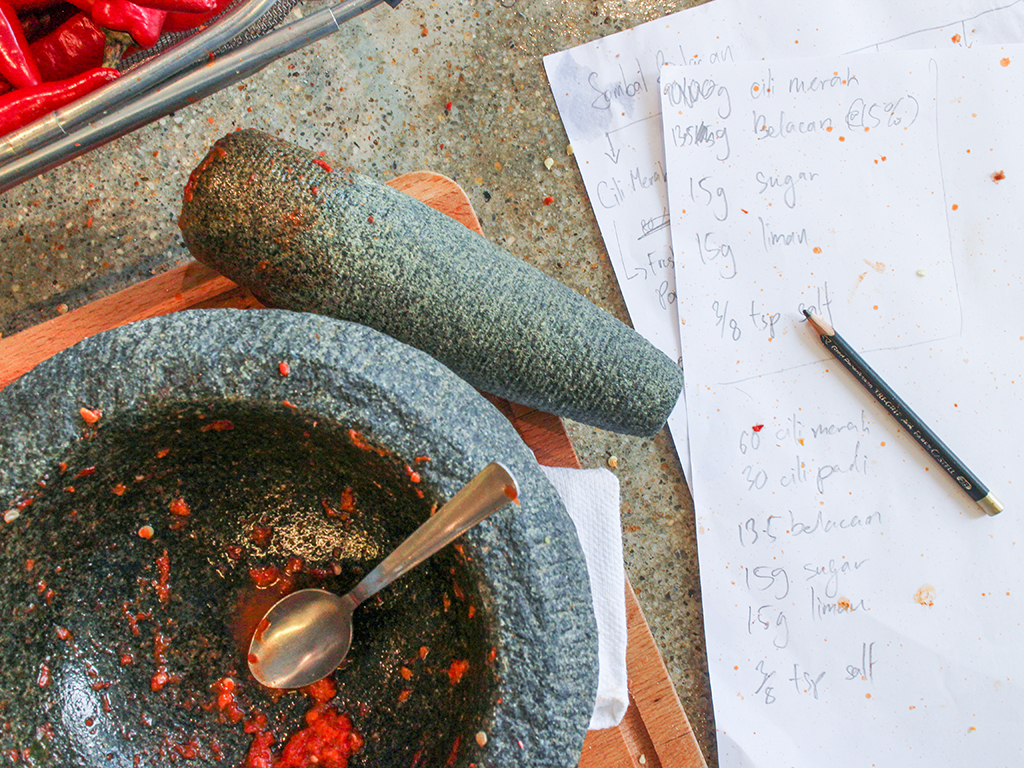
So we decided to make a small baseline sample of sambal according to Intan’s taste. Carefully, we measured the quantities as she tore up the chilies, squeezed some lime and pinched some salt. Despite significantly reducing the belacan, it was still too much, throwing the second trial batch off balance.
The third baseline sample was a clear winner with the belacan coming in at only 1/6th the portion of chilies used compared to almost half earlier. Swapping limau nipis for kasturi, we also made an interesting discovery (regardless of lime type) – the weight of lime used is exactly the same as sugar used!
Let’s make more!
The next challenge emerged when Intan mentioned making larger portions of sambal belacan wasn’t as simple as doubling or tripling the recipe. She argued that the flavour of belacan and heat of chili was exponential – the more chili one puts, the hotter the sambal will be. While it made sense on a basic level, Nik insisted this couldn’t be true from a scientific perspective. So, it was put to the test with the portions tripled up. This time, Nik won the challenge.
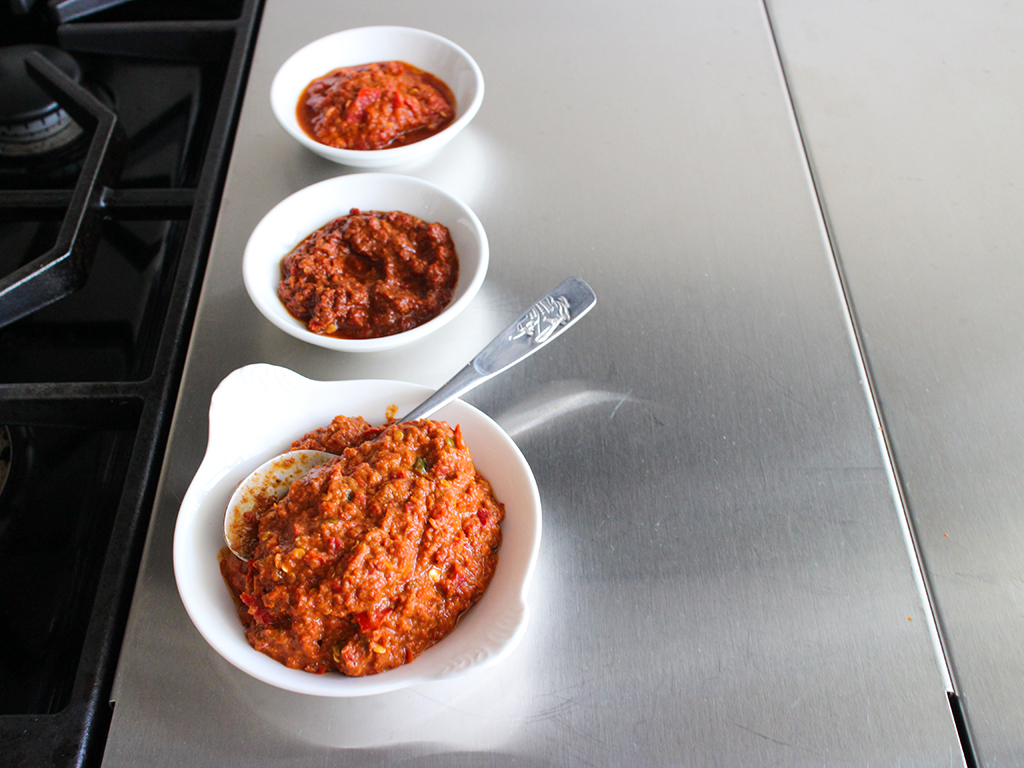
Now, would a better belacan make a difference to the taste of sambal belacan? Using the measurements determined earlier, we swapped the belacan for one from the top of the list. We also added a little bit of green cili padi while maintaining the same weight of chili used in total. While I found the cili padi mix too spicy for my own personal taste, the kick of good belacan really brought the sambal to the next level. It added a depth that deliciously lingered in your mouth. The verdict was in: in the case of sambal belacan at least, really good belacan really does make a difference to the flavour ultimately.
Lazy sambal makers rejoice
So what if you’re not all that keen to spend a lot of time and muscular effort making sambal belacan in a pestle and mortar? Can you just pop the same ingredients into a food processor and have it all done in a jiffy?
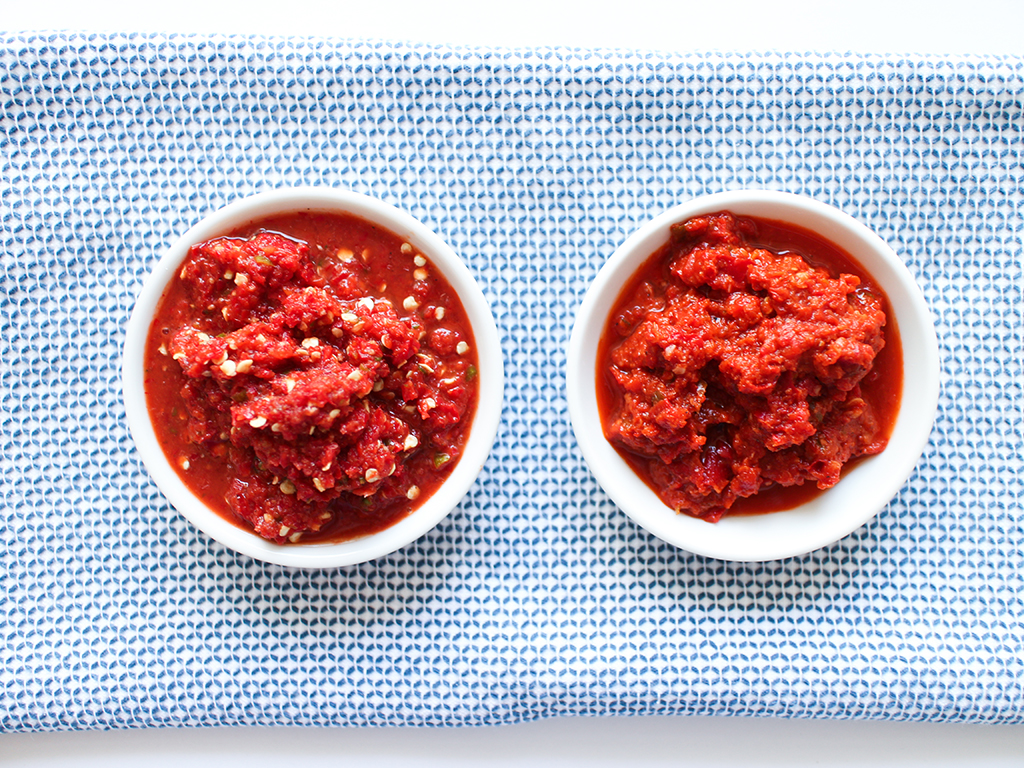
Incurring the disapproval of mothers, grandmothers and in-laws notwithstanding, Nik discovered that yes, the flavour results of a food processor sambal belacan was identical to that using a pestle and mortar. There were a few important differences though:
- The food processor sambal was less spicy as the blades could not disintegrate the chili seeds sufficiently.
- The chili skin was torn into little pieces – you know, the kind that likes to get stuck between your teeth.
- The chili seeds are a lot more obvious. This may not be as visually pleasant to staunch sambal belacan makers and eaters.
- And the sambal belacan is more watery.
Whether you’re using a pestle and mortar or a food processor, get your sambal belacan recipe here.
Sweet indulgence
After all that heat, Intan whipped up a simple kaya using her favourite fail-safe recipe. The main aim of this task was to get some pretty pictures of homemade kaya. Nik, however, could not help himself but to issue one more challenge for the day.
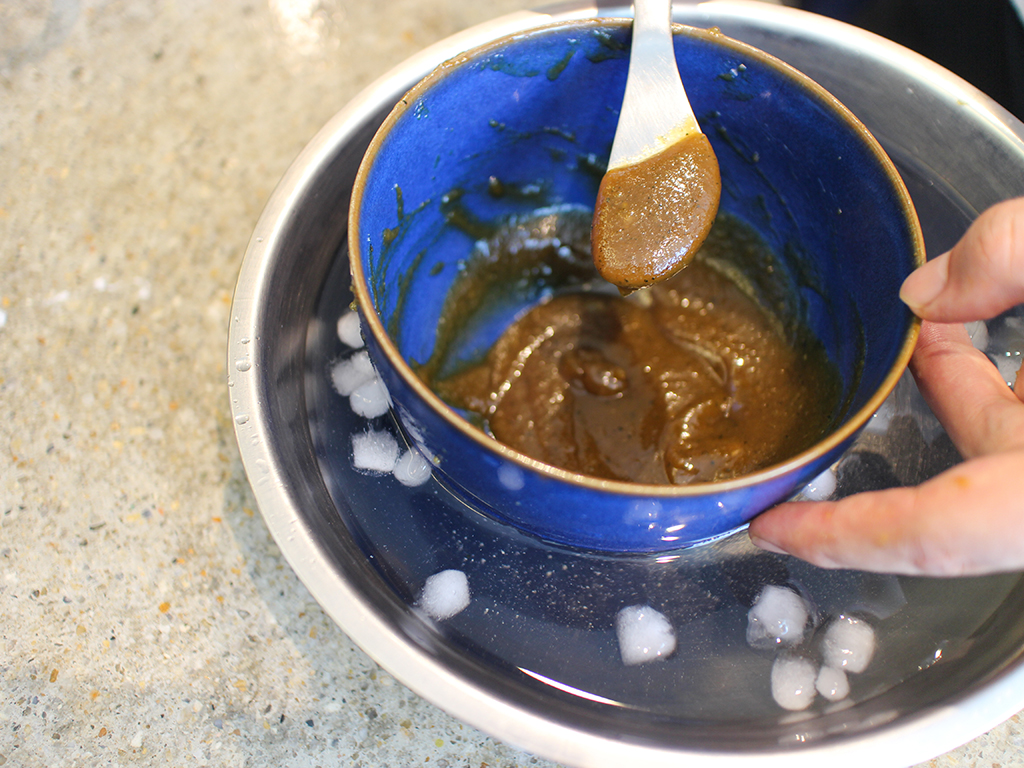
Intan used a battery-operated stirrer initially and then went back to hand stirring for a total of 45 minutes. Nik argued that there surely had to be a more efficient or faster way of making kaya without all that extended manual labour. He poured half the kaya liquid into another pot, put it on a higher heat and stirred it extra fast. This was to avoid caramelization settling in too quickly.
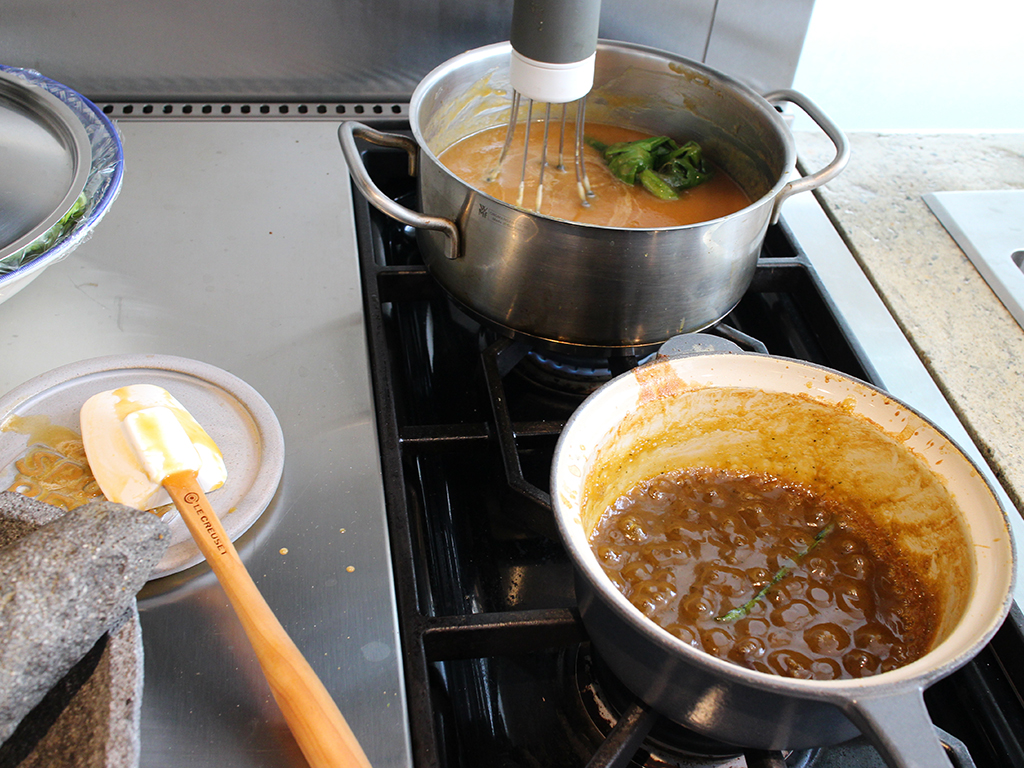
Upon achieving the right colour, the kaya was cooled down in an ice bath while continuously stirring it.
Did it work?
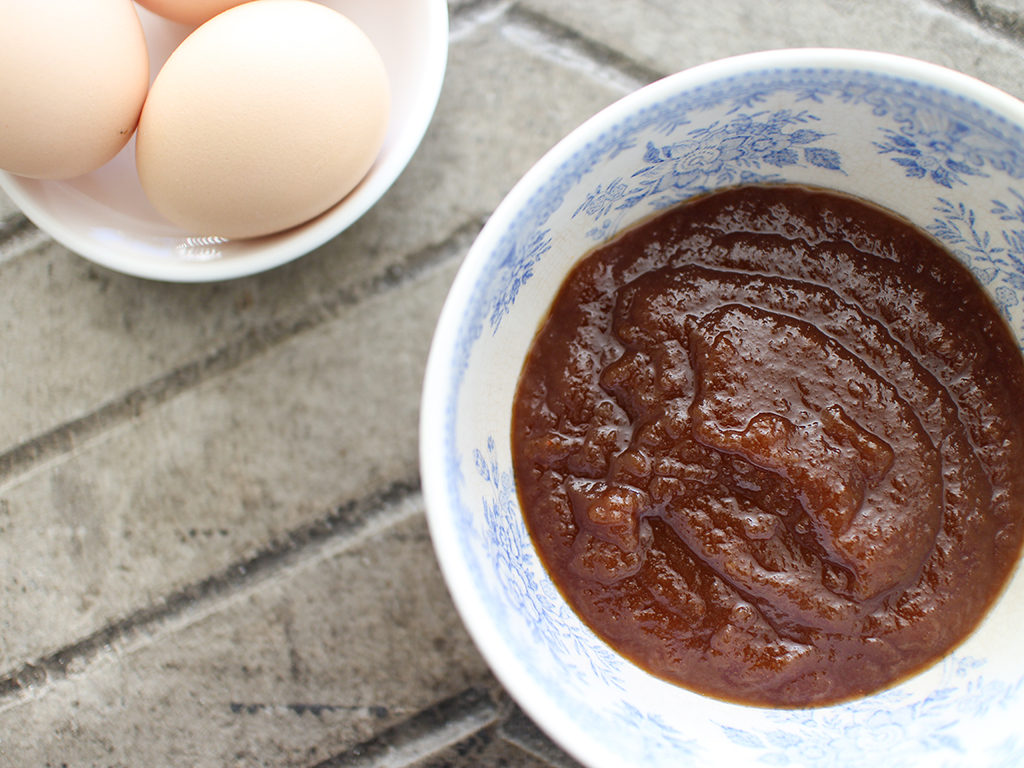
This technique took half the time versus Intan’s method – although it certainly required putting your back into it a bit! And it was delicious, especially when paired with the classic butter and roti bakar combination. There were, however, tiny flecks of black perhaps from the caramelization, and the texture was a little too smooth. We still finished the kaya regardless. Later, as the dregs cooled down and hardened against the sides of the pot, I decided to scrape it out. It tasted like I was eating tiny bits of kaya fudge! I made everyone try a little and the verdict was unanimous – kaya dregs is good stuff. Perhaps the making of kaya fudge will be another task for the Kitchen Lab one day!
Just as the first pot of kaya was scrubbed clean, Intan’s kaya was ready. And even though Nik’s version was faster and undoubtedly yummy, the longer method of cooking resulted in a kaya with that thick, wonderful texture we all love – plus, no black dots!
Clearly, the true test would be eating the kaya with bread and butter.
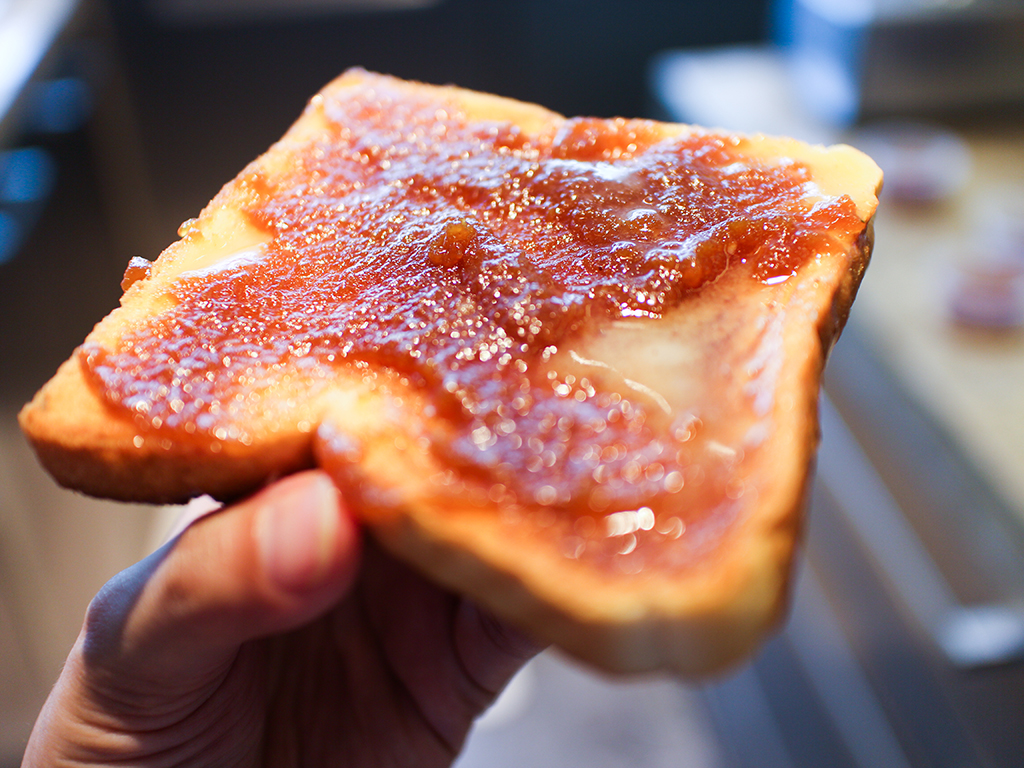
Now this felt like we were eating real kaya as opposed to a kaya ‘spread’. Sorry Nik, this time the slow technique won. Perhaps that sous vide idea we discussed can be given a go – another test for the Kitchen Lab next time!