There’s just something about pavlova that makes us Malaysians squeal with delight. Its sweetness appeals to the sweet tooth in all of us, plus the pillowy blankets of cream and meringue is the closest we can get to visually experiencing a winter-like landscape in our constantly hot and humid home country. And if we can eat it, even better.
Originating in Australia or New Zealand (the debate continues!) pavlova is not a home-grown recipe. In fact, its popularity in Malaysia can probably be traced to that chain of restaurants who still sells out of this sweet treat today despite having it on their menu for some twenty years. But we’re a creative lot and we love innovating. Give it a few decades and our local pavlova may be as uniquely Malaysian as nasi lemak.
But before we start experimenting with flavours, let’s get your pavlova basics right. Even though it seems complex and finicky, pavlova is actually easy to make as long as you get certain things right – like cold egg whites to begin with. While pavlovas can be easily ordered from café’s and bakers alike, many are just too sweet. Sugar is an important component (go for raw organic sugar if you’d like to feel a little better about it), but we’ve got a technique to give your pavlova that perfect balance of sweetness and a hint of salty lemakness that’s going to make you want to eat this all the time.
That’s right, we love a dash of salt in our sweetness, and we’ve found a way to inject them into pavlovas – and we’re not talking salted toppings here. See? We’re on our way to Malaysian-izing pavlovas already! And if you follow our instructions to the T, we’re positive you’ll make them perfect on your first try!
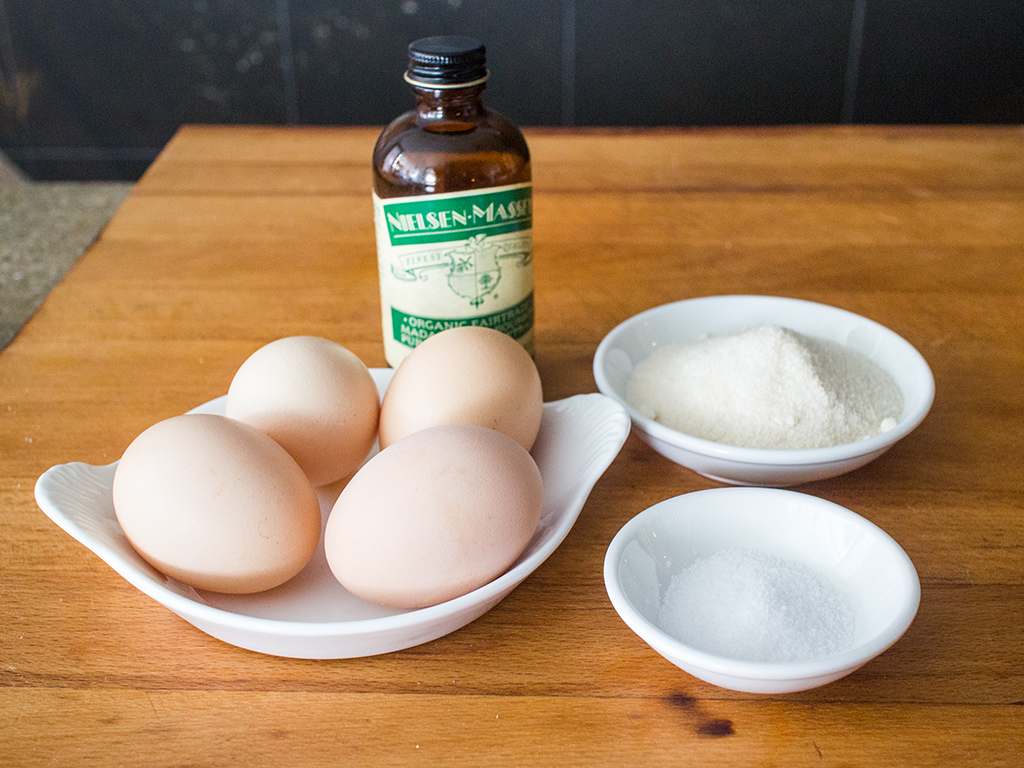
Ingredients
- 4 cold egg whites
- 3g fine salt (1/2 tsp)
- 2g vanilla extract (1/2 tsp)
- 215g sugar (1 cup)
- 400g cold whipping cream
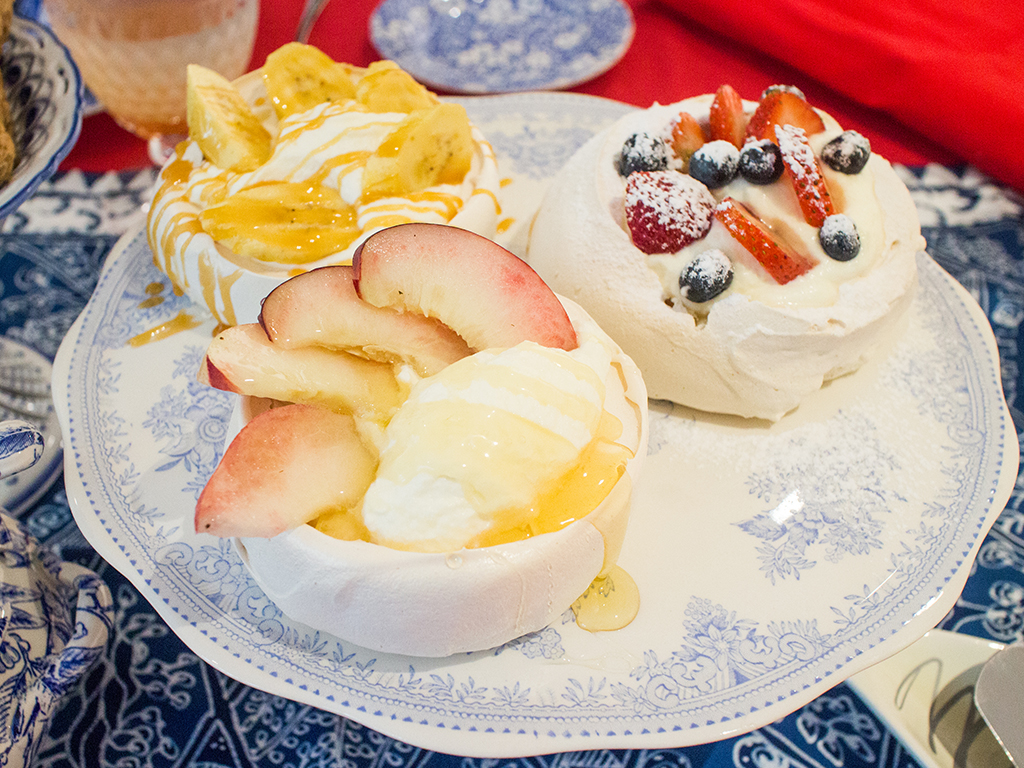
Toppings
- bananas & salted caramel
- strawberries, blueberries & icing sugar
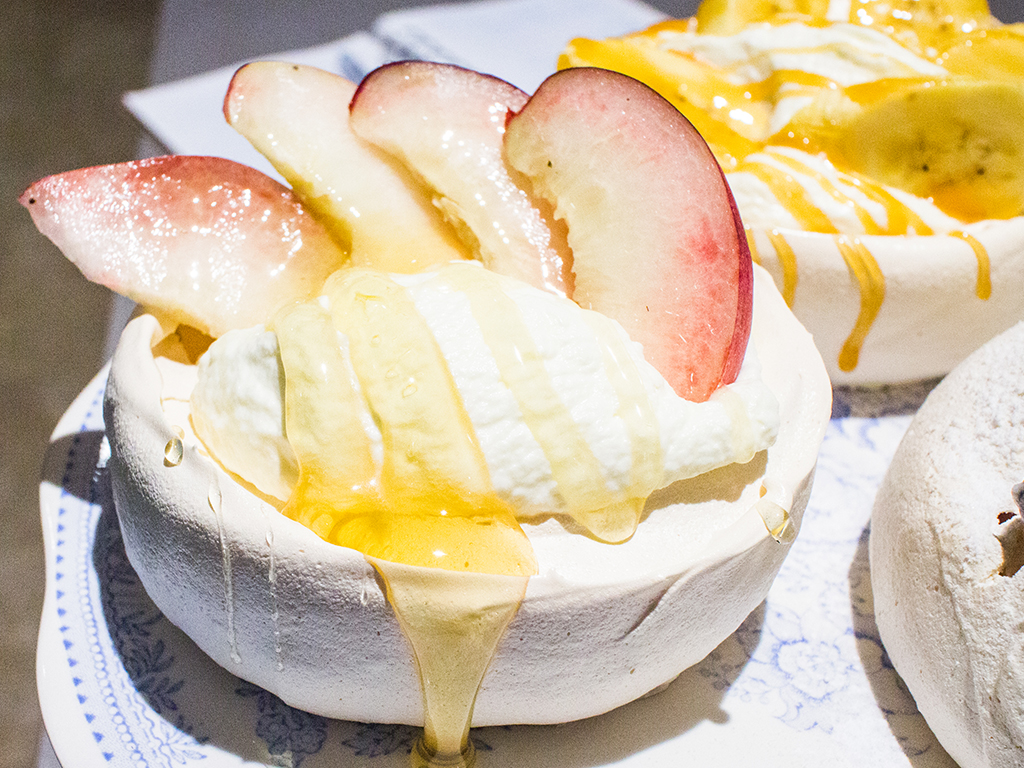
- peaches & honey
Or feel free to use any fruits and toppings you like. Chocolate, toasted coconut, passionfruit, mangoes – just about any sweet or sour or topping goes well with pavlova.
Makes 4-5 medium pavlovas
Method
Preparation
- Heat oven to 120°C.
- Line baking tray with a Silpat or silicone baking mat. If you don’t have one, you can also use parchment paper.
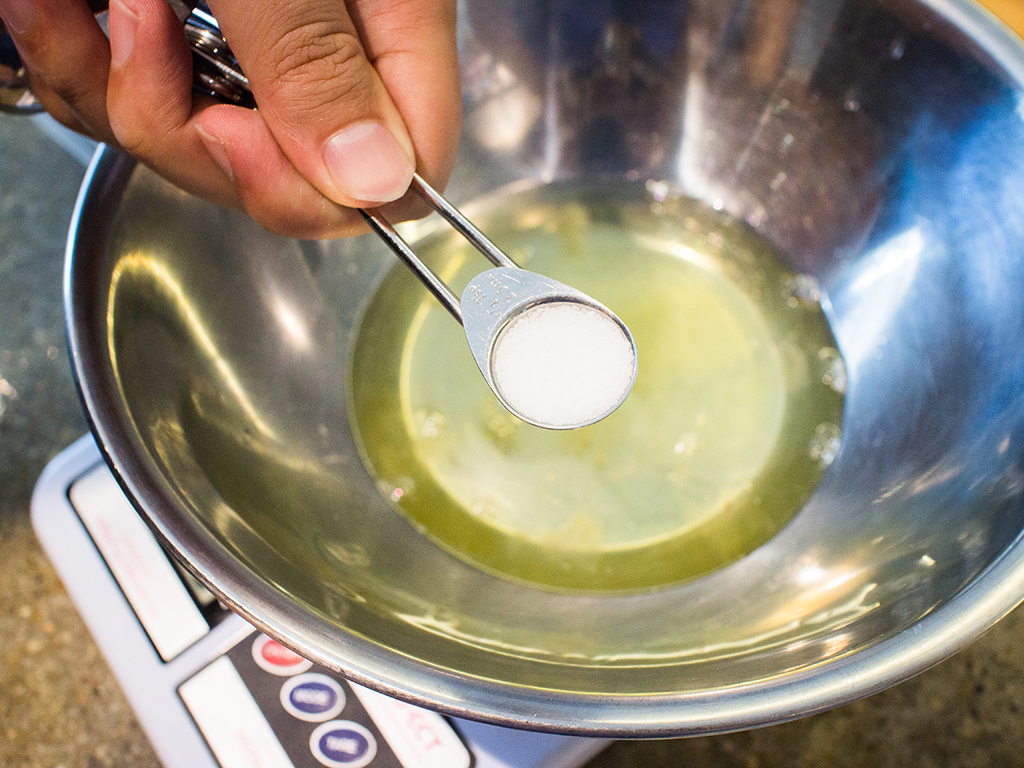
- Separate egg whites into a bowl if you haven’t already done so.
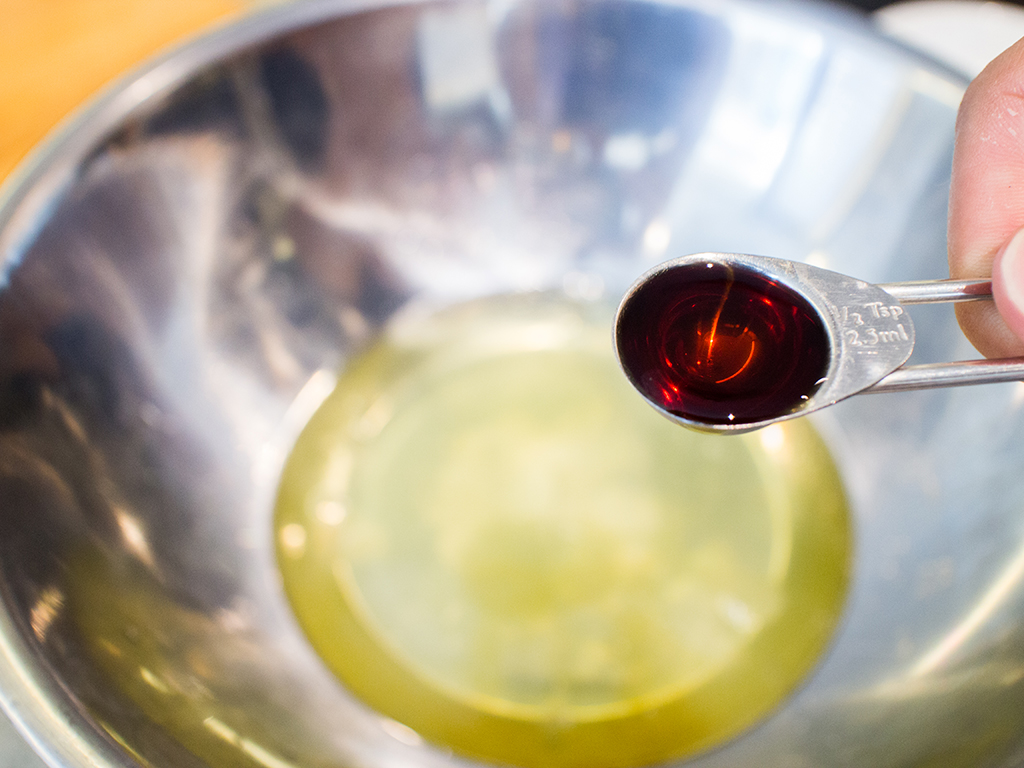
- Add salt and vanilla extract to egg whites and stir a little to mix.
Making meringues
- Add mixture to a mixing bowl.
- With the whisk attachment, whip eggs on low speed for a minute, then bring it up to medium speed. Whip until eggs are foamy right through.
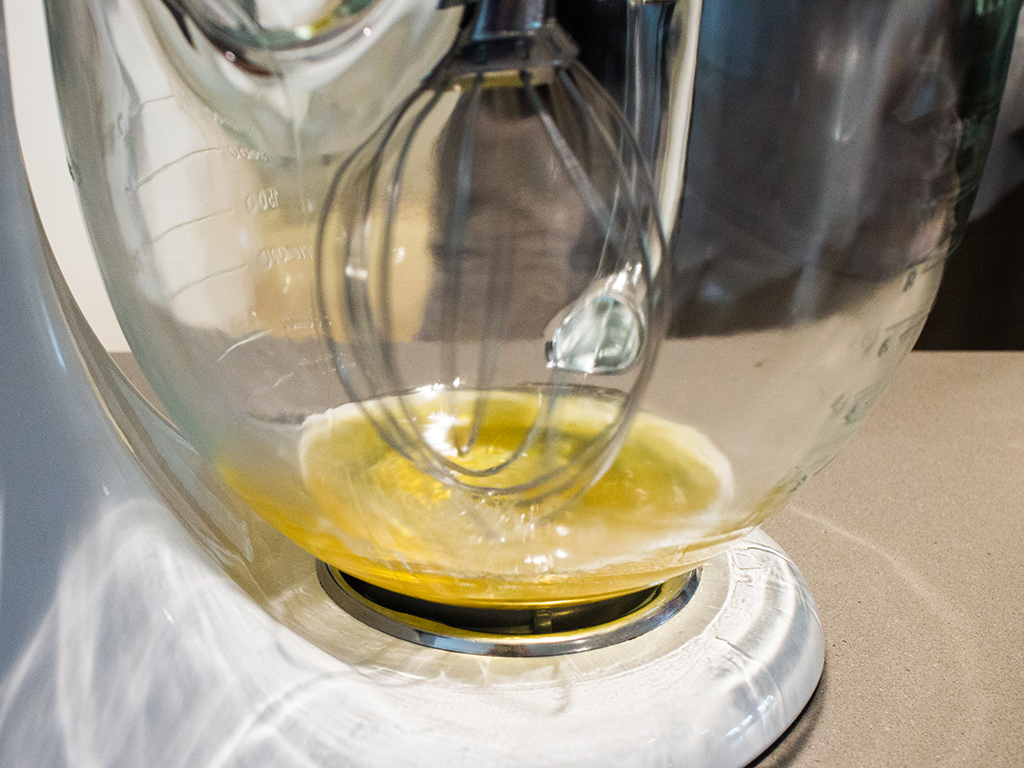

Important tip: unless you’re using a hand mixer, most machine’s whisk attachment doesn’t reach the bottom of the mixing bowl. Detach and lift the bowl up while whipping to ensure the eggs in the lowest part of the bowl also foams up.
- Once eggs are foamy, turn the speed down to low.
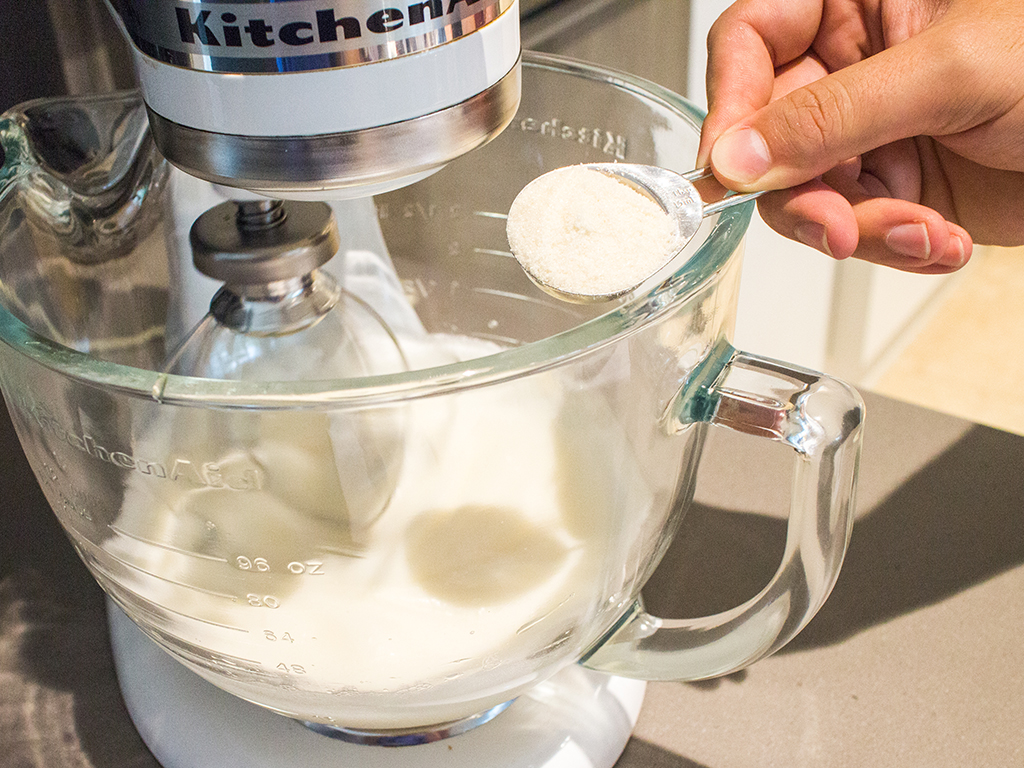
- Add sugar to eggs – slowly – 1 tablespoon at a time. Let it whip for 10-20 seconds to allow sugar to dissolve slightly before adding the next spoon and so on until sugar is finished. Whip until the mixture is well emulsified. Lift the mixing bowl occasionally so the bottom gets scraped up and whipped too, to ensure we have a uniform mixture.
- Once soft peaks start to form, stop the mixer and scrape down the sides.
- Set the mixer on medium high speed and watch your meringue as it develops. You’re looking at the line marks the whisk attachment makes. The stiffer your meringue gets, the more prominent these lines will be. Whip until stiff peaks form.
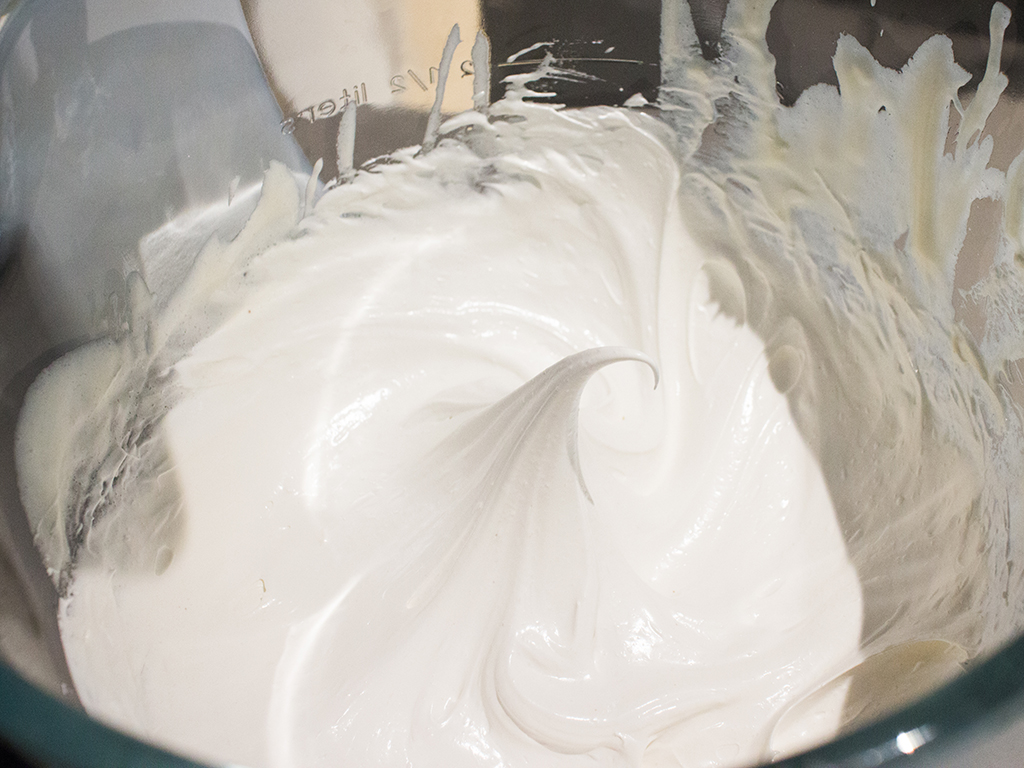

Important tip: cold and older eggs make this process faster. If your meringue isn’t forming, add 2 tsp distilled white vinegar. When the peaks are almost stiff, add 4 tsp corn starch.
Forming pavlova ‘bowls’
- Transfer meringue to a piping bag.
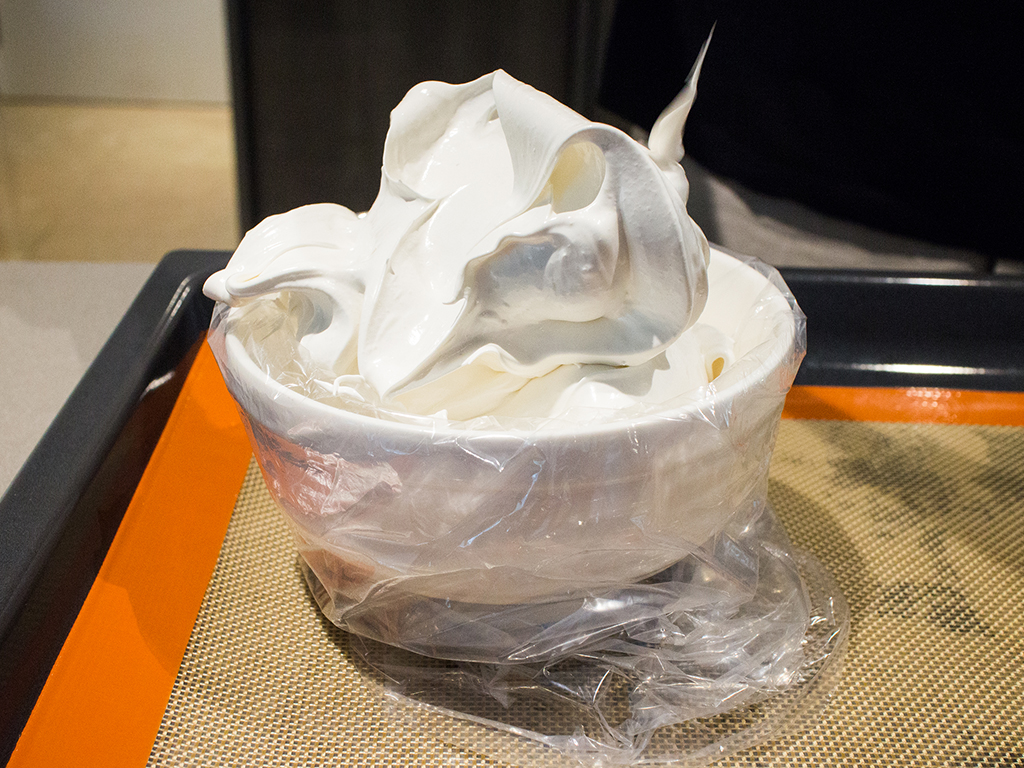
- Push meringue to one corner of the bag to remove excess air pockets. Don’t press to hard though or you’ll deflate the meringue!
- Twist to close the open end of the bag just over the meringue. Make this thight so you’ll have good pressure and flow when piping.
- Snip the corner off.
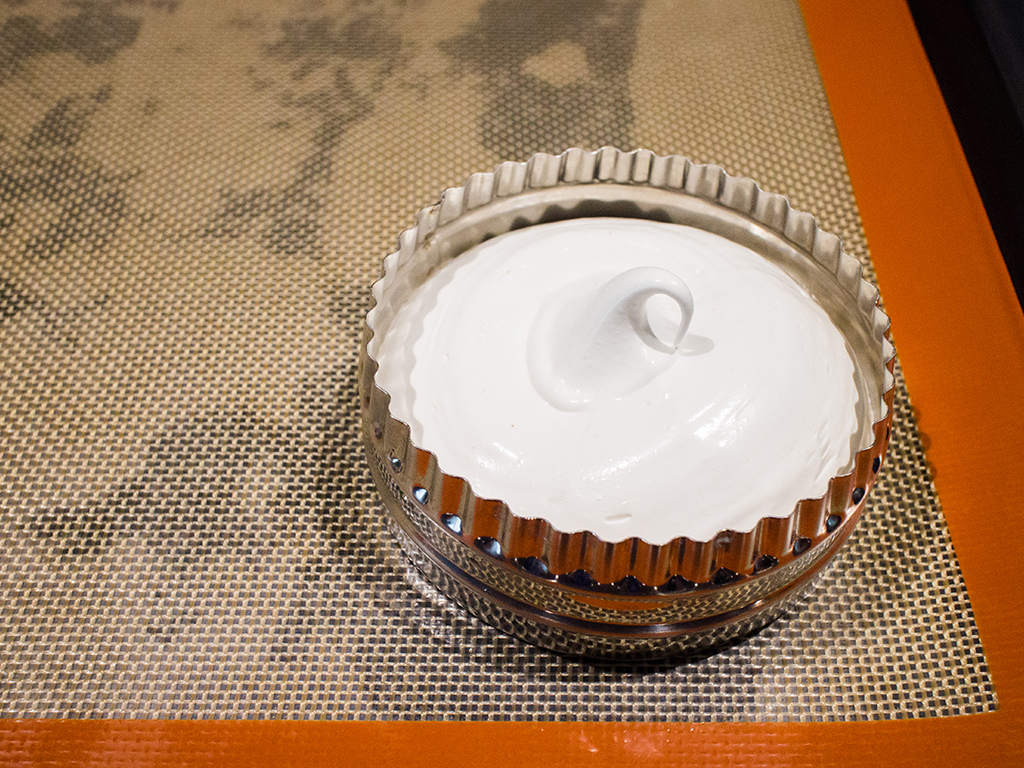
- Place a baking ring in one corner of your lined baking tray.
- Pipe meringue into the ring and fill until it is about 2.5cm high. The ring forms pavlovas of an even size. You can use any size you like. We used an 8cm diameter ring with a height of 4cm (roughly), but you can use smaller or larger rings as you like. We recommend a slightly smaller size for perfect individual portions.

- You can leave your meringue with a peak, but we recommend using the back of a spoon to create a ‘bowl’ in your meringue. This will help keep your cream and toppings stay place. Make sure the walls if your pavlova bowls are thick enough – about 1.5cm is sufficient – and don’t indent all the way to the bottom.
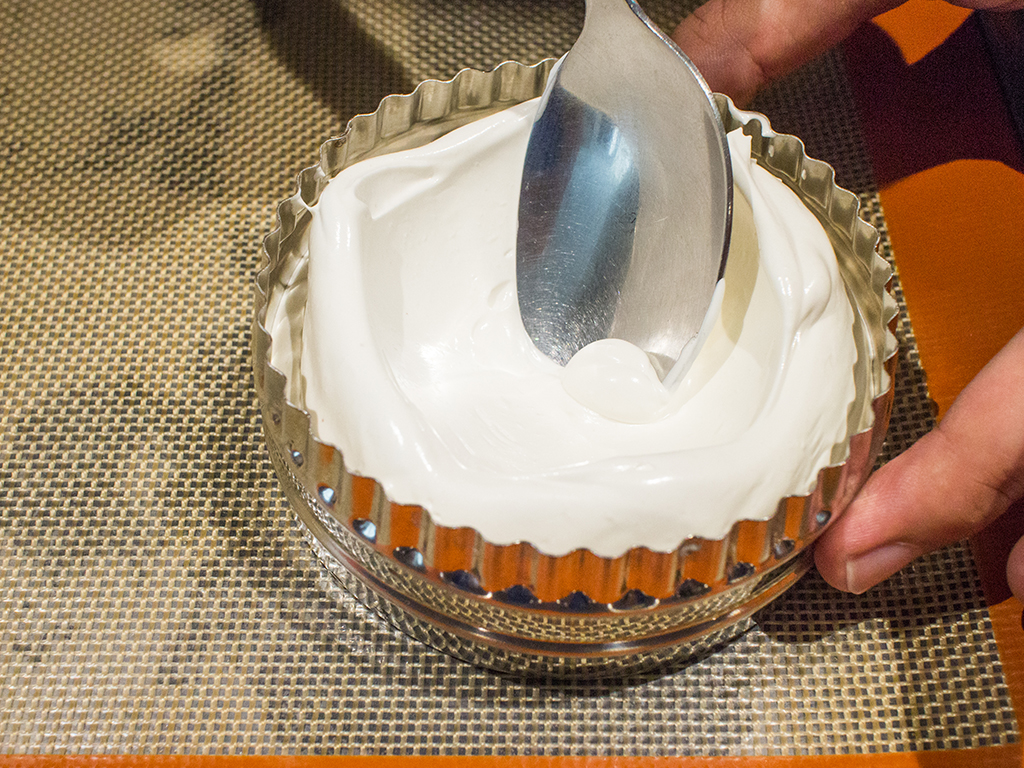
- Happy? Twist the ring to remove. Some meringue will stick to it, but that’s fine.
- Repeat steps 17 to 19 until meringue is finished.
- Feel free to touch up your meringues with a spoon if you feel the shape is a little uneven.


Important note: if you like meringues with a more marshmallow texture, make the bowls thicker.
Baking meringues
- Bake meringues. Depending on the size, this will take about an hour, or until the surface of the pavlova has hardered. The outer part must feel solid to the touch.
- Once baked, turn off the oven and open the oven door just a little bit. Leave your meringues in the oven for 1 hour before making your pavlovas. This cools your pavlovas slowly and allows them to crisp and dry up without cracking!
Whip that cream
- While waiting for the meringues to bake, prepare the whipped cream. As the meringue is fairly sweet, there is no need to add sugar to your cream.
Important note: freeze or refrigerate your mixing bowl and whisk and make sure your cream is kept refrigerated until you’re ready to use it.
- Add whipping cream to your mixing bowl and with the whisk attachment, start it on low speed and then bring it up to high speed. Depending the thickness of your cream, how much you’re whipping, its temperature and so on, this will take about 7 minutes. Like your meringues, the whipped cream is ready when it is fluffy and stiff.

It’s time for pavlova!
- Once your meringues are ready, take them out of the oven. Be gentle as cracks can form.

- Prepare your toppings.

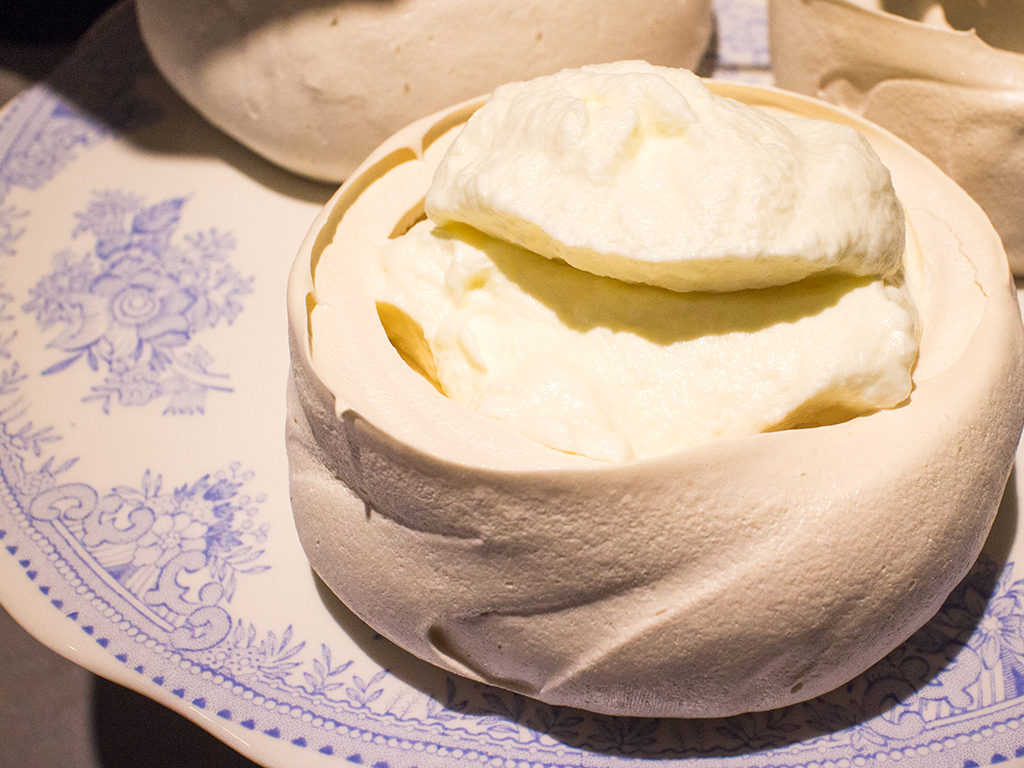
- Spoon whipped cream into each meringue bowl. Be generous but don’t overdo it as you don’t want cream spilling everywhere.
- Finally, add your favourite toppings! Serve on a platter or individually.
Extra tips
- No piping bag? Use a ziplock bag instead!
- Baked meringues and pavlovas and humidity aren’t friends, which means they’re not the best things to make in significant advance and store, especially in our climate. Storing them in a fridge will make them ‘sweat’. What you’ll really need is a cool, dry and air tight container to keep them in if you plan to make them in advance.
- You can make whole-cake sized pavlovas with the recipe above, but if you don’t cook it right, chances of the meringue collapsing are pretty high. We suggest starting small, plus, small pavlovas make great individual servings.
- For some fun interactivity at your dinner table or buffet, get your guests to DIY their own pavlovas with cream and toppings.
- Pavlovas contain quite a bit of sugar. It’s great as the occasional sweet treat, but please don’t eat this every day, even if you might be tempted to!
How did your pavlova turn out? Did you get it right your first try? Show us how pretty they are by tagging your pictures with #butterkicap!