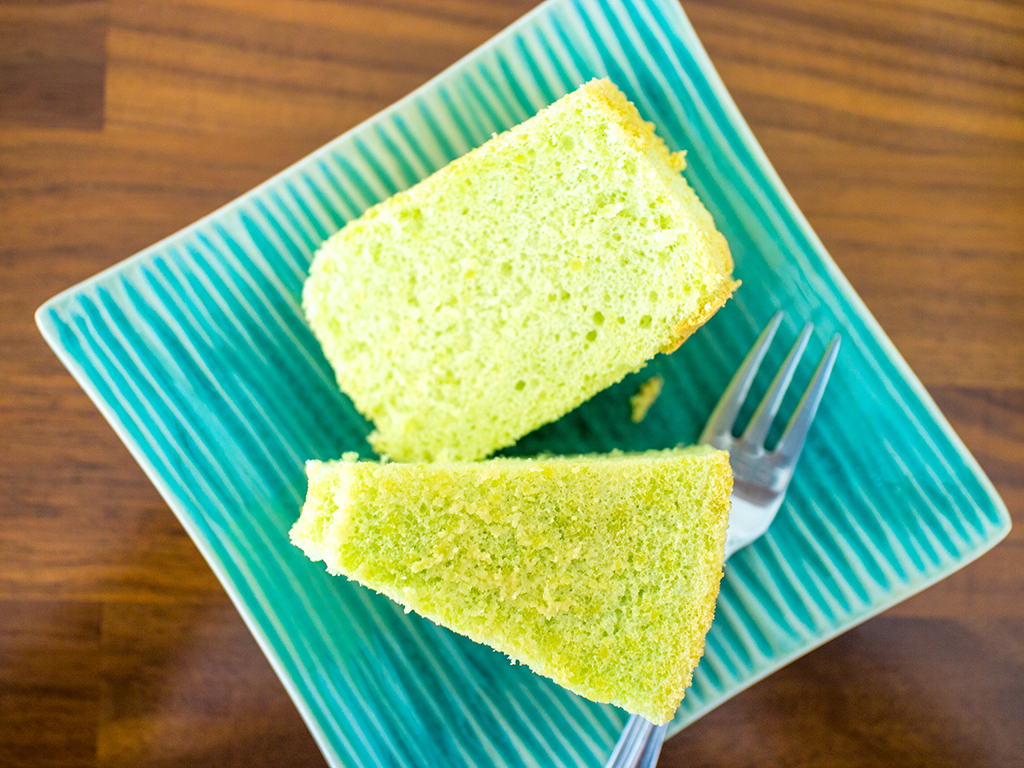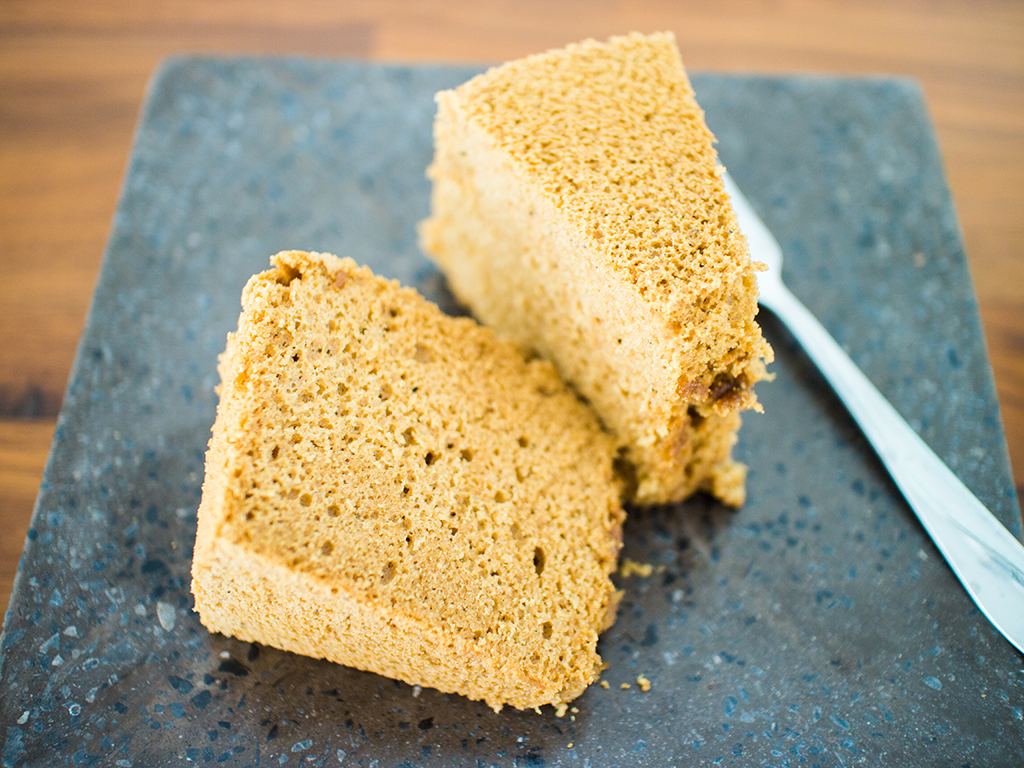
Chiffon cakes are the delight of the young and young-at-heart alike. Soft, fluffy and airy, it’s not unlike eating a flavoured cloud wrapped in a hug. Here in Malaysia, pandan chiffon cake is undoubtedly the most popular flavour of them all – we even have a recipe for one right here – but this cake is diverse enough to welcome a myriad of different flavours from the fresh to the deep and dark, like mmm… coffee. Not content to reproduce your everyday coffee chiffon cake, we put a little local spin on ours by using some kopi and, for an extra richness, santan.
Yes, you read that right, santan. This dense liquid adds a creaminess and extra depth of flavour to the coffee chiffon cake that will make you swoon with delight. However, because of its thicker properties, coconut milk will makes your chiffon cake just a little less airy than the kind you can buy at bakeries around the country. We assure you though that the trade-off with flavour is absolutely worth it. Plus, the cake is still fluffy and soft and oh so tasty.
If you’ve made our pandan chiffon cake you’ll notice that the recipe below isn’t just a one-on-one swap between pandan and kopi. While the techniques are quite similar, it’s worth reading through the ingredients and method below before jumping in. Chiffon cakes are not that difficult to make, just as long as you follow the instructions to a T.
Enjoy!
Ingredients
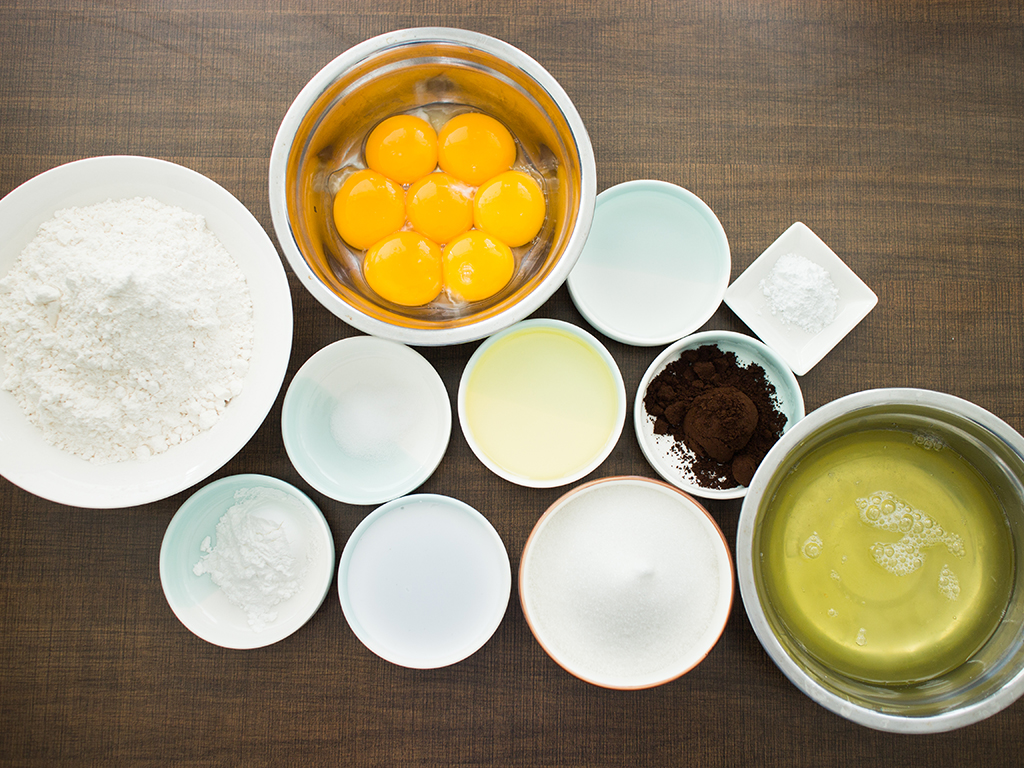
- 230g cake flour
- 12g (1 tbsp) baking powder
- 3g (½ tsp) salt
- 7 eggs, separated (this should yield roughly 225g egg whites & 120g yolk)
- 200g castor sugar
- 4g (1 tsp) cream of tartar
- 63g vegetable oil
- 70g coconut cream (santan)
- 13g (2 tbsp) local coffee powder
- 50ml hot water
Special equipment
- Aluminium tube pan/chiffon pan with a removable base
- Electric mixer
- Metal mixing bowl
Part 1: preparation
- Preheat oven to 180°C.
- Mix local coffee powder with hot water and let it steep until the liquid cools to room temperature.
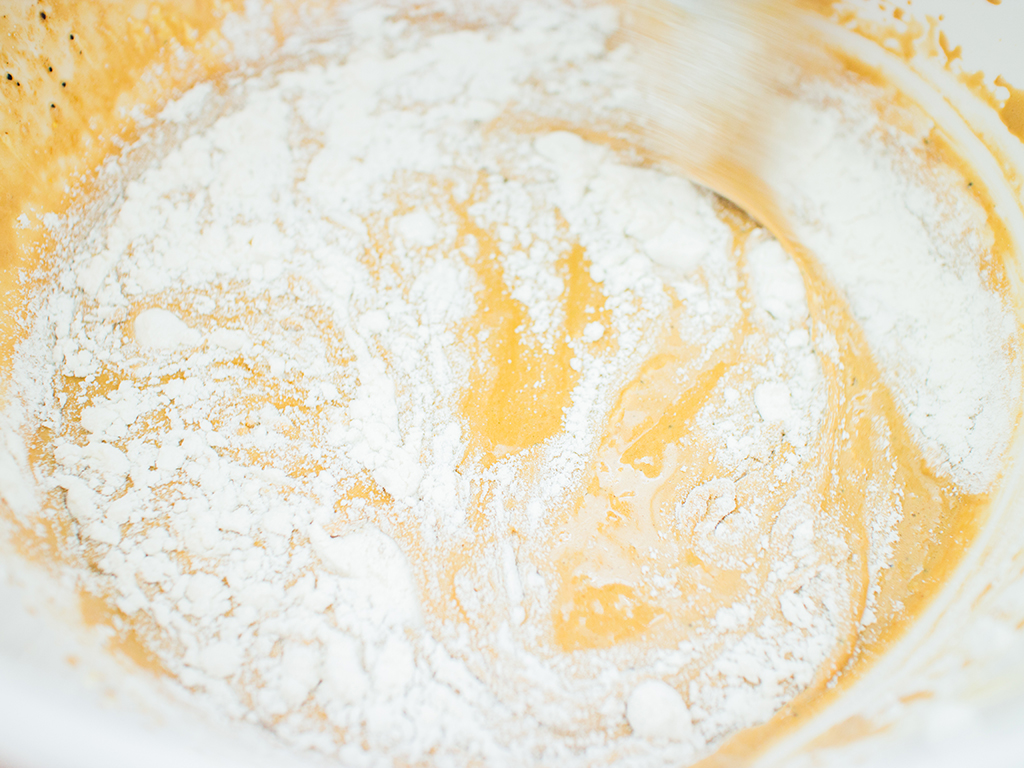
- In a regular mixing bowl, sift cake flour, baking powder and salt three times. This helps aerate the flour and prevent lumps which can weigh down your batter. You’ll notice that the flour gets a little fluffier with each sift. Set aside.
- To make meringue: in a metal mixing bowl, beat your egg whites with an electric mixer until it is bubbly and foamy right through.
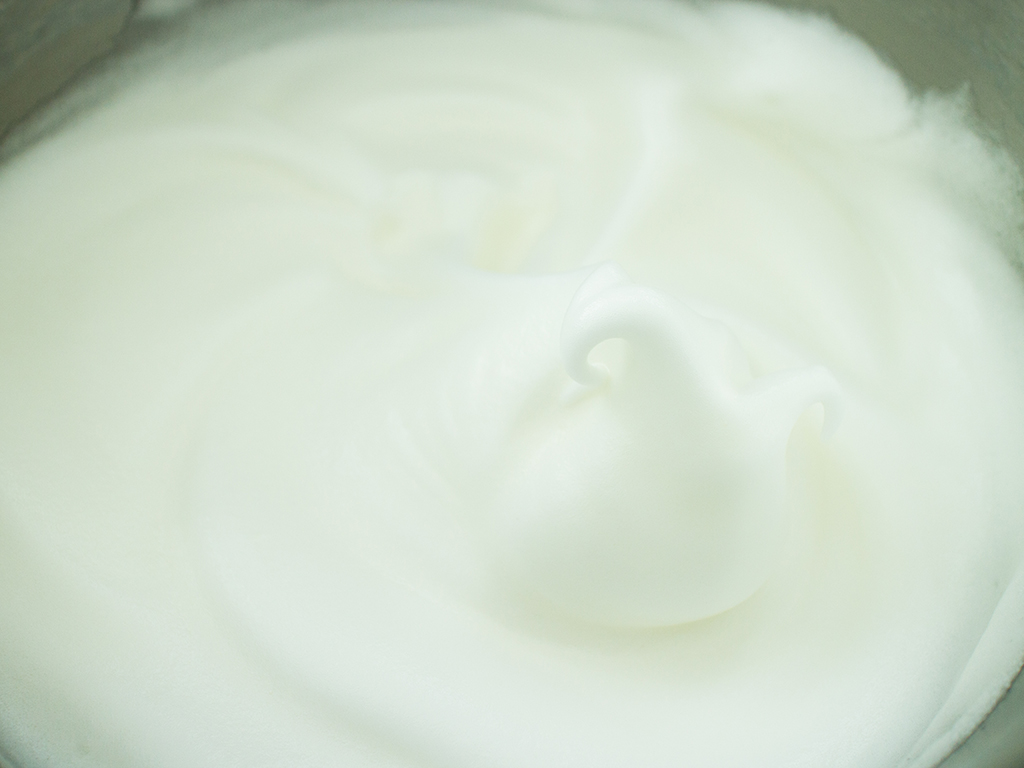
- Add cream of tartar and continue beating until the egg whites become glossy and firm, but not stiff – you are not making pavlova. Cream of tartar helps to stabilize the egg whites. If you’re an expert at making meringues, you can omit cream of tartar if you prefer.
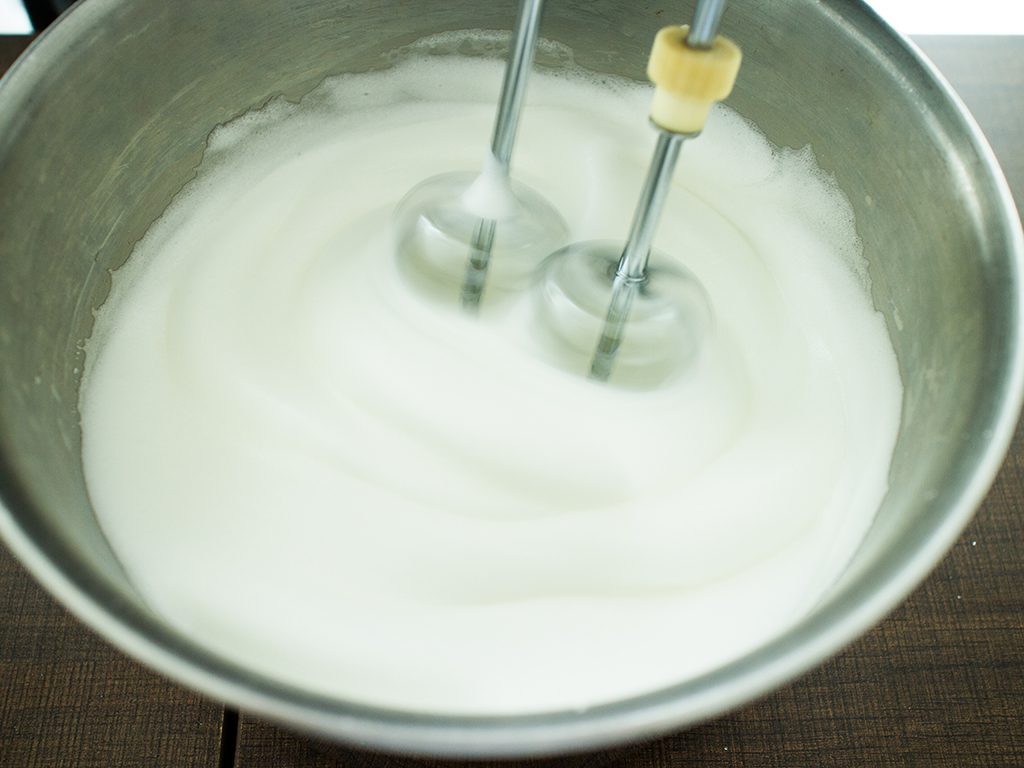
- Add 3 tablespoons of sugar, 1 tablespoon at a time, to your egg whites and continue beating them until the egg whites are glossy and firm peaks form. Set aside.
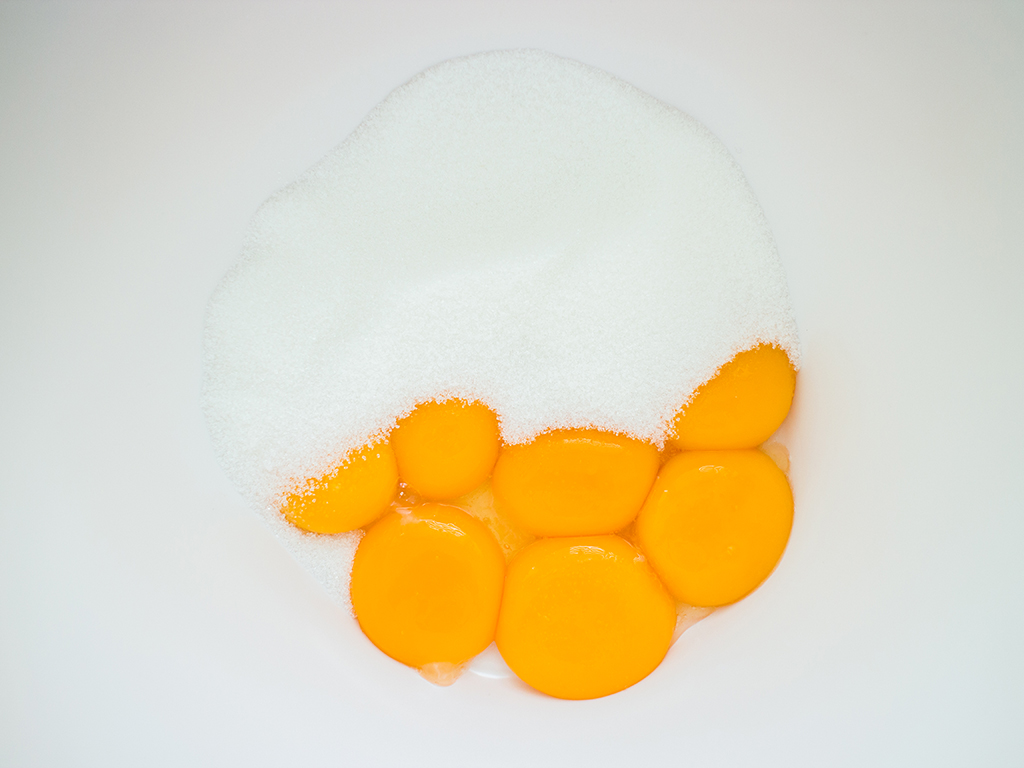
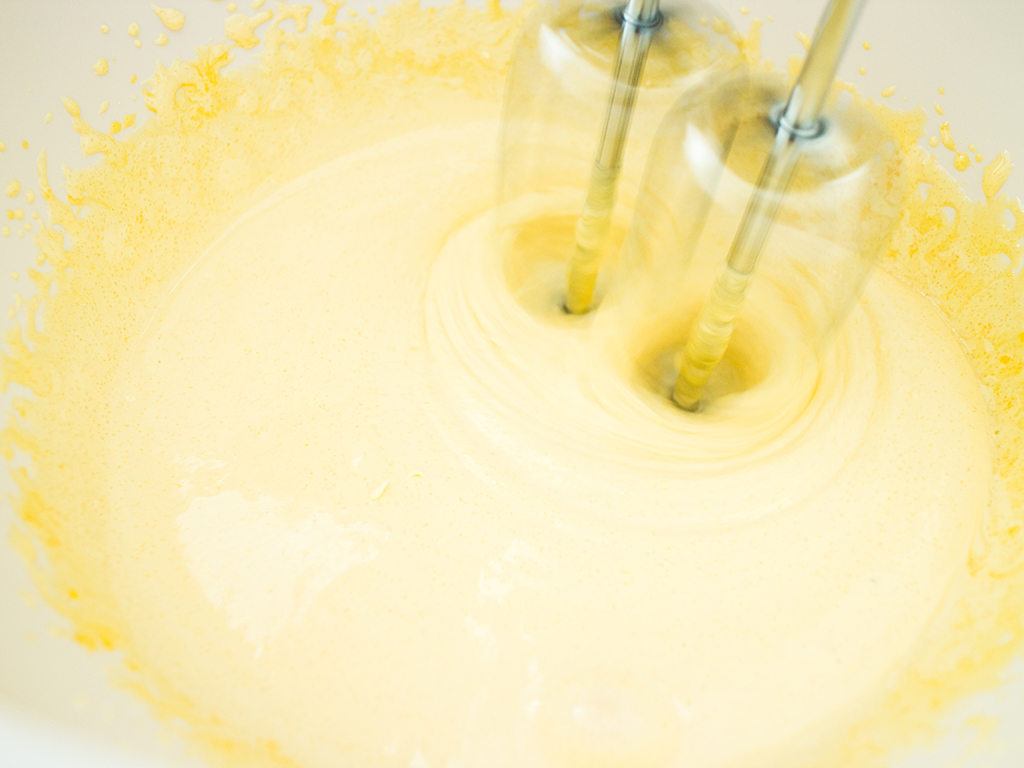
- In a separate mixing bowl, beat egg yolks and the rest of the sugar on high speed until the mixture is pale yellow and fluffy.
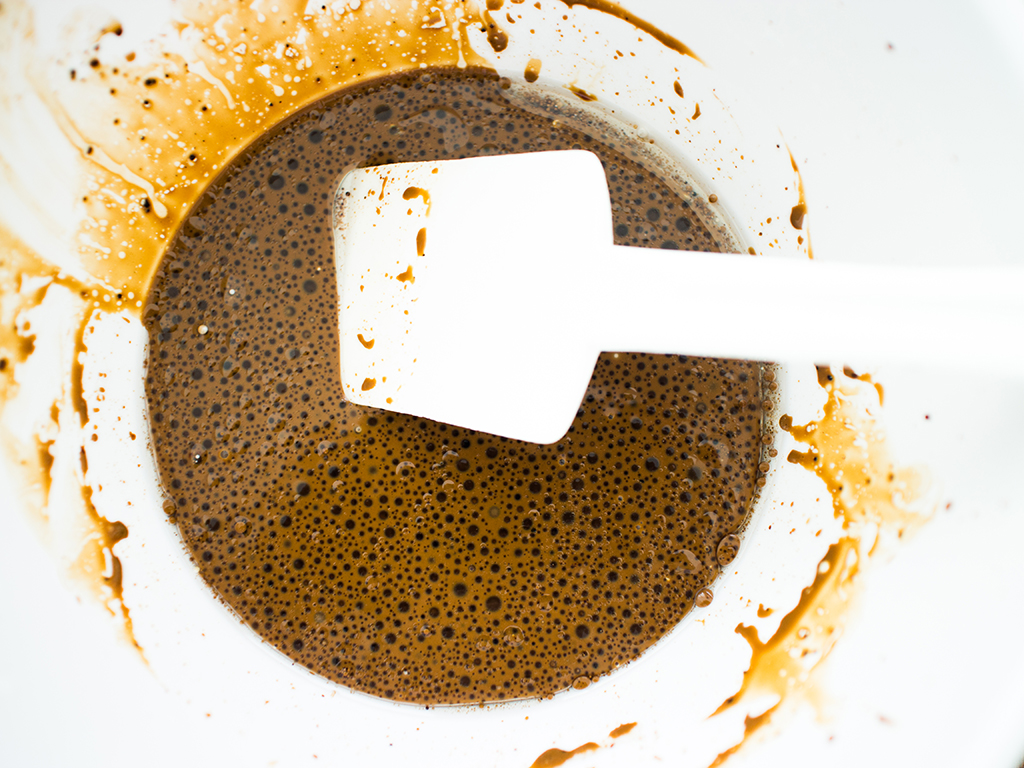
- In another bowl, combine steeped coffee (don’t forget to run the coffee liquid through a sieve to remove most of the coffee grounds), oil and coconut cream and stir until completely mixed.
Part 2: combining the ingredients
- Start whisking the egg yolks again on medium speed, while slowly adding in the coffee mixture, pouring it down the walls of the bowl.
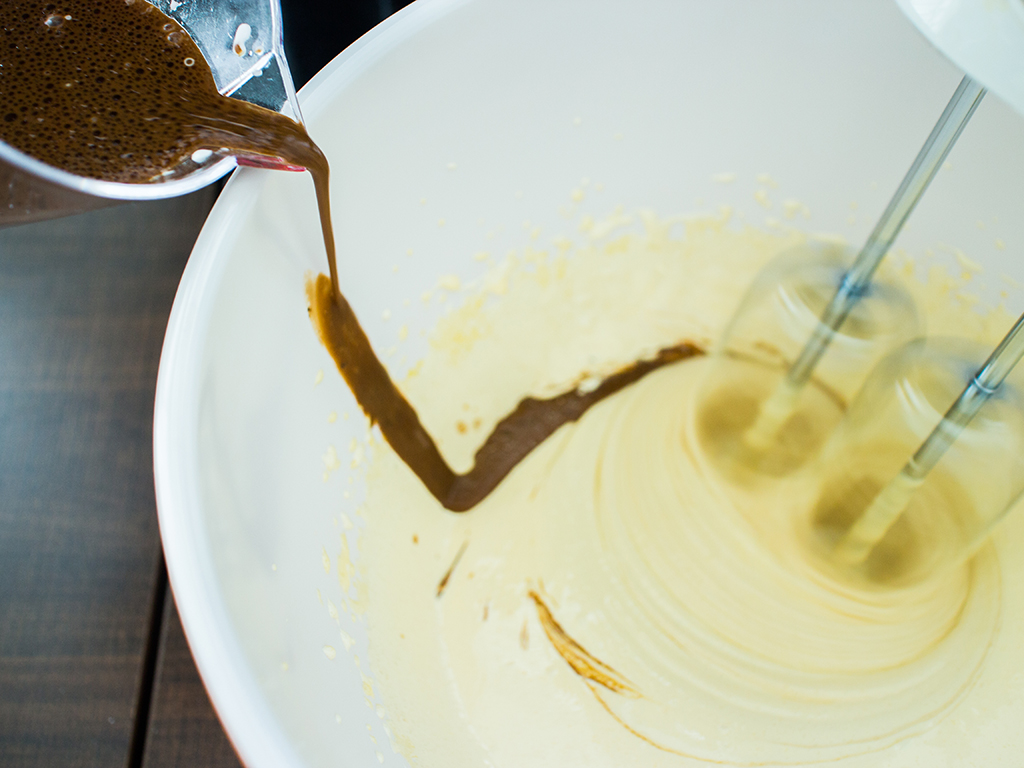
- Continue mixing on medium speed until both mixtures are thoroughly combined.
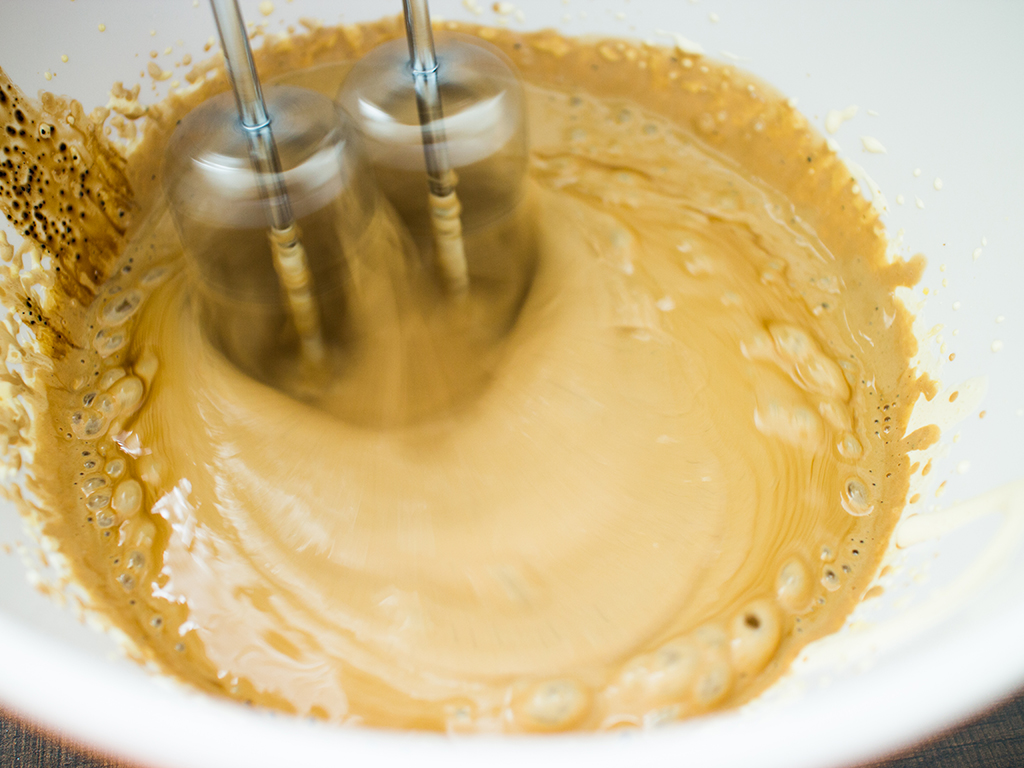
- Add in the thrice-sifted flour into the egg yolk and coffee mixture in three batches, folding it in to combine.

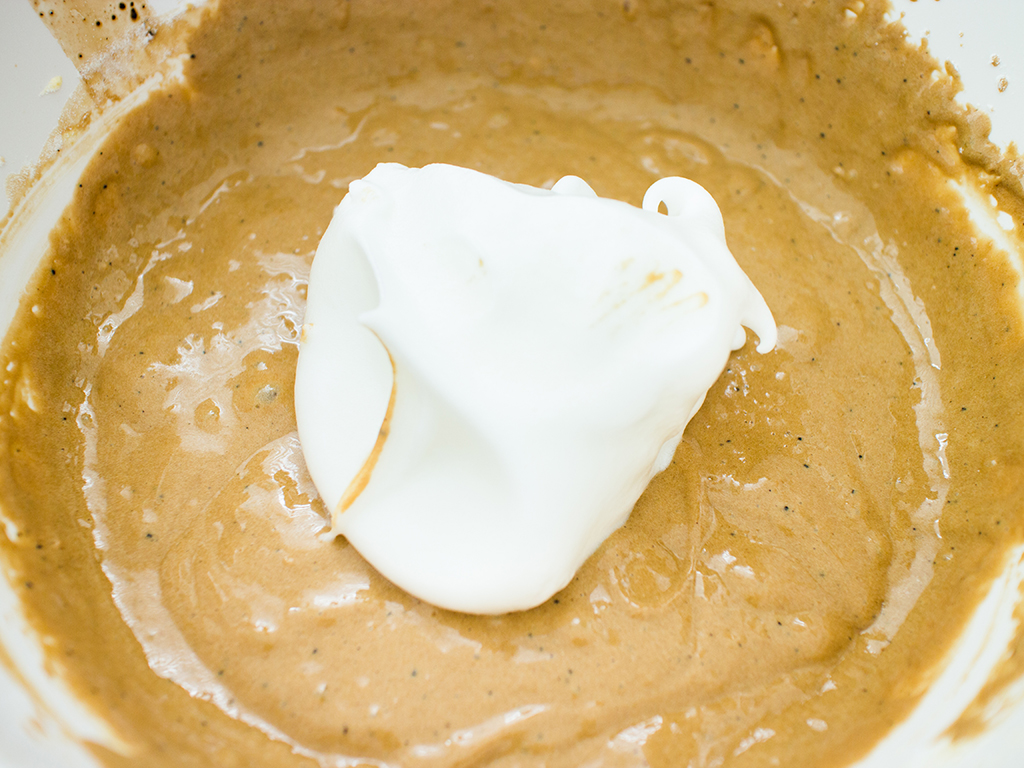
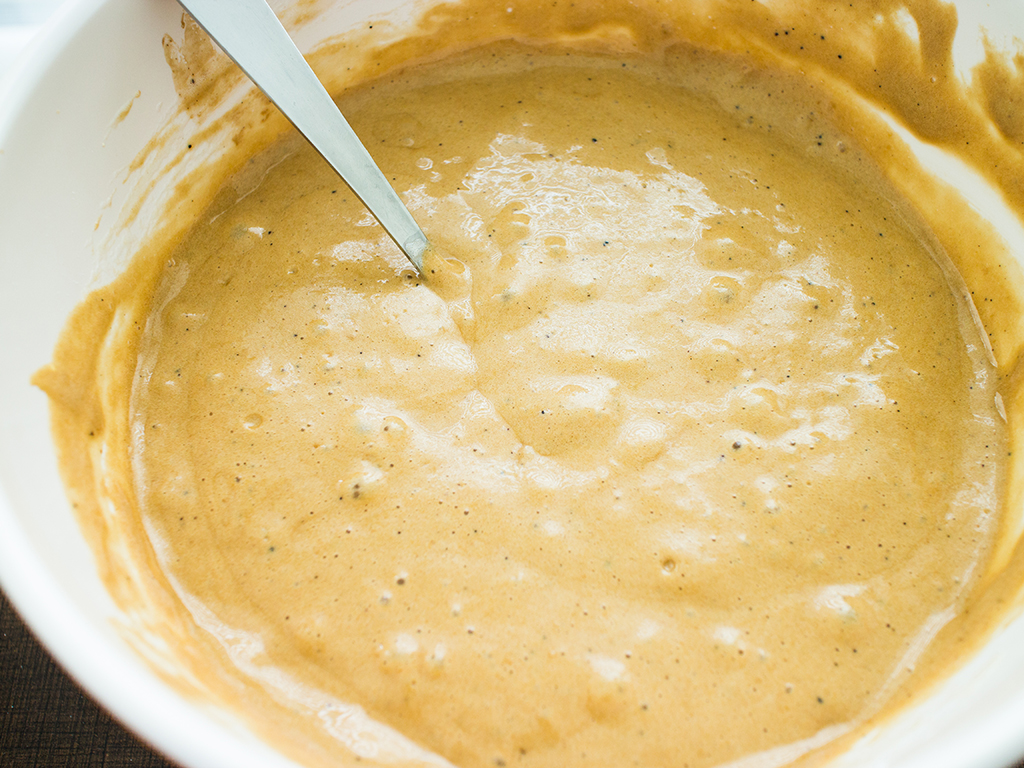
- Next, add in 1/3 of the beaten egg whites into the batter, gently folding it in. Once again, work in three batches, folding until the batter is smooth and just combined.
Part 3: baking & resting the coffee chiffon cake
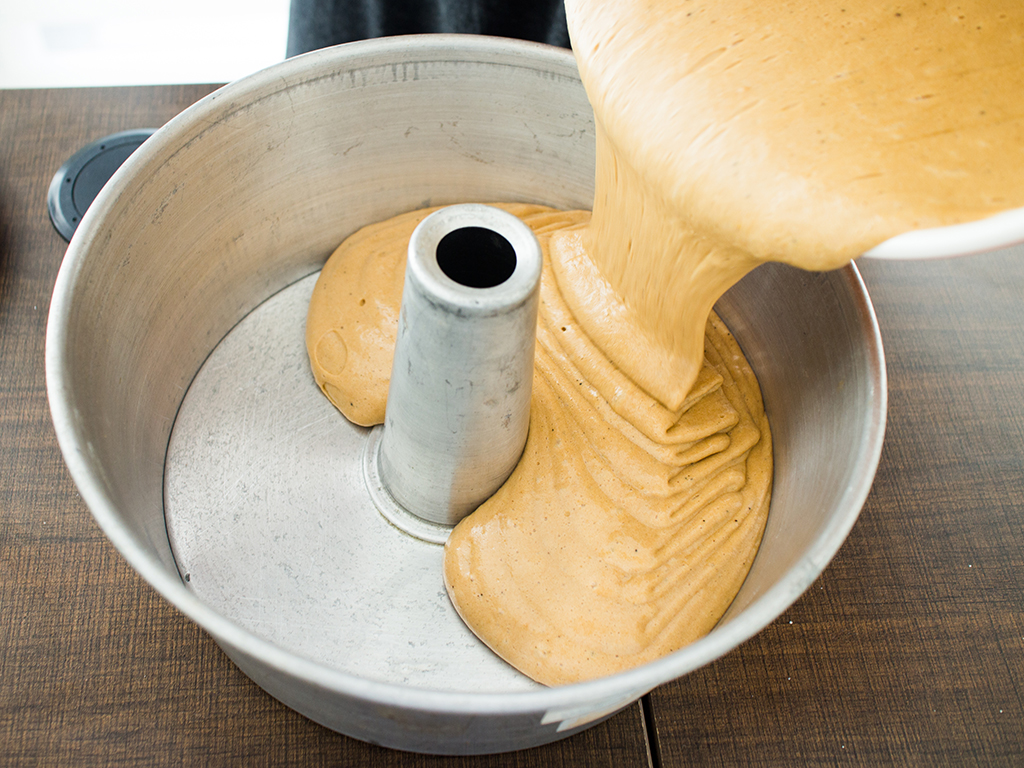
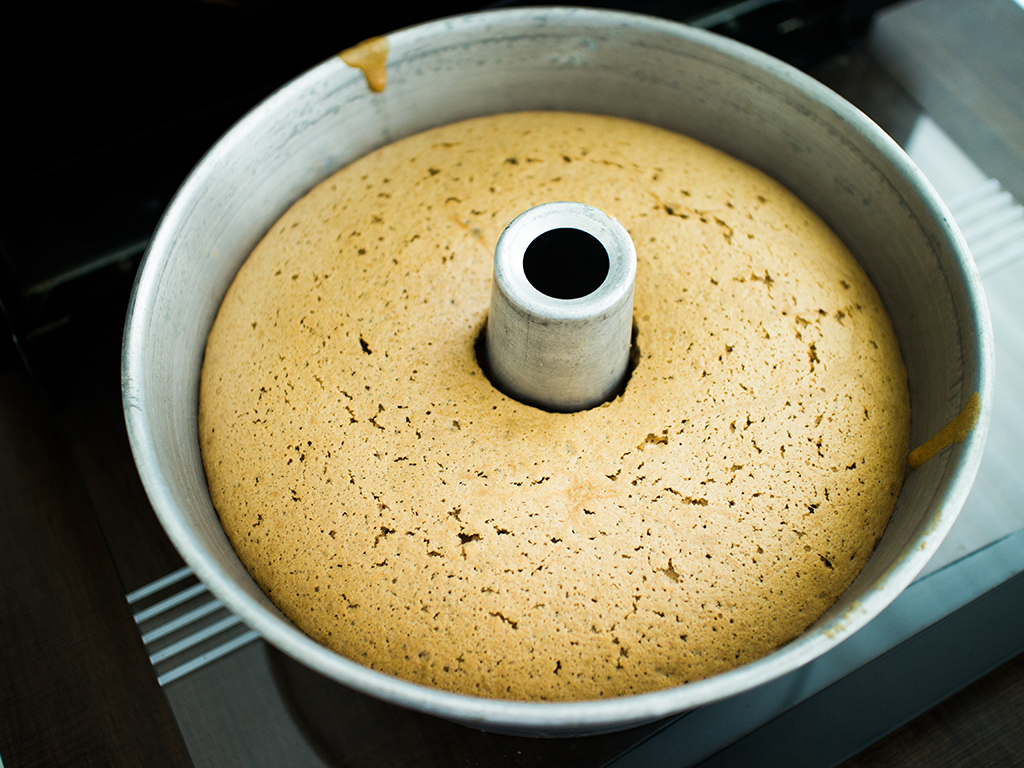
- Pour the batter into an ungreased tube pan and bake it in the oven for 50 to 55 minutes, rotating the pan after 25 minutes. To test if your cake is done, poke a toothpick into the cake. If it comes out clean, your cake is ready. If it doesn’t, give it another five minutes.
- Once the cake is done, take it out and invert the pan over a cake plate until it is completely cool. Inverting the pan prevents condensation from forming (thus weighing the cake down) by allowing air to circulate around the pan. Cooling times will vary according to your room temperature. While you may be tempted to eat this cake straight out of the oven, letting it cool thoroughly ensures the air-pockets in the batter remain firm and the cake fluffy. Removing the cake before it cools not only removes the support the walls of the pan provides, but it will expose their air pockets to cool air too quickly, which can cause the cake to collapse.
- Sometimes, the cake will automatically drop from the pan once it has cooled sufficiently. However, if the cake has cooled and hasn’t dropped, turn the cake over (so the base it at the bottom) and run a knife along the edges of the pan to separate the cake from the walls of the pan.
- Invert the cake once again (so the base is on top) and remove the outer part of the pan. Then, run a knife under the base of the pan, separating the cake and allowing it to gently fall onto the plate. Be quick, as you don’t want the cake to break apart. If part of the cake has been detached while another remains stuck to the base for too long, your cake can and will break. If you are a little cautious of your skill to execute this part swiftly, turn you cake right side up again and run the knife along the base. Then, while gently but firmly supporting your cake, invert the base with the cake over your plate, allowing the cake to slowly drop onto the plate, before removing the base completely.
- Cut into wedges to serve.

Extra tips
- Stick with mild flavoured vegetable oils for this recipe, such as grapeseed oil, canola or sunflower oil. Olive oil will affect the end flavour of your coffee chiffon cake and not necessarily in a good way.
- If you prefer a stronger coffee flavour, add more coffee powder to the same amount of hot water to steep. However, don’t overdo it or your cake can turn out quite bitter.
- If you don’t have access to local coffee, other types of coffee powder should do the trick, although it may not have that same buttery-sweet flavour as local coffee.
This coffee chiffon cake is great served as is, or pair it with some vanilla ice cream for extra decadence. Yum!
Whip up some coffee chiffon cake for a special occasion or for absolutely no reason at all – you don’t really need an excuse to indulge, do you? Show us how your chiffon cake turned out by tagging your pictures with #butterkicap. We can’t wait to hear what you think of our coffee chiffon cake with a local twist!